Author:
Virginia Floyd
Date Of Creation:
9 August 2021
Update Date:
22 June 2024

Content
- Steps
- Part 1 of 4: How the Combination Lock Works
- Part 2 of 4: Figuring out how many numbers are in a combination
- Part 3 of 4: Figuring out the Code Numbers
- Part 4 of 4: Checking Results
- What do you need
- Tips
- Warnings
If you forget the combination of a safe, locksmithing can be expensive, while a brute force attack can ruin both the safe and the tools. Hacking the combination will take a lot of patience and effort, but in the end you will end up with no cost, an intact safe, and a sense of deep inner satisfaction.
Steps
Part 1 of 4: How the Combination Lock Works
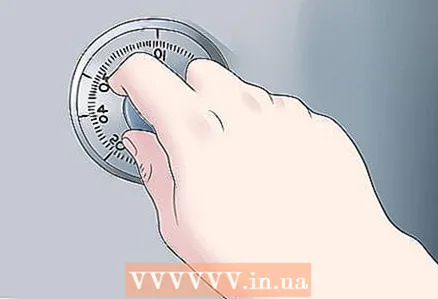
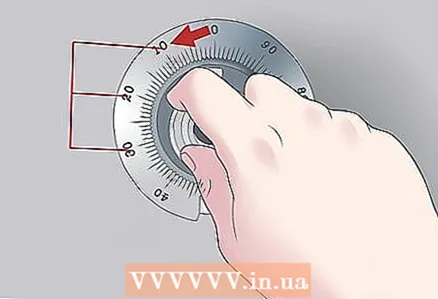
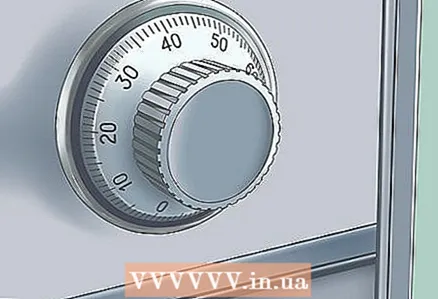 1 Examine the combination dial handle. The keypad lock of the safe is controlled by turning this knob. The numbers are marked on the circumference of the dial, starting at zero. Entering a combination of numbers correctly is almost the only way to open the safe (the use of mechanical tools and brute force is not even considered, due to the extreme complexity).
 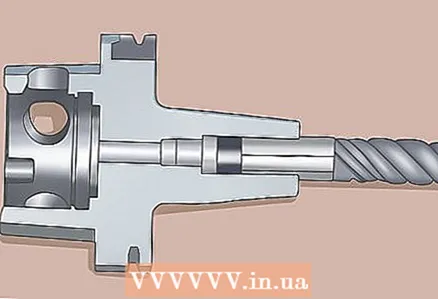 2 Kernel. The rod is attached to the handle of the dial, it is a small, simple cylinder. When you turn the handle, the rod turns too.
 - The rod and other parts of the lock are not visible even when the safe door is open.
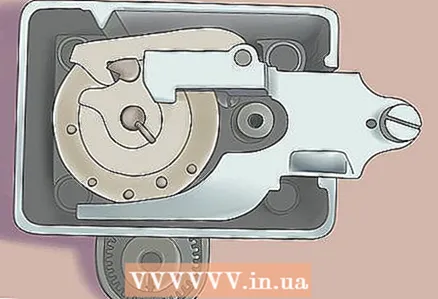 3 Drive disc of the mechanism. The drive disc is located at the other end of the rod, rotation of the dial knob also causes the drive disc to rotate.
 - The drive disc hub is used to engage the gear discs.
 4 Code discs. The mechanism discs are put on the rod, but not attached to it. They are driven by a drive disc.
 - Each number of the combination corresponds to a separate disc (the number of discs varies from two to six). For example, if a safe uses a combination of three numbers (25-7-14), the lock uses three coded discs.
- To open the safe, it is important to know the number of disks, but there are ways to find out without knowing the combination (see below).
- Notches on the code discs are made to transfer rotation from the drive disc.
 5 Imagine the gander of the mechanism in your mind. It is a small metal rod that presses on the discs, but does not prevent them from rotating. The gander is connected to the bolt (or bolt) of the lock, while the gander remains in place - the safe is closed.
 - This part of the mechanism is sometimes called a "pawl" or "latch".
 6 The grooves of the code discs. Each disc is made large groove... When all the discs are lined up in one position, a coded groove is formed, into which the gander of the mechanism falls, opening the bolt of the lock.
 - Now you understand why a separate disc corresponds to each number of the combination. When dialing the first number, the first disc is installed with a groove opposite the gander. Then, by rotating the dial knob in the opposite direction, you install the second disc.
- There is also a cutout on the drive disc. The purpose of this cut is not very important for opening, just remember that it clicks every time it passes the bolt.
- (When the gander falls into the code slot, the notch in the drive disc engages the gander, allowing the bolt to open.)
 7 If you know how many numbers are in the combination, you can skip the next part.
Part 2 of 4: Figuring out how many numbers are in a combination
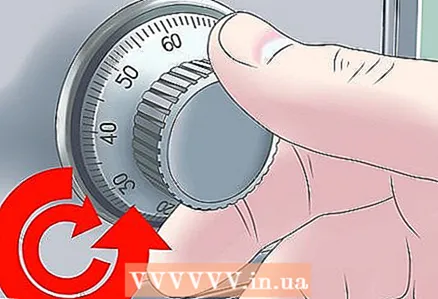
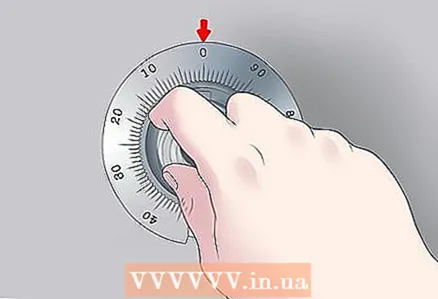
 1 Rotate the knob a few full clockwise turns. This will reset the lock at the beginning of the combination entry.
  2 Place the phonendoscope next to the dial handle. Believe it or not, this cinematic autopsy method is used by professional locksmiths. The phonendoscope significantly amplifies the sound from the membrane.
 - The listening mechanism is located right behind the dial knob, but obviously it is impossible to listen to it while rotating. Look nearby for the loudest and most comfortable point for attaching the phonendoscope tip.
- Metal doors sound louder than others and are therefore better suited for beginners.
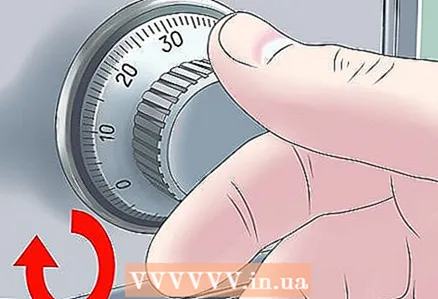
 3 Rotate the knob counterclockwise until you hear two successive clicks. Rotate the knob slowly and get ready to write down or memorize the positions of the knob.
 - One click will sound weaker than the other due to the shape of the notch on the drive disc.
- You are listening to the sound that the drive disc produces as it passes the bolt lever. The disc cut clicks two times, on "enter" and "exit".
- The interval between two clicks is called contact area.
 4 Reset the lock and repeat the steps. Turn the knob a few full turns clockwise, then slowly turn it counterclockwise while listening for clicks.
 - The clicks can be faint and barely audible behind other sounds, so repeat the process until you know the exact contact area (between two successive clicks).
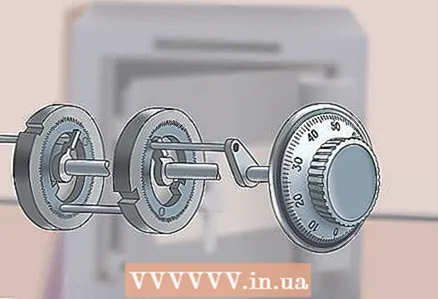
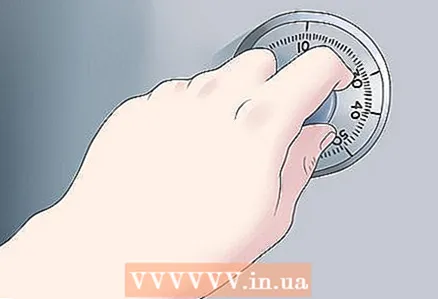
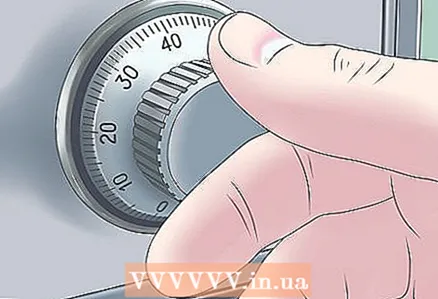
 5 Turn the knob counterclockwise exactly opposite the contact area. Once you are sure to find the exact contact area, turn the knob exactly 180 degrees counterclockwise.
 - This is the "code disc parking area". From this position, you can count the number of code discs of the mechanism by rotating the dial knob.
 6 Turn the knob clockwise and listen to the sound as you pass the "parking zone". Turn the knob slowly, paying particular attention to the "parking zone".
 - The "parking zone" is the opposite of the "contact zone" position of the dial knob. Remember to listen to the sound of the mechanism when the handle enters this position.
- The first time you pass this area, you should hear a click as the drive disc engages the first disc.
- You will hear subsequent clicks only if additional code discs are available.
 7 Continue rotating and counting the clicks. Only count clicks from the "parking zone".
 - If you hear a lot of clicks, or clicks elsewhere, you may be wrong with the "parking zone". Try again from the beginning of this section, be sure to release the locking mechanism well (do a few more full turns).
- If the problem persists, the safe may be equipped with additional anti-burglary mechanisms. In this case, you will most likely need the services of professionals.
 8 Record the number of clicks. If passing the "parking zone" no longer produces clicks, write down or remember the final number of clicks. This will be the number of code disks.
 - Each number of the combination corresponds to one disk, so you already know how many numbers you need to enter.
Part 3 of 4: Figuring out the Code Numbers
 1 Plot two graphs in a rectangular coordinate system. Breaking a safe will require a tremendous amount of information to be recorded. Plotting is one of the most convenient and easiest ways to calculate the data you need.
  2 Mark up each chart. The abscissa should correspond to a number from 0 to the last value on the dial knob. Mark the axis so that you can clearly and unambiguously mark three points in a row. About five numbers need to be marked on the ordinate, but it can be left blank for now.
 - The abscissa axis of one graph can be called "start", and the ordinate axis can be called the "left contact point".
- The abscissa axis of the second graph can be called "start", and the ordinate axis can be called the "right contact point".
 3 Reset the lock, set the handle to zero. Rotate the knob a few full turns clockwise, then set it to zero.
 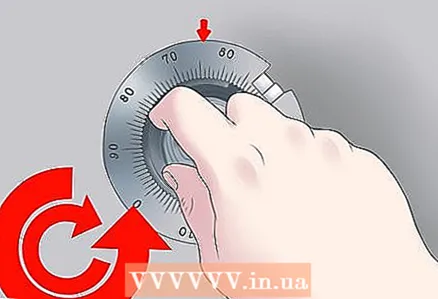 4 Rotate the knob slowly counterclockwise and listen. It takes to find contact areawhere the drive disc connects to the code discs (see first part).
 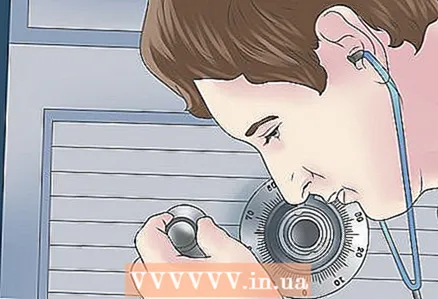 5 When you hear two clicks in a row, remember the position of the knob with each click. Make sure you know the exact number of each click. Typically, these two numbers are close to each other.
  6 Plot these points on the graph. On the first graph, plot a point at coordinates x = 0 and y = the number you heard the first click on.
 - On the second graph, plot a point at coordinates x = 0 and y = the number you heard the second click on.
- Now you can mark out the ordinate axes. You will need space for five numbers on each side of the point you just plotted.
 7 Reset the lock and place the dial on the third number to the left of zero. Rotate the knob clockwise until it is at the third division to the left of zero.
 - This number will give x-coordinates for the next points.
 8 Continue recording the values of the two clicks in a row. Start counterclockwise rotation from the third number, write down the click values. They should sound close to the previous values.
 - When you plot these values on the graph, reset the lock and set the dial three notches further to the left.
 9 Continue recording values and plotting points on the graphs until you have a graph of the contact points for every third dial value. When you get to zero, you can complete testing.
 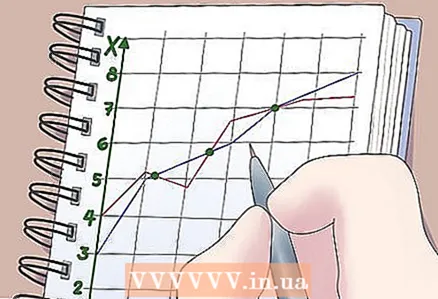 10 Find the convergence points of the two graphs. For some x values, the difference between the y (contact point) values will be smaller.
 - The easiest way to find such points is by placing one graph on top of another, just find the places where the two graphs are closest.
- Each such point corresponds to the number of the combination.
- The number of numbers in the combination should already be known to you, either as the owner of the safe, or from the previous part of the instructions.
- If the number of close points does not correspond to the number of numbers in the combination, plot both graphs and find the places where they gradually taper.
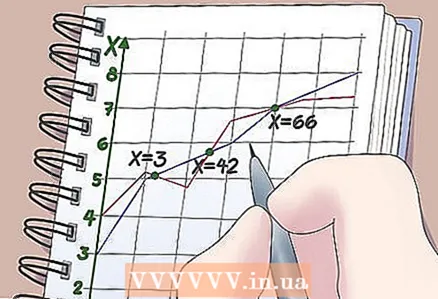 11 Write down the x-coordinates of the vanishing points. If the two graphs converge the closest at x = 3, 42, and 66, write down those numbers.
 - If you did everything correctly, these numbers should correspond to the numbers from the correct combination, or very close to the desired numbers.
- You still don't know the correct sequence. Read the instructions and tips further.
Part 4 of 4: Checking Results
 1 Check all possible sequences. If you get the numbers 3, 42, and 66, try entering (3.42.66); (3.66.42); (42.3.66); (42.66.3); (66.42.3 ); and (66,3,42). One of these sequences is to open the safe.
 - Try to open the door after every combination! Any of these sequences can work, so remember to test the combination by opening the door.
- Do not forget to reset the lock several full turns before each new code entry attempt.
- If there are more than 2-3 coded discs in the lock, it is better to write down all possible combinations and cross them out as you type.
 2 Try to enter similar values instead of the received numbers, if the safe does not open in any way. Most safes allow you to make a mistake when typing by one or two divisions, so only a third of all values of the dial knob were checked on the graph.If your safe is expensive, it may require more precision when dialing numbers.
 - For example, for the numbers 3, 42, and 66, you need to check all the sequences for [2, 3, or 4] + [41, 42, or 43] + [65, 66, or 67]. Don't get confused by trying to type something like (41, 42, 65); each sequence must contain one number in square brackets.
- This only makes practical sense for 3-digit combinations (a maximum of 162 dialing attempts are required). For a four-digit combination, the number of attempts to enter the desired numbers in the desired sequence can reach 1944. This is still faster than brute force, but it will take a lot of time, especially with typing errors.
 3 Try again from the beginning. Hacking a safe takes a lot of patience and effort! Find out the number of code discs, find the numbers you want, check the results again.
 - Keep old charts handy. If the new graphs produce similar results (for example, two out of three numbers are the same), it is more likely that those results were more accurate.
What do you need
- Phonendoscope
- Graph paper or graph paper, pencils
- A few hours at least
Tips
- Try to find a blueprint for your safe. Knowing the design of your model of safe will be especially helpful, especially if you decide to use tools to open it (see warnings).
Warnings
- Do not try to blow up the safe. Even if you manage to put explosives inside the safe, you will destroy the contents.
- Breaking the deadbolts and doors will take extreme effort and time. Removing the hinges alone is not enough for opening.
- Opening with an angle grinder or a gas burner will take a long time. Safes are made from premium materials and can contain copper heat dissipation shields and even burglar traps!
- The newer and more technologically advanced the safe, the more burglary protection it has. (For example, false grooves producing clicks outside the contact and parking areas). If you want to make breaking safe a hobby, start with old or cheap safes.


