Author:
Virginia Floyd
Date Of Creation:
6 August 2021
Update Date:
1 July 2024
Content
- Steps
- Method 1 of 5: Using dye powder
- Method 2 of 5: Using watercolors
- Method 3 of 5: Using a dry beverage
- Method 4 of 5: Using food coloring
- Method 5 of 5: Using Coffee
- Tips
- What do you need
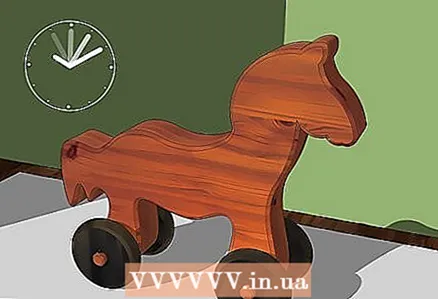
Wood painting can be useful for a variety of art projects, construction and other types of work. Wood painting can be done in several ways, often with materials found in any household. If you have an evening to spare, you can turn these bars, balls, or that table into a stunning piece of art.
Steps
Method 1 of 5: Using dye powder
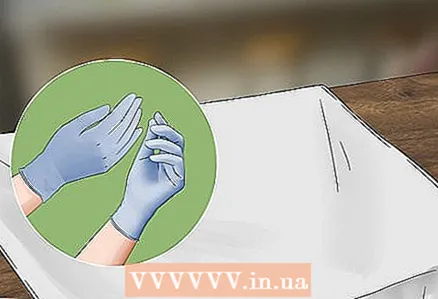 1 Cover your work surface. It is best to cover the work surface with a piece of polyethylene - newspapers can get wet. Also wear rubber gloves, if you don’t, your fingers will have their original color by the end of your project. To get started, you need:
 - One container for each paint color
- Brushes
- Hot water
- Polyurethane spray (optional)
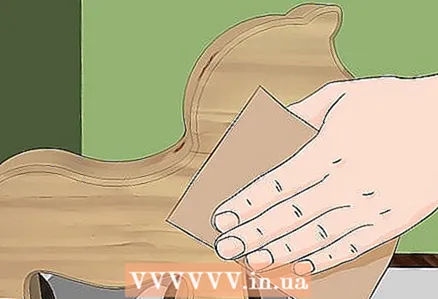 2 Make sure the wood is ready to paint. If you are working with used wood, it should be sanded and wiped clean. If it has a lacquer finish, you will need to remove it and buff it to make the surface smooth.
 - Wood bought from art stores (bars or balls, for example) is already ready for processing. If you haven't bought wood yet and are thinking of doing it at a hardware store, ask the consultants if they will sand it for you.
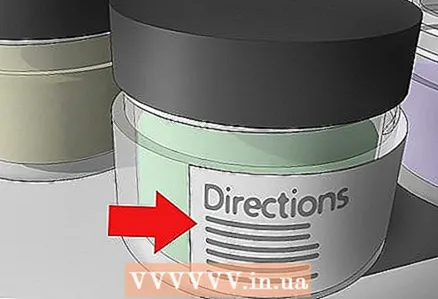 3 Shake all paint bottles and pour into containers. Mix the paint according to the instructions on the package - you will most likely need ½ cup liquid paint or 1 box of powder paint for two cups of very hot water. Use glass or ceramic utensils to avoid discoloration in the microwave and stir the mixture well.
 - If you are using the immersion method, you will need the same amount of paint with 2 '' quarts '' of water (depending on the size of your piece).
- There are many different types of wood paint, some of them are just wood stains.Use paint that is the same type you use for the fabric, it is easy to use, inexpensive, and gives a great look to the wood, and is also available at any art supply store.
 4 Test on wood waste. Submerge wood waste (or the part of the wood that you will paint that is not visible) into the paint container. Dry for a minute or two, as the color appears darker if the wood is damp. If you don't like it, add more paint or water as needed.
 - This procedure will not show you the final shade, but it will be close to what you get. She will also show you how the paint is distributed and how you need to apply it to get the look you want.
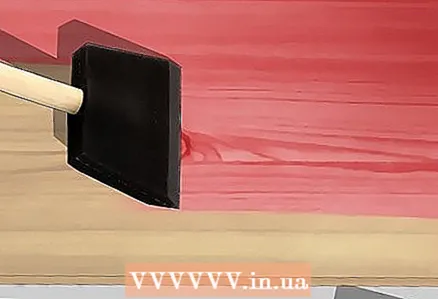
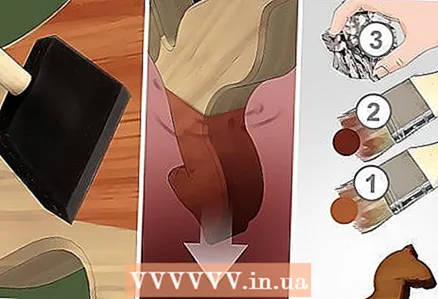 5 Paint the wood. There are several methods you can use:
 - Brush application... Dip a sponge, paintbrush, or cloth into the paint and spread it evenly over the wood surface. If paint splashes onto the wood, remove these marks by polishing the surface right away. Dry the wood and apply another coat of paint as needed.
- Immersion method... Place the wood carefully into the prepared paint. Leave it there until it has the desired color (usually 10-20 minutes). Remember that the color of the paint will become lighter after drying.
- Weather-beaten look... Choose a paint of two colors, which you apply one after the other. Start with a lighter shade and dry after application. Then apply a dark shade and pat dry. Once this layer is dry, lightly sand the entire piece, exposing the lower light layer of paint. Repeat paint application as needed. Sandpaper or steel brush to create darker areas after finishing painting.
- Brush application... Dip a sponge, paintbrush, or cloth into the paint and spread it evenly over the wood surface. If paint splashes onto the wood, remove these marks by polishing the surface right away. Dry the wood and apply another coat of paint as needed.
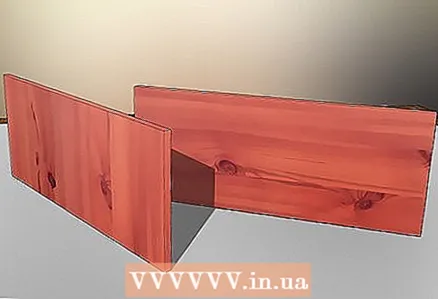
 6 Let the product dry completely. Remove the wood from the paint when you are satisfied with the resulting color. Place it on paper towels or other suitable surface that you are not afraid to stain. Leave it on overnight for best results.
 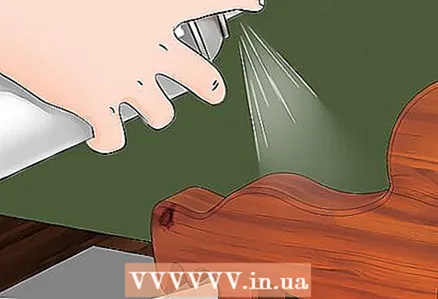 7 If desired, apply a polyurethane spray to maintain the color of the paint. Polyurethane can also be applied with a new brush or sponge. This can be useful for wooden items that will be used constantly, such as beads in jewelry.
 - Remember that it is unsafe for toys or other items that a child might put in their mouth.
Method 2 of 5: Using watercolors
 1 Collect everything you need. It's great for DIY home projects, and even for sharing with kids - watercolors are non-toxic, easy and fun to use. Here's what you need:
 - Wood product
- Watercolor paints
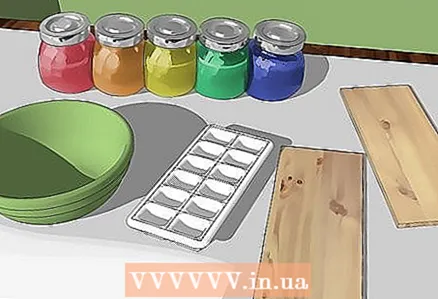
- Containers, glasses or ice cube trays
- Wax paper
- Brushes (optional)
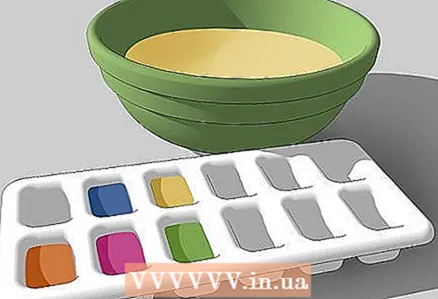 2 Pour a little paint of the colors you want to use into glasses, containers, or ice cube trays. An ice mold is handy as you can pour different colors of paint into different cells, but if you need more space (for dipping and so on), you'd better use a container with wide edges.
 - The beauty of using watercolors is their simplicity. They do not need to be mixed or heated. You only need to pour them into the container. They are more durable than food colorings and cheaper as well.
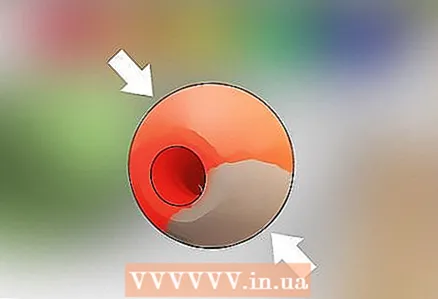
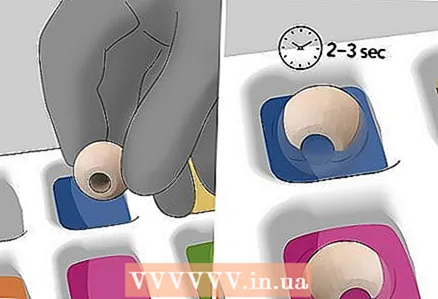 3 Submerge the wood in the paint for 2-3 seconds. This is really enough - at least for a start. Submerge the piece in the paint for just a few seconds to see what color you get. Remember, the color will become lighter as the garment dries.
 - It would be nice to paint one side of the product and put it to dry on the unpainted side. Thus, you will be sure that the side on which it lies will not be damaged and will not stick to the surface on which it lies.
- If the color is too light, soak the product in the paint for a few more seconds, applying a second coat.
 4 Apply paint to all sides of the product. If you're worried about painting your fingers too, wear a pair of rubber gloves. However, watercolors are easy to wash off if done right away.
 - Keep this in mind for your products as well. If they get under water, the paint can start to wash off - at least over time. It is important that the wood stays dry (away from water and mouths).
 5 Let the garment dry on a sheet of waxed paper. Once you're done painting, leave the wood to dry overnight. Return to her in the morning and see if you like the color. If not, you can apply another coat of paint.
Method 3 of 5: Using a dry beverage
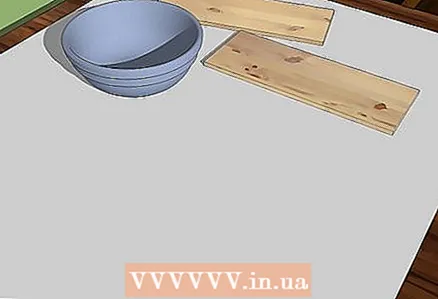 1 Prepare your work surface. Before doing anything with wood, you must have a suitable place to work where you can stain something without any problem. Use a table or other surface that is comfortable to work on and where you can afford to leave paint marks. Cover it with a plastic tablecloth or other protective material.
 - You should wear an old T-shirt and rubber gloves as well.
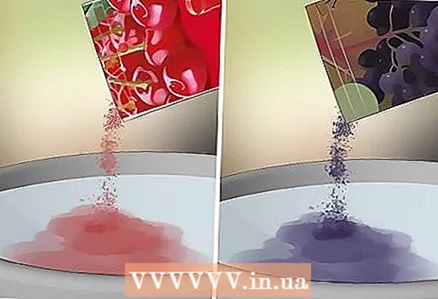 2 Prepare a dry drink. Wearing rubber gloves to keep your hands and fingers from staining, pour a packet of dry drink into water to make the paint. Adjust the ratio of water to powder until you get the desired shade.
 - A cherry drink will give red, a grape drink purple, and so on. If you want a darker, deeper color, add less water. You can also combine colors (red and yellow will make orange, for example) if the color you want is not available in powder form.
- Do you know the main advantage of using a dry drink as a paint for wood? It smells good.
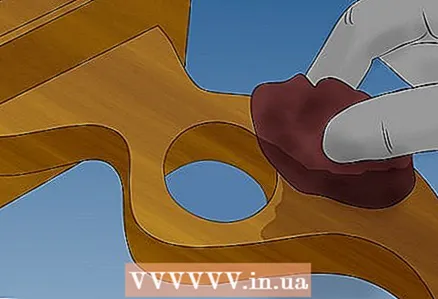
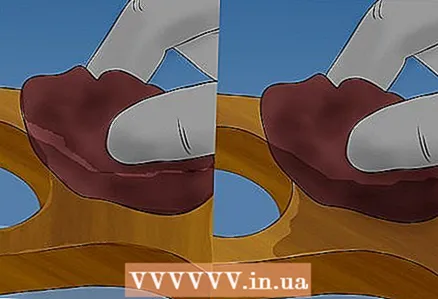
 3 Apply paint to the wood. Use a sponge to spread the paint over the wood. It will absorb the fruity smell as well. Remember that the color gets lighter as the piece dries, so wait a minute to see if you need a second coat.
 - You will most likely need several layers, so be patient. Make sure the paint is completely absorbed into the wood before applying the next coat.
 4 Let the wood dry. Wait 16-20 minutes after you finish applying paint. Give the paint time to soak into the wood. Then place the dyed item in a sunny or windy place to dry it faster. After this period, your artwork is ready.
 - Check the color. When the wood is completely dry, see if the color is dark enough. If not, paint again.
Method 4 of 5: Using food coloring
 1 Prepare your work surface. Cover the surface with paper or other suitable material such as a plastic tablecloth to prevent staining. You should also wear rubber gloves. You will also need:
 - One container for each paint color
- Warm or hot water
- Plastic bags (if you immerse the product in paint)
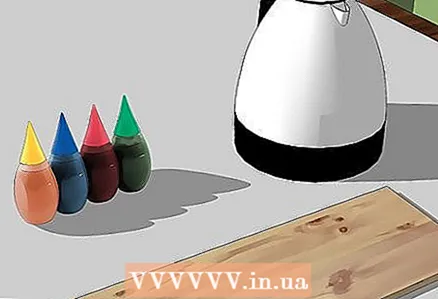
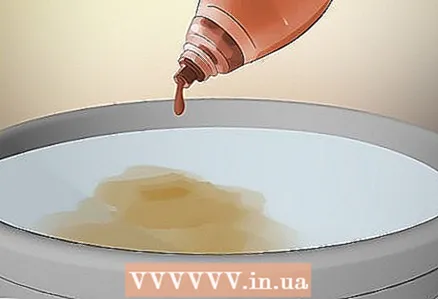 2 Pour a few drops of the dye into a suitable container of warm or hot water. The more dye you add, the deeper the color will be (and the less water you use, too). Light-colored woods are better suited for coloring with food coloring, as they absorb color more easily.
 - Stir well - food colors will precipitate if not stirred in the right direction.
- The darker (and larger) the wood and the more water you have, the more dye you need. Get ready to shell out all of your kitchen supplies for this project.
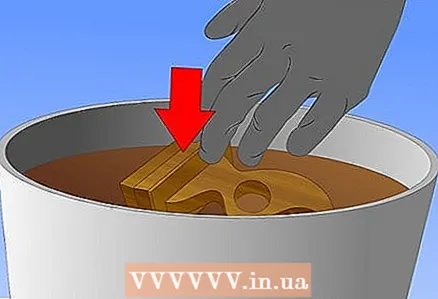
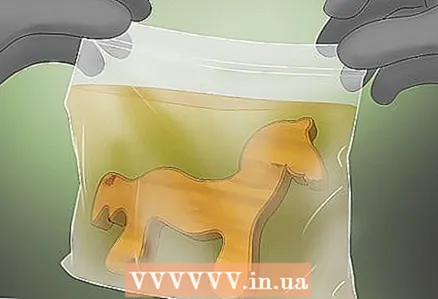 3 Place the wood in the resulting mixture. A plastic bag is perfect for immersing the product in paint; it is selected according to the size of the product. If the item is very large, use a plastic tube.
 - You can also use a paint sponge.This makes it easier to control the process and this method is better for small items that have hooks and protrusions. But this requires more patience.
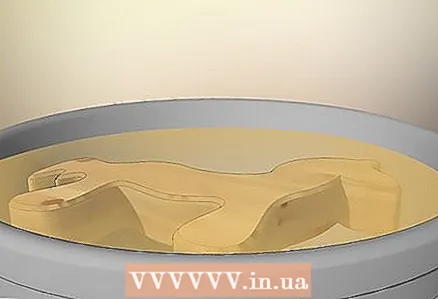 4 If you immerse the whole piece, leave it in the paint for about 10 minutes. The longer it is in the paint, the better the color will be. Want a bright shade? Leave it in the paint and watch an episode of your favorite show, then come back and check the result.
 - If you wish to apply paint with a brush, you will need to apply at least 3-4 coats of paint to get a noticeable color. Apply one coat to the entire garment before applying the second to ensure an even and neat look.
- Remember that the color will become lighter as the garment dries.
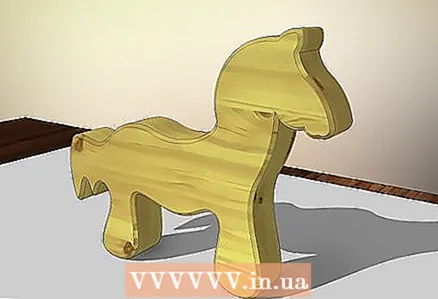 5 When finished, let the garment dry. Use paper towels or other surfaces that you are not afraid to smear. Leave the product at least overnight and check in the morning. If the color is too light, apply one or two more coats of paint.
 - If you like the resulting color, fix it with a polyurethane spray. You can also apply it with a brush. This will add gloss to the product and protect it from moisture.
Method 5 of 5: Using Coffee
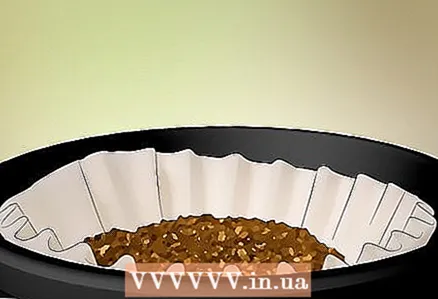
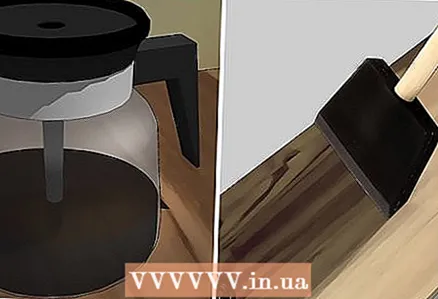
 1 Make coffee in the coffee maker. By the way, this is not a strong paint, it is only suitable for light woods such as pine. The end result will be the kind of product exposed to the weather. Make sure the coffee is as strong as possible; the darker the coffee, the darker the coloring effect.
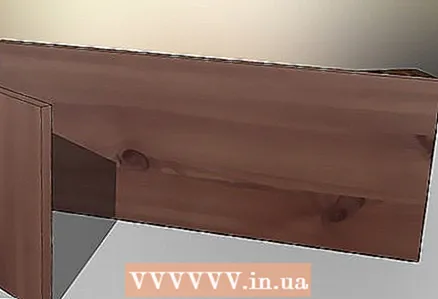
 - Would you like to paint a dining table for 14 people? Then you will need more than one coffee pot.
 2 Add the coffee brew back to the pot. It will be used as part of the paint, making the color richer and deeper - and it will replace several coats that you would apply.
 - Before immersing your sponge or brush in coffee, wear rubber gloves to avoid staining your hands.
 3 Remove the pot from heat and cool slightly. When the coffee is warm (not hot), use a brush or sponge to apply it to the wooden surface.
 - Don't worry about brewing; press it to the bottom if you can, or just keep painting. Leave it on the wood for a darker color.
 4 Let the product dry. If you are working with small items, lay them out on a paper towel to dry. Some of the coffee may drip, but that's great, as it will give the imperfect look you want.
 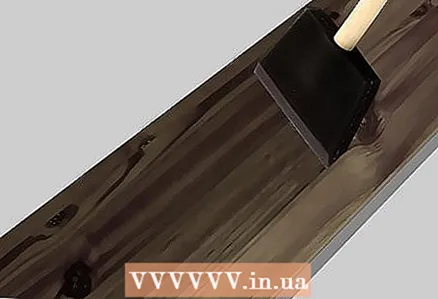 5 Apply more coats until you get the color you want. After several layers, the effect can be very noticeable. Re-heat the coffee to keep it warm (this will restore its potential) and apply a new coat.
 - Remember to dry the garment before applying a new coat to it. The wood will be slightly darker when wet.
- If you like the resulting shade, preserve it with a polyurethane spray or wood varnish. This will preserve the color, give it a shine and protect it from harmful environmental influences.
Tips
- There are branded wood-painting products such as alcohol-based or water-based wood paints. To use them, follow the manufacturer's recommendations on the packaging.
- Hair dye will also color the wood.
- Use shoe polish. Choose a color that suits you and rub the cream into the wood. The paint from the shoe polish will soak into the wood. Dry wood before using.
What do you need
Method 1:
- Work surface and means for covering it
- Latex gloves
- Powder paint
- Mixing containers that will not react with paint
- Performing vigorous stirring
- Wood
- Drying space
Method 2:
- Work surface coating products
- Latex gloves
- Containers that do not react with paints
- Wood
- Liquid watercolors, colors of your choice
- Brush
- Wax paper
- Paper towels or drying space
- Polyurethane spray (optional)
Method 3:
- Dry drink
- Latex gloves
- Work surface coating products
- Performing vigorous stirring
- Containers that do not react with paints
- Brush, plastic bag, or bowl
Method 4:
- Food coloring
- Performing vigorous stirring
- Latex gloves
- Containers that do not react with paints
- Wood
- Drying paper towels
- Polyurethane spray (optional)
Method 5:
- Coffee
- Coffee maker
- Wood (light color)
- A brush or clean cloth
- Drying paper towels
- Rubber gloves (optional)


