Author:
Carl Weaver
Date Of Creation:
26 February 2021
Update Date:
1 July 2024
Content
- Steps
- Part 1 of 3: Open the back cover
- Part 2 of 3: Removing the hard drive
- Part 3 of 3: Installing a New Hard Drive
- What do you need
Want to upgrade your MacBook's memory or replace a problematic hard drive? This is as easy as shelling pears to do, and the whole procedure will take just a couple of minutes. After you replace the old drive with a new one, you will need to reinstall the operating system.
Steps
Part 1 of 3: Open the back cover
 1 Back up your files. If you are going to replace the hard drive, then you will need to reinstall the operating system. Since your files are currently stored on the old hard drive, you will need to make a backup in order to transfer them to the new drive later. This will make the procedure for reinstalling the operating system less painful.
 - On our site you will find an article to learn how to back up your files.
 2 Shut down your MacBook. Disconnect the power cord from the computer. The computer must be turned off before opening the panel. Otherwise, you risk damaging its important components.
 - Note: You won't be able to remove the hard drive from MacBook Pros with Retina Display because they have integrated flash memory cards instead of traditional hard drives.
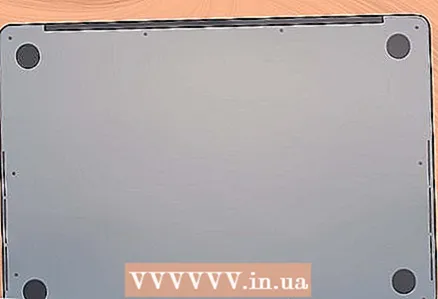 3 Place your MacBook with the lid down. In front of you will be the back panel of the computer. Place it so that you don't have to bend over too much.
 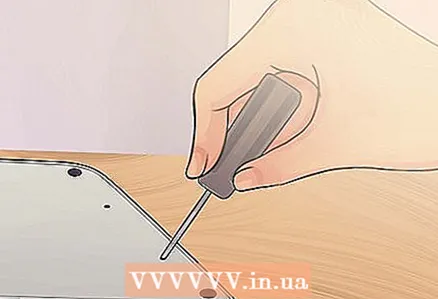 4 Remove ten screws from the back panel. They are located along its edges. The exact location will depend on your computer model, but there should always be ten. To do this, you need a Phillips screwdriver. Typically, you will need to remove two types of screws:
 - Seven 3mm screws
- Three 13.5 mm screws
- The 13-inch MacBook Pro has a variety of screw configurations, but there will still be ten screws.
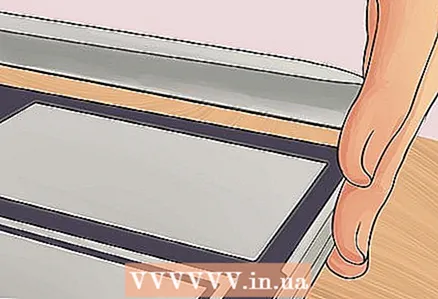 5 Open the back cover. Insert your fingers into the slightly opened slot and open the panel. It is held by two latches.
 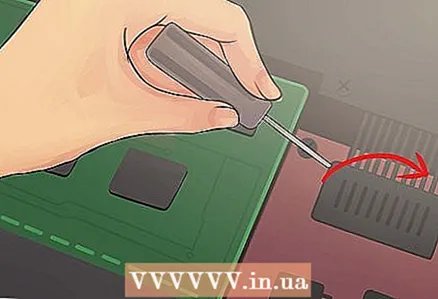 6 Disconnect the battery. You need to find the connector leading from the battery to the motherboard and unplug it to prevent short circuits. It is black in color, large in size, and is located near the motherboard. Try to pull it straight up to avoid damaging anything.
 - If the connector has a special eyelet, grasp it to pull the connector out.
- If there is no ear, you can use a spudger or toothpick to remove the connector.
Part 2 of 3: Removing the hard drive
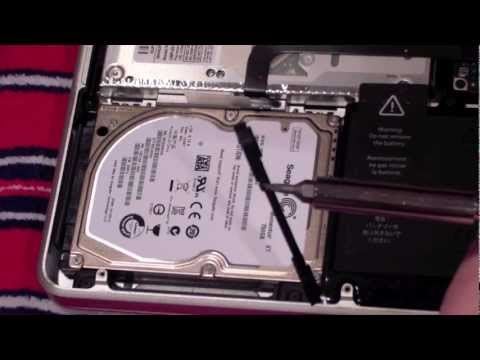
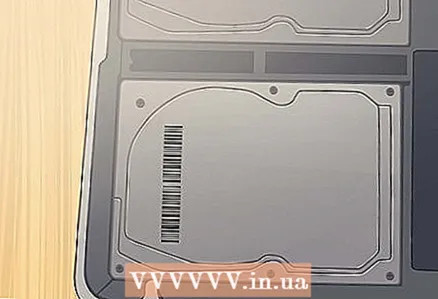 1 Find your hard drive. The hard drive has a rectangular shape and is located in one of the corners of the computer. Most hard drives have labels indicating the amount of memory and their speed. Many hard drives are housed in shiny metal enclosures.
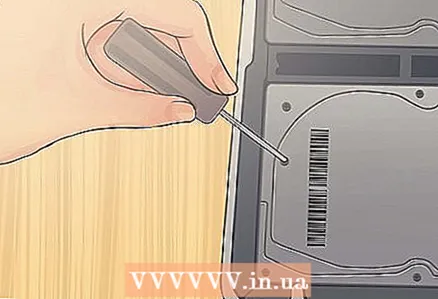
 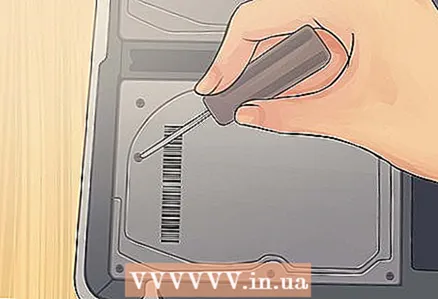 2 Remove the screws securing the disc. The disc is secured with two small screws located at one of its edges. They need to be unscrewed to remove the disc.
 - You can also leave the screws in the bracket that holds the disc in place.
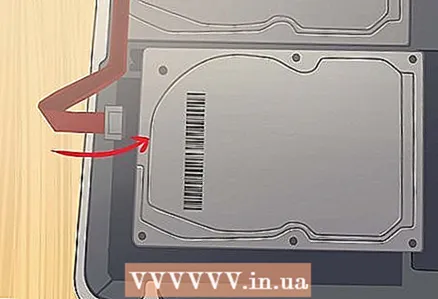
 3 Pull out the bracket. After you loosen the screws, you can slide the bracket out of the case.
 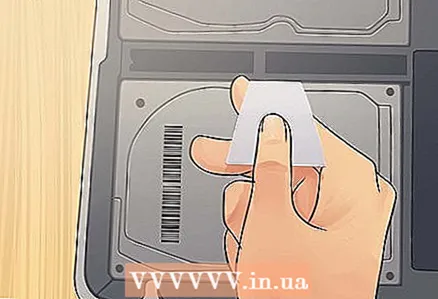 4 Pull the plastic tab sticking out from under the disc. Pull gently on the tab to remove the hard drive from the case. Just do not pull too hard, as you will still need to disconnect the cable.
 - If there is no tab, then you can eject the disc with your fingers.
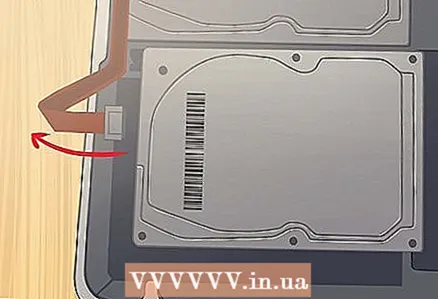 5 Disconnect the hard drive. Grasp the connector attached to the top of the hard drive. Disconnect it from the hard drive. If the connector is too tightly attached to the disc, gently wiggle it from side to side.
 - Remove the hard drive from the computer. You now need to remove the screws located on the sides of the drive.
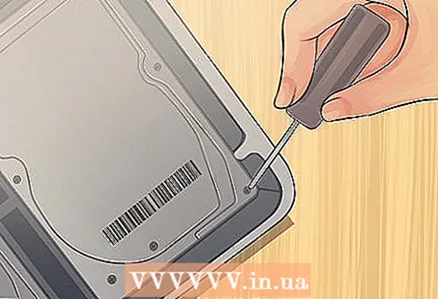 6 Remove the screws from the hard drive. The hard drive has four T6 Torx screws, two on each side. You will need them for your new hard drive, so put them aside.
 - You can also unpin the tab from the old drive to reattach it to the new drive.
Part 3 of 3: Installing a New Hard Drive
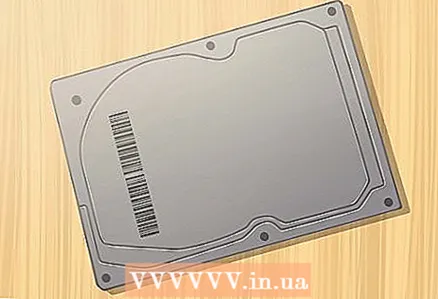 1 Make sure your new drive is compatible with your computer. It should be a 2.5-inch drive, up to 9.5 mm high. The drive can be either standard or solid state drive (SSD).
 - SSD drives speed up boot times significantly, but they tend to be much more expensive than traditional hard drives.
 2 Install four Torx screws into the drive body. Install the four screws in the same holes where you removed them from the old disc. Just do not tighten them too much to avoid damaging the hard drive case.
 - You can also attach a tongue insert to the disc. Attach it to the underside of the disc, being careful not to touch the circuits. The insert should be visible from under the inserted disc.
 3 Connect the cable to the drive. Insert the connector on the cable into the slot on the top of the drive. Make sure the cable is firmly inserted.
 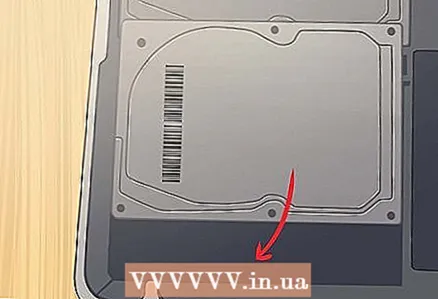 4 Place the disc in the bay. Place the hard drive gently into the bay, making sure it lies flat. The torx screws should fit into the grooves that hold the hard drive in place.
 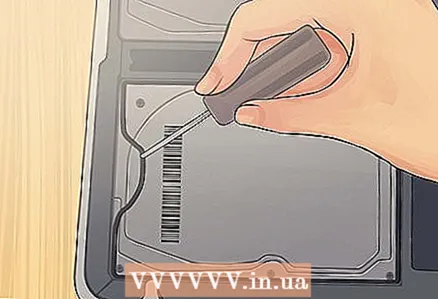 5 Secure the bracket. Insert the bracket and secure it with two screws. Do not twist them too tightly.
  6 Connect the battery. Connect the battery to the board. Be careful not to touch any circuits, especially after you connect the cable.
  7 Install the panel. Install the back panel and secure it with ten screws. Make sure it is level.
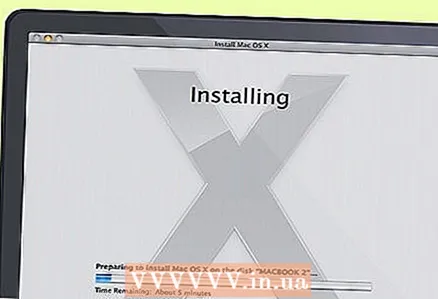
 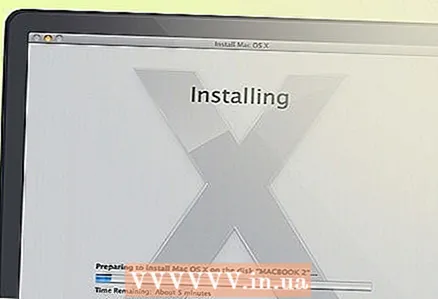 8 Install the operating system. When you install a new hard drive, you will need to reinstall the operating system. You can do this using the installation disc or download from the Internet if you have a network connection.
 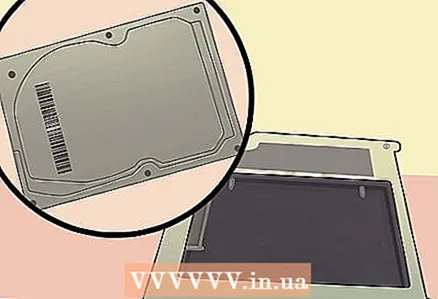 9 Use your old drive as an external drive. If your old drive is working and you just replaced it with a faster drive or a drive with more memory, then you can use it as an external drive that you can take with you wherever you go. All you need to do is find a case for it, which you can buy at most computer stores.
 - You will also find detailed instructions on how to turn your old drive into a portable external USB drive on our website.
What do you need
- crosshead screwdriver
- T6 Torx Screwdriver
- Toothpick or spatula


