Author:
Gregory Harris
Date Of Creation:
10 August 2021
Update Date:
1 July 2024
Content
- Steps
- Part 1 of 4: Choosing beans
- Part 2 of 4: Preparing for Landing
- Part 3 of 4: Planting the beans
- Part 4 of 4: Harvesting the beans
- Tips
- Warnings
Beans are a great plant to grow for beginner gardeners as they are very easy to plant, maintain, and harvest. Beans have added value - they're very nutritious, giving you more and more reason to add them to your garden. Whether you choose to plant regular beans or legumes, bush or curly beans, the process is easy and you will reap the benefits of your harvest as fall arrives.
Steps
Part 1 of 4: Choosing beans
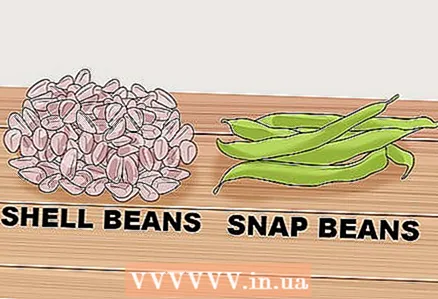 1 Explore two different types of beans. In general, there are two common types of beans: regular beans and leguminous beans. Both species can grow in either a curly or bush style, but the bean pods are what sets them apart. Conventional beans are mostly removed from the pod for food, and eaten fresh or dry to store for later. Legumes are eaten in pods, and only fresh (not dried for later use). It is possible to grow different varieties of these beans directly adjacent to each other, because the legumes self-pollinate and will not cross-contaminate each other.
 - Popular common beans include hyacinth beans, horse beans, Chinese cowpea, chickpeas, and common beans.
- Popular leguminous beans include legume (green) beans, adzuki beans, mung beans, asparagus beans, and fiery red beans.
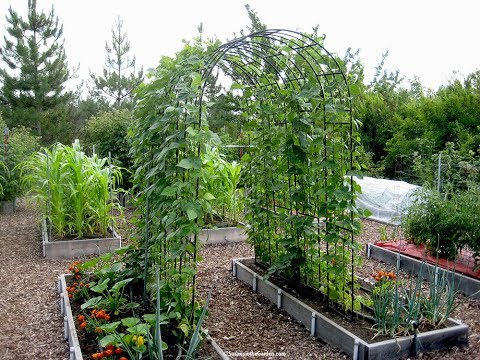
 2 Consider growing curly beans. Curly beans are a type of beans that curl and must be supported by a trellis or peg. Curly beans grow on average 1.5-1.8 in height, and can grow as either regular or leguminous. Curly beans usually grow well in cooler summer temperatures up to 10 ° C in summer. In the United States, they grow well in the northern states.
 - You can use any support system (trellis, peg, fence, gazebo, etc.) you want for the curly beans.
 3 Consider growing a bush bean variety. Bush beans are a type of bean that grows on a bush and do not need a trellis or peg for support. In general, bush beans grow best in warm conditions with summer temperatures of 38 ° C and above. In the United States, they grow well in the southern states. The beans should be planted in long rows, which require much more space than curly beans.
 - The bush bean variety called "Half Runner" is a bush / curly hybrid and may require some support or placement near a fence to stabilize.
Part 2 of 4: Preparing for Landing
 1 Choose a garden plot. Beans are highly adaptable plants that can grow in both sun and shade. If possible, choose a garden area with lots of or partial sunlight. Since the curly beans grow up first, only a small amount of space is needed for them. Bush beans grow outward, which means they need a lot more space; choose an area 0.6-0.9 cm wide or whatever you want (for the total number of beans you want to plant).
 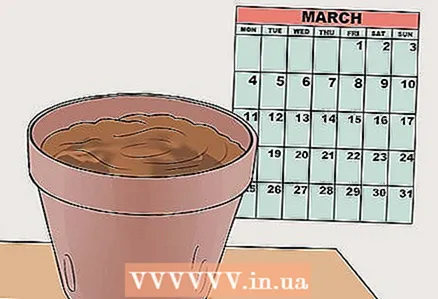 2 Know when to plant. The beans should be planted after the last frost, usually in the spring months of March and April. Planting too early will freeze and kill the seeds, while planting too late will not give them enough time to germinate and harvest. Check with your local agricultural knowledge office to find out the best planting time for your area.
  3 Know how to plant. Beans are one of the few plants that should not be planted as seedlings indoors or transplanted into the vegetable garden. This is because they have a thin root structure that can be easily damaged and may not survive a transplant. As a result, you must sow seeds directly into the ground when spring arrives.
 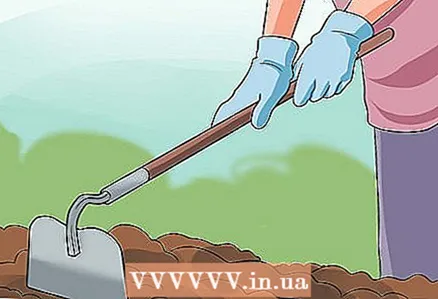 4 Prepare the soil. Beans grow best in soil with good drainage and plenty of nutrients. To prepare the soil, mix the garden compost and top layer of the garden soil in your vegetable garden. Use a hoe to loosen the ground thoroughly and break up any clay-like lumps. Adding compost to the soil will help provide plenty of nutrients to help the beans grow.
 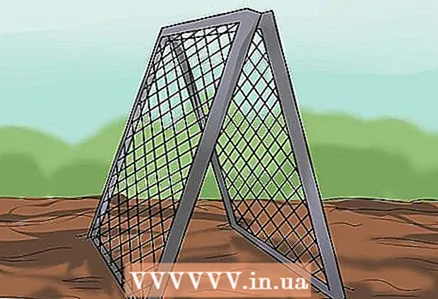 5 Install the grates. If you are planting curly beans, you will need to set the trellis in the ground before planting the beans. Place a trellis, stick or peg in the exact area where you plan to plant. As the beans grow, they will naturally wrap a structure around them for support. Dig a hole deep enough to stabilize the trellis / peg whether there will be bad weather or strong winds.
Part 3 of 4: Planting the beans
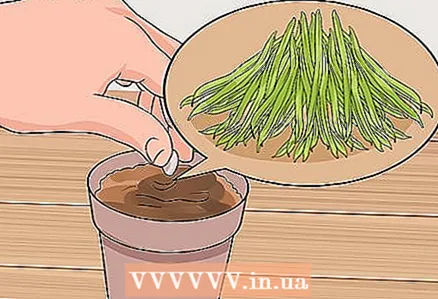
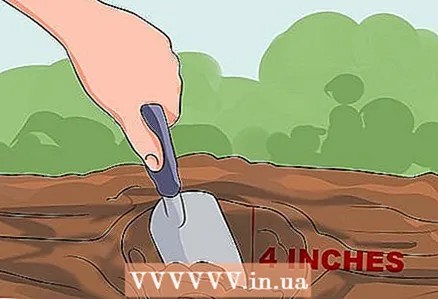 1 Dig a hole. The curly beans should be planted so that there is one seed per hole and each seed at least 15 cm from the other. Bush beans should be planted with one seed per hole and each seed at least 10 cm apart from the other. The hole should be 2.54 cm deep.
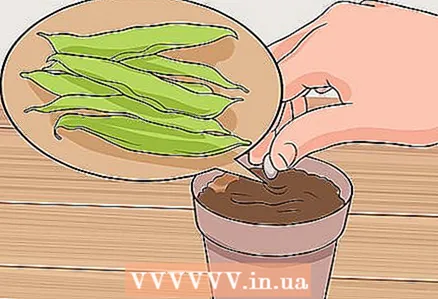
  2 Place the seeds. Carefully place one seed in each hole you dug; It may be tempting to plant multiple seeds at once, but this will cause the seedlings to compete for space and nutrients as they grow, and possibly kill the plant. Cover each seed with 2.5-5 cm of garden soil.
  3 Water your seeds regularly. Immediately after planting, give the seeds plenty of water to help them germinate. After planting, you should continue to water the seeds every 2-3 days, so that the soil is always moist. Avoid over-watering though, as too much water (leaving puddles or pools on top of the soil) will cause the seeds to rot.
 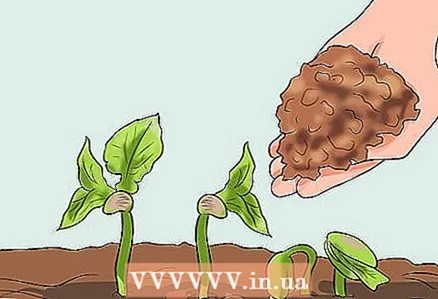 4 Lay a layer of mulch after the seeds have germinated. Mulch is an incredibly useful tool for new gardeners. Made from compost, mulch is a layer of bark and nutrients that you place on top of the soil in your garden. It blocks weed growth and retains moisture, two good things for new plants. Spread a layer of mulch 2.54 cm thick above the soil after the seeds are 5 cm high.
 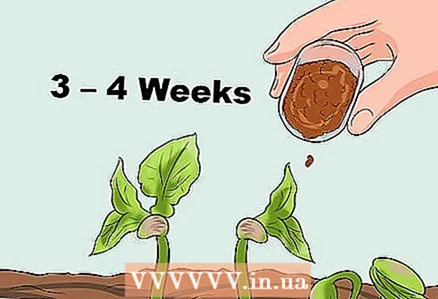 5 Fertilize your garden every four weeks. Fertilizer adds nutrients to the soil, helping to increase bean growth and overall yield. Fertilizers are made from a combination of three main components: nitrogen, phosphorus and potassium. Beans naturally produce a lot of nitrogen, which means you should look for a fertilizer that is low in nitrogen (like a 5-20-20 mix). Contact your local nursery worker for help choosing a bean fertilizer if you have questions.
Part 4 of 4: Harvesting the beans
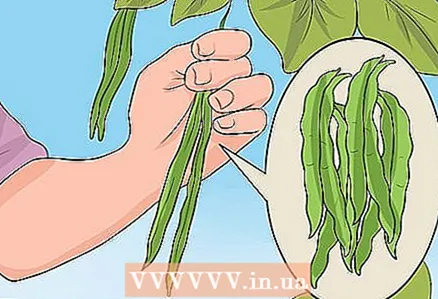 1 Pull off the bean pods until the pods open. If you want to eat fresh beans, you must harvest them when the pods are large and full. The pods should not show the shape of the beans, because at this stage they begin to dry out. Collect the pods by breaking them off from above; do not tear them as this can damage the plant and prevent new pods from germinating.
  2 Dry the beans on the plant. If you want to dry the beans for later use, this is an easy process: leave the beans on the plant until they are completely dry. This process usually takes 1 to 2 months after reaching the peak of maturity. You will know when the beans are completely dry and ready for storage as they rattle inside the pods.
 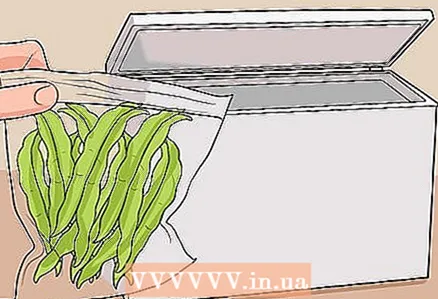 3 Freeze the beans for later use. Fresh beans can be frozen and used later if you don't want them fresh and don't want to dry them out. Simply place them in an airtight container and place them in the freezer. They will be good for 6-9 months after they are initially placed in the freezer; defrost them, letting them reach room temperature.
Tips
- Tie curly beans to trellises when they are full for extra support.
Warnings
- Don't keep the soil too dry.


