Author:
Bobbie Johnson
Date Of Creation:
5 April 2021
Update Date:
1 July 2024
Content
- Steps
- Method 1 of 5: Timing
- Method 2 of 5: Boxes and Ground
- Method 3 of 5: Landing
- Method 4 of 5: Heat
- Method 5 of 5: Water
- What do you need
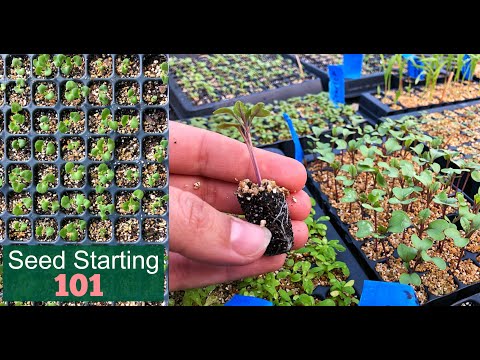
Growing seeds is a great alternative for gardeners looking to save money and extend their growing season. You can plant seeds in your home and place them near a window, or you can grow them in a greenhouse. You can learn how to grow seeds indoors by following the instructions below.
Steps
Method 1 of 5: Timing
 1 First, find out the approximate date of the last frost in your area.
- Visit the National Climate Data Center website for information on the timing of the frost in your area.
 2 Plan to sow most of the seeds 8 weeks before the start of the frost, hoping to plant the plant in 2 weeks.
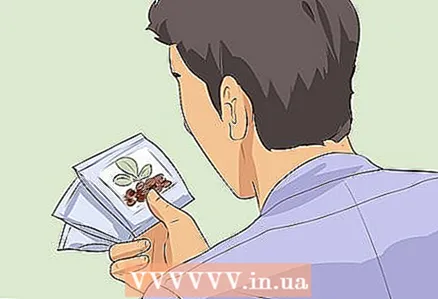 3 Buy seeds. Read the information on the packaging carefully. Planting times and seed germination rates are very different.
 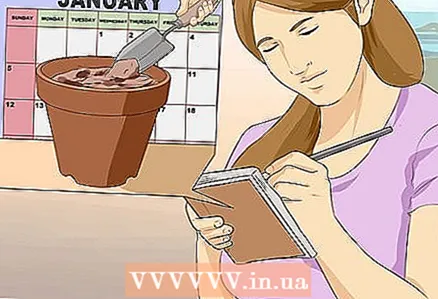 4 Consider the seed planting sequence. Plan to plant seeds with those that grow in the same amount of time.
 - For example, grains and legumes can be planted earlier than flowers. The pumpkin does not like transplanting, so it can be planted later before the root system begins to develop.
Method 2 of 5: Boxes and Ground
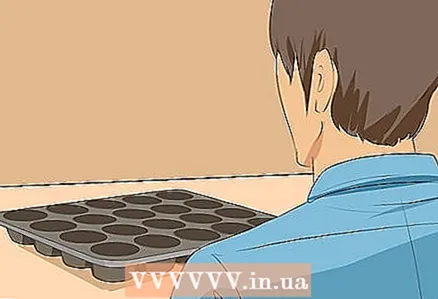 1 Buy seed trays if you want to plant a lot of seeds at once. These small plastic trays hold several centimeters of soil. They are easy to care for, but the soil dries out very quickly.
 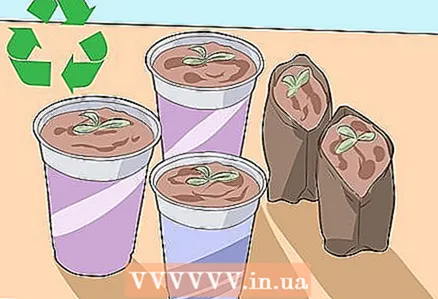 2 Try giving a second life to containers such as milk cartons, yogurt cartons, and other small plastic jars. Cut a hole in the bottom of each drainage vessel.
 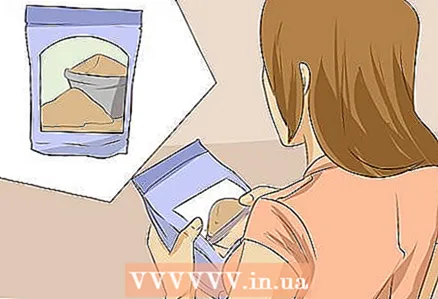 3 Buy a seed primer mix. Seeds do not grow well in heavy soil, so make sure your soil is the right one for the purpose.
 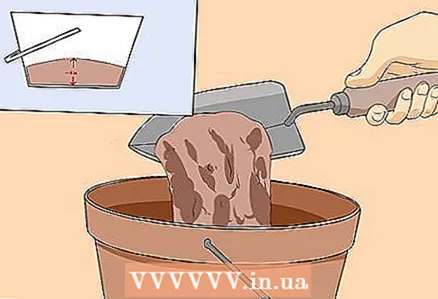 4 Place your soil in the bucket. Moisten it with warm water. Fill each vessel with 7.6 - 10.2 cm of soil.
 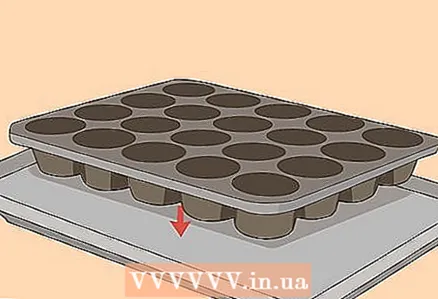 5 Place trays or containers on a baking sheet. This way, the soil can absorb water that will fall on the baking sheet when draining.
Method 3 of 5: Landing
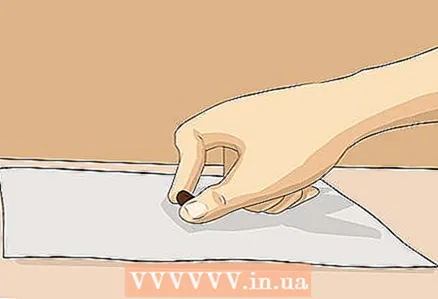 1 Place the seeds on a warm, damp towel overnight. You can speed up the germination process by light-simmering. Do not do this unless advised on the seed bag.
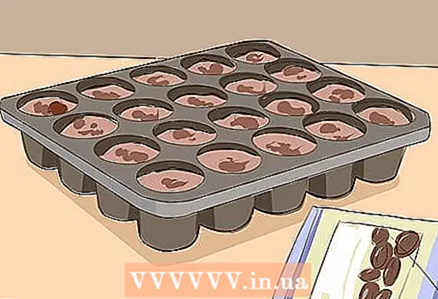
 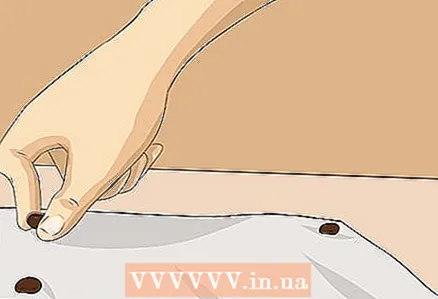 2 Plant 2-3 seeds in one compartment or vessel. Not all of your seeds will germinate, and you can transplant them later so that the seeds are not cramped.
  3 Plant seeds in soil. The depth will depend on the plant, so read the recommendations on the seed package.
 - Plants are usually placed at a depth of three times the diameter of the seed itself.
- Other plants definitely need sunlight and therefore must be planted in the topmost ball of the soil.
 4 Label the vessels immediately after disembarkation. Keep seed packs nearby.
Method 4 of 5: Heat
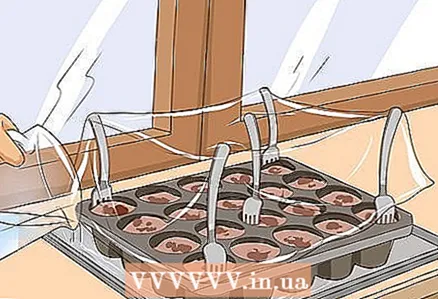
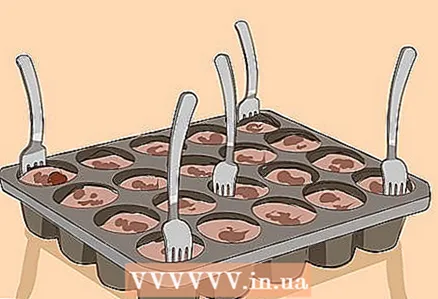 1 Insert plastic forks around the edges of the trays and in the middle.
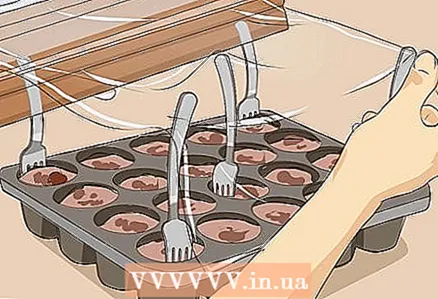 2 Wrap the plastic tray over the fork pin. Thus, you create a greenhouse environment.
 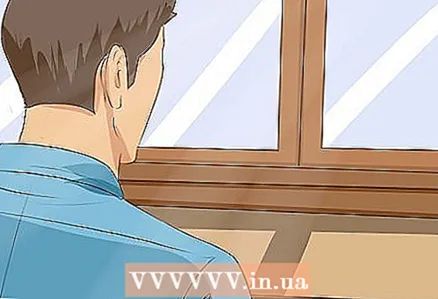 3 Choose a location in your home that gets the sun's rays every day.
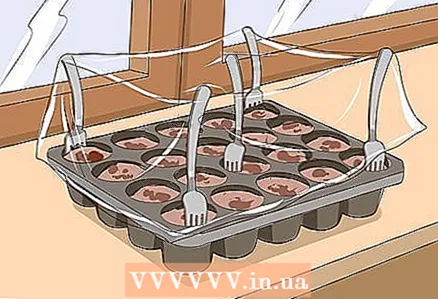 4 Place the seed tray near the window.
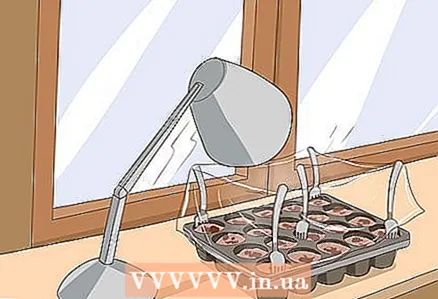 5 Set up artificial lighting 6 inches (15.2 cm) above the plants. You will need to rearrange the trays as the plants grow.
  6 Use a fluorescent lamp to complement those days when there is no sun. Keep it turned on for 12-16 hours a day.
  7 Try to keep the seed temperature at 21 degrees Celsius. To get warmer, place a damp / dry electric heating pad under the baking sheet and keep it at a low temperature.
Method 5 of 5: Water
 1 Pour lukewarm water into your baking sheet. The soil will absorb moisture without displacing seeds. Make sure that there is water in the baking sheet at all times.
 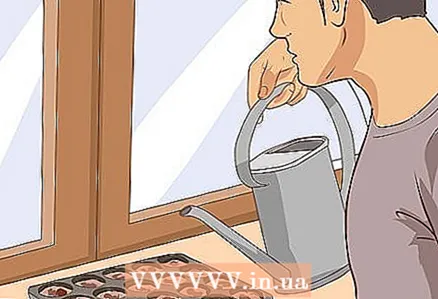 2 Water the topsoil as well, and then the seeds will begin to germinate.
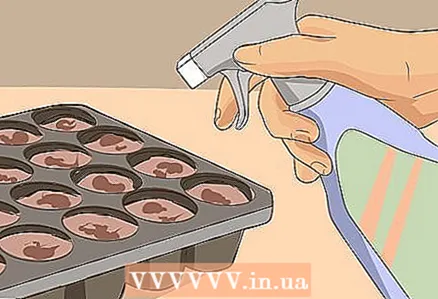 3 Use a spray bottle or simply water the plants gently. Never let the soil dry out. The seeds need to be constantly in moisture, otherwise they will not germinate.
 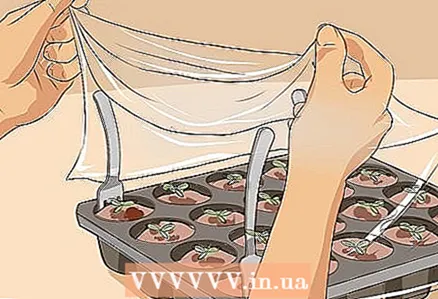 4 Remove the cling film from the trays when the seeds begin to sprout.
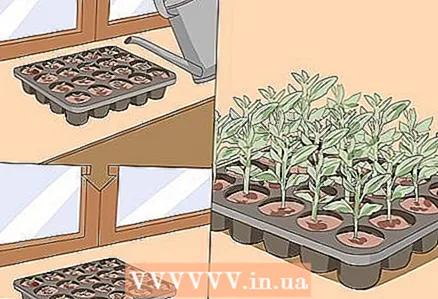 5 Continue watering and keeping cassettes warm and in full sunlight until the plants are ready to plant. Several shoots may need to be plucked out if they are densely seeded and crowding each other out.
 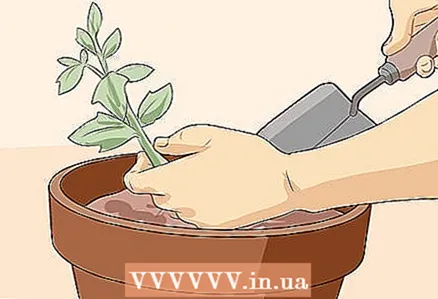 6 If you decide to grow plants for a few more weeks indoors, you will need to transplant them into larger pots. Your shoots can grow and become more hardy until it's time to plant them in the garden.
What do you need
- Plant trays / vessels
- Soil mixture
- Seeds
- Water
- Baking tray
- Electric heater
- Solar lighting
- Artificial lighting
- Film
- Forks
- Stickers / Tags
- Household sprayer
- Large pots
- Instruction with packing of seeds.


