Author:
Bobbie Johnson
Date Of Creation:
7 April 2021
Update Date:
1 July 2024

Content
Is it time to upgrade your mixer? If it just drips out of it, then usually rubber seals go for replacement. Well, if you decide to change absolutely everything, then it's okay.The process is pretty straightforward, especially if you have all the tools you need.
Steps
 1 Look at your sink. Check how many holes there are and how far apart they are. You can also look at the bottom. Bath faucets, especially with two handles, can be a single unit with a spout, or they can be located at a distance from it. You need to know this in order to correctly carry out the replacement.
  2 Purchase a replacement mixer tap. Chances are, you will be using the faucet for quite a long time, which means it is better to spend on better quality products.
 - Prices for this type of product vary greatly, from 700 to 17,000 rubles and more. Read the description and decide for yourself how much you are willing to pay for quality, and how much for brand and style.
 3 See the instructions that come with the mixer. It may contain detailed, useful information, or it may just be a dummy. If in doubt, postpone this instruction until you find something else that works.
  4 Consider buying a custom adjustable wrench for less than $ 100. This tool is designed so that it is easy to push it behind the sink, it loosens the nuts that secure the faucet to the sink. This tool will easily help you out if you cannot loosen the nuts by hand or any other tools.
 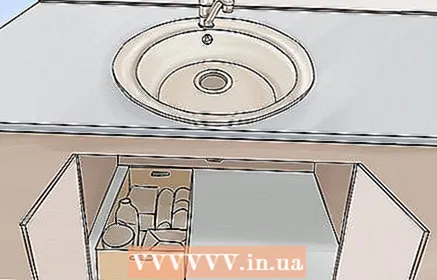 5 Before starting work, remove all items from under the sink.
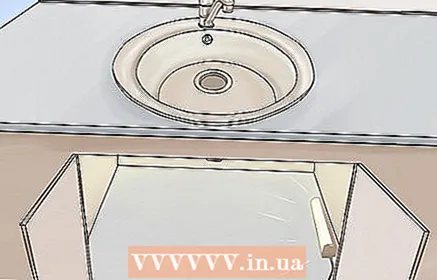 6 Provide a well-lit work area under the sink. Use a portable lamp or torch.
 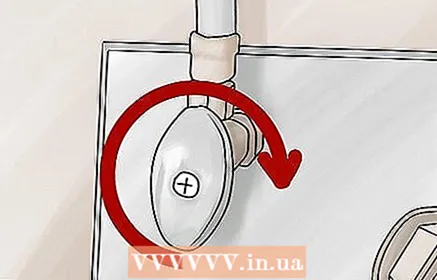 7 Shut off the water supply to the mixer. Under the sink, you will see two lines of water supply, hot and cold, which eventually connect to the faucet. Each of them must have a valve. To shut off the water supply, turn the valves fully clockwise.
  8 Disconnect the flexible hoses from the valves that connect the mixer to them. At this point, the water from the mixer will start flowing through the hoses to the floor, for this, take a towel to collect all the water.
 - When replacing the mixer, it will not hurt to replace the water supply lines, if they are already worn out, especially if they are of a flexible type. If your water supply system consists of conventional solid pipes, then there is no need to replace it. If you are not changing pipes, then just shut off the water. Reinforced stainless steel braided hose virtually eliminates the possibility of flooding from the rupture site.
 9 Remove the large nuts that secure the faucet. This is the very moment when you may need a special adjustable wrench. The mixer can be secured with one, two or even three nuts. This is perhaps the most difficult part of the entire replacement process, as bolt threads are often quite long and corroded to make the nut difficult to move. Hold on! It will be easier further.
  10 Lift the old mixer with hoses above the sink.
 11 Now carefully examine the hoses. If they are damaged anywhere, then disconnect them from the mixer and take one of them as a sample with you to the store where you will buy exactly the same new ones.
 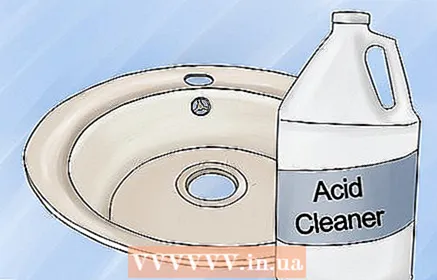 12 Before installing a new faucet, thoroughly clean the place where the old one was installed. You will have to clean the surface from hard (calcium, salt) deposits. You can use vinegar or an acid-based cleaner to do this.
 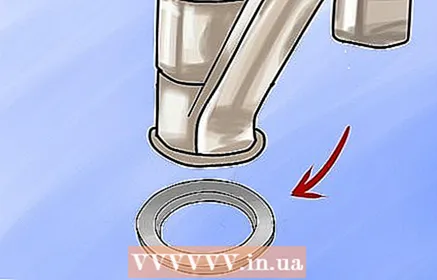 13 Check the base of your new faucet for a plastic seal. You will need something like this seal, so that water does not seep under the faucet, if this gasket is missing, then buy a plumbing putty. It is gray in color, similar to chewing gum. Before attaching the faucet, spread a little of this putty around the circumference of its base. After tightening the nuts, a small amount of putty will squeeze out, but it will be easy to clean with an alcohol-based cleaner.
 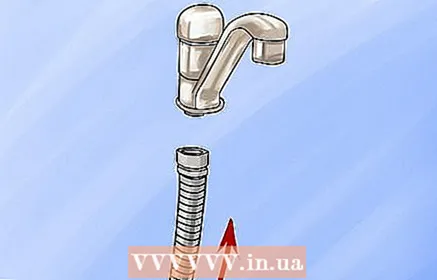 14 Connect new hoses to the new mixer before attaching the new mixer to the sink.
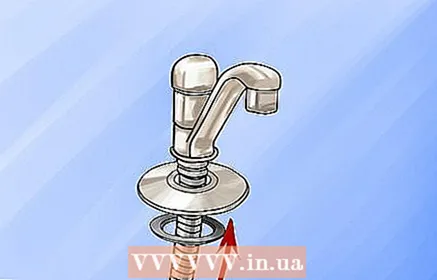 15 Install a new mixer. Sometimes there is a separate flange or plate at the base. If you want to install it, then do it right now, also if there are any additional hoses, then their installation should also be done at this moment.
 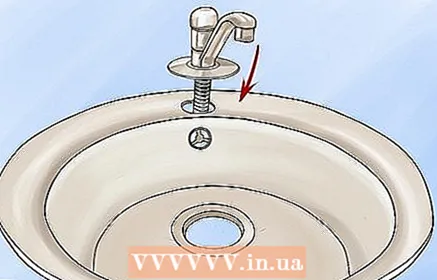 16 Insert the new faucet into the hole in the sink.
 17 Tighten the nuts on the underside of the sink.
 18 Check that the mixer is level before finally tightening the nuts.
 19 Connect the hoses to the valves and secure them.
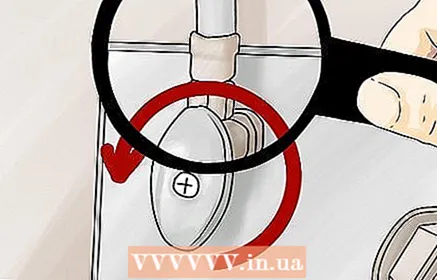 20 Turn on the water and check for leaks. Wait ten minutes and check again. If everything is good, then everything is ready, if not, then tighten all the nuts a little and check again.
Tips
- To organize a more comfortable place to work, you can make yourself a mat out of cardboard and old towels.
- Some kitchen faucets have a separate hose sprayer. If you want to remove it, then remove this hose with a spray and detach its base from the sink. Clean the attachment point and place the plug there using plumbing putty.
- You can also install additional devices such as a soap pump or a constant hot water tap.
Warnings
- Sometimes the shut-off valves are so rusted that they can no longer be turned and they leak. If you are faced with this problem, then in order to replace them, you will have to turn off all the water with a central valve. If you decide on a replacement, then it is worth spending a few extra coins and buying a ball valve. It is both more convenient and reliable to use.
- Over time, all pipes corrode, become weak and then leak. Therefore, you just need to know where the center valve is.
- Wear safety glasses just in case. It is unlikely, of course, that something will fly off in your face, but small debris can fall off.
What do you need
- New mixer
- New connecting hoses (usually included)
- Plumbing putty (in case there is no native lining)
- Wrench
- Adjustable wrench
- Lamp
- Rags, towels
- Putty knife to remove old putty


