Author:
Morris Wright
Date Of Creation:
26 April 2021
Update Date:
1 July 2024

Content
- To step
- Method 1 of 3: Making colored light bulbs
- Method 2 of 3: Make incandescent lamp decorations
- Method 3 of 3: Make vases
- Warnings
- Tips
- Necessities
- Making colored light bulbs
- Making decorations
- Make vases
If you want to brighten up your room with a few light bulbs painted to your own taste, it is quite easy to do. You need at least one clear light bulb of 40 watts or less, plus a little heat-resistant glass paint and your own creativity. You can also repurpose old light bulbs to create all kinds of unique decorations for your home. Use light bulbs and any kind of paint to recycle old light bulbs into new decorations.
To step
Method 1 of 3: Making colored light bulbs
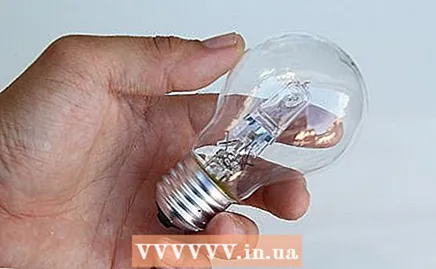 Take a bright 40-watt light bulb. Incandescent bulbs under 40 watts are also fine. You just have to make sure that the paint can withstand the heat of the light bulb once it is on.
 - Bright light bulbs provide the best effect when the light shines through the paint.
- You can also use opal light bulbs, but the colored light emitted from them will not be that bright.
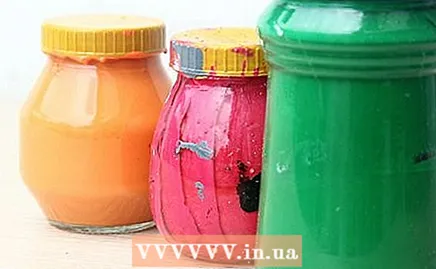 Buy special heat-resistant glass paint. Look for paints intended for glass or safe to paint ceramics at your local craft store. Do not use ordinary acrylic or oil paint on light bulbs. Ordinary paint on hot glass can explode the bulb when you turn it on.
 - Examples of suitable paint for incandescent lamps are: Beli-Beco, Talens Decorfin Glass and Creall Windowcolour.
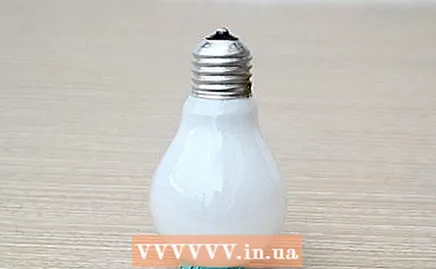
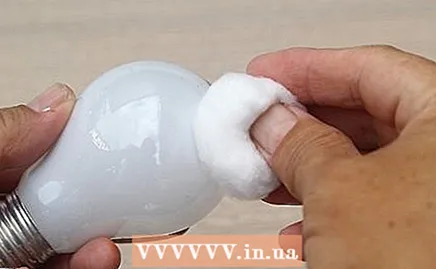 Clean the light bulbs with rubbing alcohol. Provide a clean and dust-free surface for painting so that the paint can properly adhere to the light bulbs. Wet a cotton ball with rubbing alcohol and rub it over the bulb.
 - If you don't have rubbing alcohol, use soap and water.
- Dry the bulb with a clean towel or let it air dry for one or two minutes.
 Place the light bulb on a piece of kneaded eraser or sticky eraser so that it does not roll over while painting. Kneading eraser is available at craft stores and some office supply stores.
 - You can also use Play-doh or some self-drying clay if you don't have a kneaded eraser.
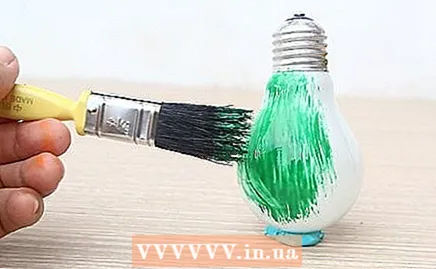 Use small brushes for painting. Apply a light and thin coat of the first shade to see how it looks. You can paint the design freehand or by using sticker stencils or custom paper stencils.
 - Paint a detailed picture on your light bulb, cover it with stars or flowers, or simply create color blocks for a stained glass or rainbow effect.
- For Halloween light bulbs, you can paint pumpkins or ghosts on the light bulbs.
- For traditional Christmas lighting, you can paint the bulbs red and green or with snowflakes.
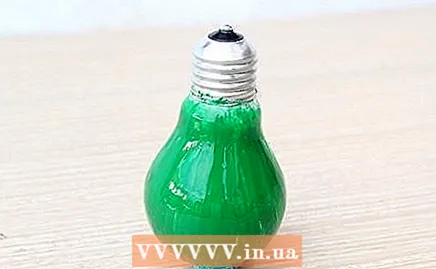 Let them air dry for an hour. If you are using a self-drying glass paint, leave the light bulbs on the kneaded eraser for an hour. Do not touch the bulb until it dries completely.
  Add more layers if you want brighter colors. With some glass paints, several coats may be required to achieve the desired effect. Let each coat dry before adding another.
 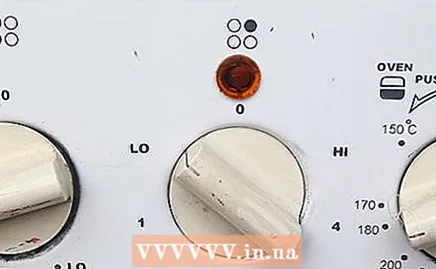 Warm up the light bulbs in the oven if needed for the paint used. Some glass paint, especially paint that is also used for ceramics, must be heat dried. Follow the directions on the paint package for drying the light bulb in the oven.
 - Remove any food or utensils from the oven before using it to dry the light bulbs.
- Place the light bulb in an oven-safe pan if required by the directions on the paint.
- After drying, let the painted light bulbs cool completely in the oven.
Method 2 of 3: Make incandescent lamp decorations
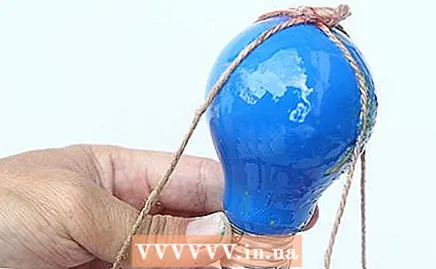 Make glass hot air balloons for a playful decoration. Use glass paint to create a hot air balloon design of your choice on the light bulbs. Tape four pieces of string to the sides of the bulb and tie them together at the top. Make a loop with one of the strings to hang the light bulbs and cut off the rest.
 - Instead of painting the design on the bulb, you can decoupage the fabric scraps onto the bulb before tying the strings.
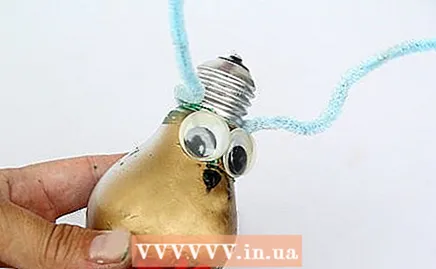
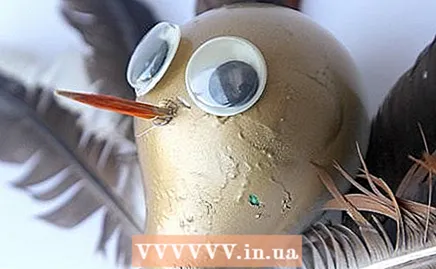 Make a turkey from a light bulb for fall. Paint the entire light bulb dark brown and let it dry completely. Paint two small wooden hearts in orange and let them dry and then glue them next to each other like feet on the bottom of the light bulb. For the face, stick a pair of moving eyes and an orange felt beak on the front of the bulb.
 - Tape 6 to 8 feathers in fall colors and in a wide tail pattern to the back of the turkey.
- Put a small straw hat, available at a hobby store, on the top of the turkey's head, if you like.
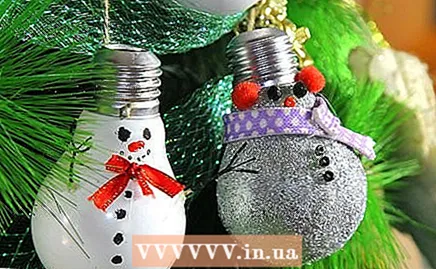
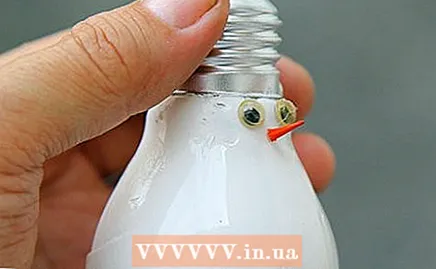
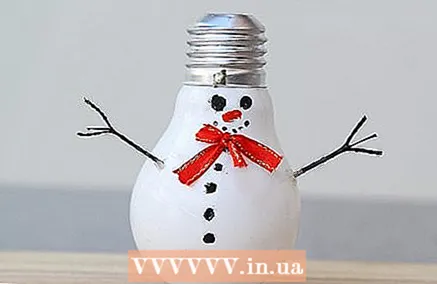 Make a snowman decoration for the Christmas tree. Paint the light bulb with glue and cover it with glitter. Let that dry, then use a thick black paint to create the snowman's face and buttons, using the bulb socket as the top. Stick two sprigs of hot glue to the sides of the snowman for the arms, wrap the top of the fitting tightly with wire, and make a loop to hang it in the tree.
 - For the best result you can use an opal white light bulb.
 Make a Santa Claus for your tree. For the outline of Santa's face, draw an oval and fluffy cloud on the light bulb with a black marker. Fill in this cloud with acrylic paint in the desired skin tone. Paint the rest of the bulb with white acrylic paint and the narrow socket in red.
 - Let the painted light bulb air dry on a piece of Play-doh for one hour.
- Draw Santa's face with a permanent marker in the flesh-colored cloud on the dried bulb.
- Attach a cotton ball with craft glue to Santa's red hat or the fitting. Wrap a string or fishing line around the hat and a loop for hanging.
 Make a penguin out of a light bulb for the holidays. Paint the entire back and sides of an opal light bulb in black, leave the front in white and hourglass shape and let it dry. Cut a fingertip from a child's glove to make a hat for the penguin. Then stick a pompom on top and glue it to the narrow screw cap of the light bulb. Tie a 7 to 10 cm long shiny gold thread in a bow and tie it around the penguin's neck.
 - Use a black permanent marker to draw the penguin's eyes near the top of the hat and the buttons on the front under his bow tie.
- Cut half an inch off the pointed end of a toothpick and stick it on the penguin's face in front of its beak.
 Make a reindeer out of a light bulb for the holidays. To do this, use a colored light bulb or paint a clear light bulb the desired color and let it dry. Stick a red pompom at the end of the bulb, opposite the screw cap, in front of the reindeer's nose and a pair of moving eyelets up at the screw cap. Tie a 20 cm long piece of glittering ribbon neatly in a bow around the screw cap.
 - Bend a six-inch long piece of brown pipe cleaner into a U shape, then bend smaller pieces at both ends for the antlers. Glue the antlers to the screw cap behind the bow.
Method 3 of 3: Make vases
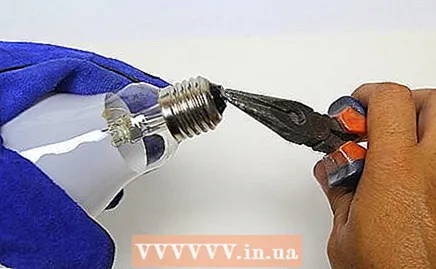 Use needle nose pliers to remove the brass contact and wires. Use needle nose pliers to grab the small tip on the end of the bulb and give it a good twist. This will cause the brass contact to break off along with one of the wires leading to the filament. Pull these parts out with the pliers.
 - Wear gloves and eye protection while emptying the bulb, in case it breaks.
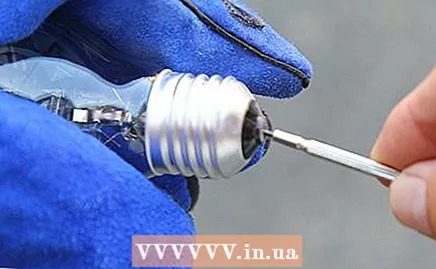 Use a screwdriver to break the carrier tube in the bulb. Once you can look inside the light bulb, you will see a small tube there that is connected to the other parts. Dig in there with a screwdriver and break this tube. Once you get this out you can shake the rest of the small parts out of the bulb.
 - Empty the contents of the bulb onto a paper towel or cloth that you can easily throw away.
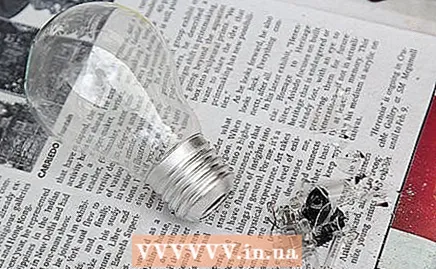 Clean the inside of the bulb with soapy water. Take the empty light bulb to the sink. Fill it with a little water and a few drops of dish soap, shake the soapy water around it and let it run down the drain.
 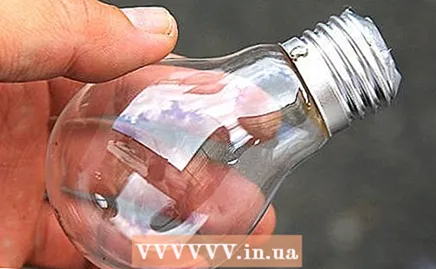 Dry the bulb with a paper towel. Tuck a crumpled paper towel into the end of the bulb to dry it and wipe out any remaining dust or pieces of glass. Let any remaining water air dry.
 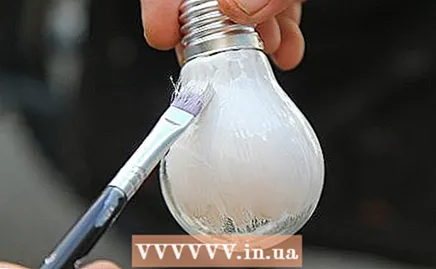 Paint the screw cap or glass to brighten it up. Use nail polish or an acrylic paint to paint your own design on the vase by hand. You can also just paint the screw thread to keep it simpler. Let the paint dry completely before filling the vase with water and flowers.
 - Fill the vase with water and flowers. Put water in the bulb vase and some short cut flowers to place in it. The weight of the water ensures that the vase can stand on its own.
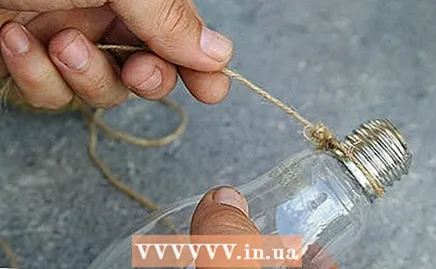 Wrap a piece of string around the screw cap for a rustic look. If you want to hang the vase, tie some string or ribbon around the cap. Hang the vases on your veranda or patio, or hang them indoors on hooks.
 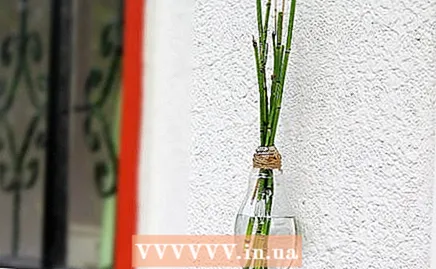 Ready!
Warnings
- Do not use normal acrylic or oil paint on light bulbs that you want to put on. When the light bulb is on, the effect of the paint on the hot glass can cause it to explode.
- Use gloves and eye protection when emptying the bulb when making a vase.
Tips
- LED lamps generate less heat than incandescent lamps and can be painted without special paint.
Necessities
Making colored light bulbs
- Bright light bulbs of 40 watts or less
- Heat resistant glass paint
- Small paint brushes
- Rubbing alcohol and cotton balls
- Kneading eraser
Making decorations
- Paint and paint brushes
- White glitter and glue
- Rope or wire
- Pompoms and moving eyes
- Brown pipe cleaner
- Glittering ribbon
- Black waterproof marker
Make vases
- Gloves and eye protection
- Needle nose pliers
- Screwdriver
- Dish soap and water
- Kitchen paper


