Author:
Mark Sanchez
Date Of Creation:
3 January 2021
Update Date:
2 July 2024
Content
The purpose of this tutorial is to show web designers how to install Wordpress [1] (2.8 or higher) on a computer to create and test WordPress sites and themes. Wordpress can be installed on a computer with a web server (such as Apache, Litespeed, or IIS), PHP 4.3 or higher, and MySQL 4.0 or higher.
The XAMPP [2] web server is fairly easy to install. It has all the components we need. This article will not cover how to install XAMPP, we will assume you already have XAMPP installed. To download and install XAMPP follow the link: (http://www.apachefriends.org/en/xampp.html)
Steps
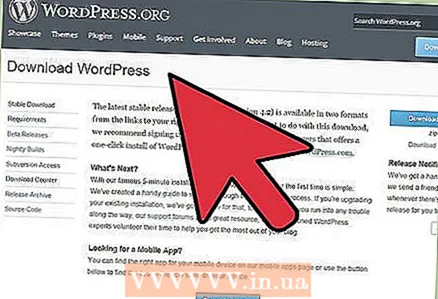 1 Download and save the latest version of Wordpress from the link: http://wordpress.org/latest.zip
 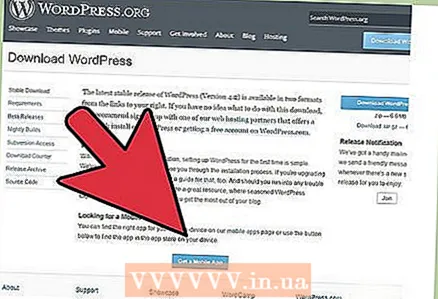 2 Extract the contents of the ZIP file called "wordpress.zip" that you just downloaded to the htdocs folder in the XAMPP directory. If the ZIP file extracts normally, a new "wordpress" directory will appear at xampp htdocs. Make sure the web server is working properly before proceeding.
 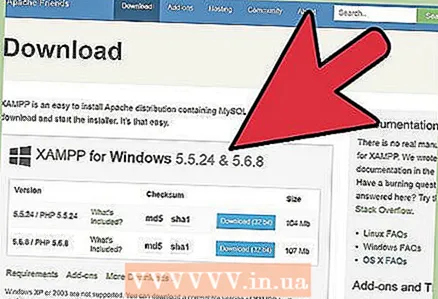 3 Go to the XAMPP home page with a web browser, enter the URL:http: // localhost / xampp /.
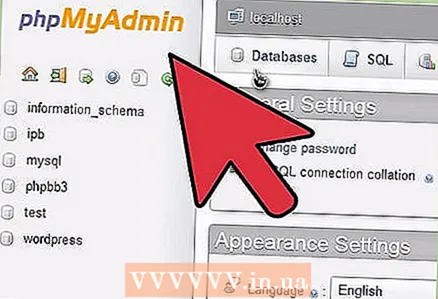
 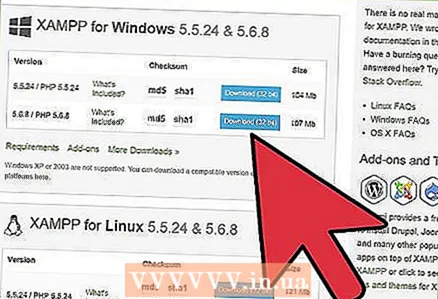 4 Select the "phpMyAdmin" link in the lower left corner of the menu. Enter the URL: http: // localhost / xampp / phpmyadmin.
  5 On the phpMyAdmin page, there will be a "MySQL localhost" field in the middle of the window. A new database will be created from this section for use by the Wordpress program.
 - In the "Create new database" field, enter the name "wordpress". From the "Collation" pull-down menu select "utf8_unicode_ci". Click the Create button.
- If the database was created successfully, a message appears.
 6 Using Windows Explore, navigate to xampp htdocs wordpress. Open the "wp-config-sample.php" file in the wordpress folder.
 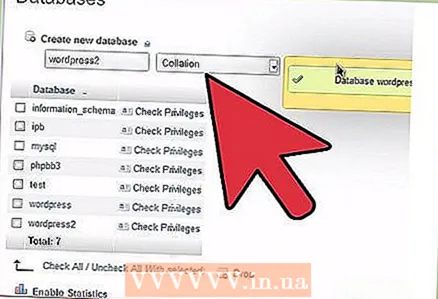 7 After the file opens, edit these lines:/ * * The name of the database for WordPress * / define (’DB_NAME’, ’putyourdbnamehere’); ==> change 'putyourdbnameheree' to 'wordpress' / * * MySQL database username * / define ('DB_USER', 'usernamehere'); ==> change 'usernamehere' to 'root' / * * MySQL database password * / define ('DB_PASSWORD', 'yourpasswordhere'); ==> change 'yourpasswordhere' to '' (empty field)
 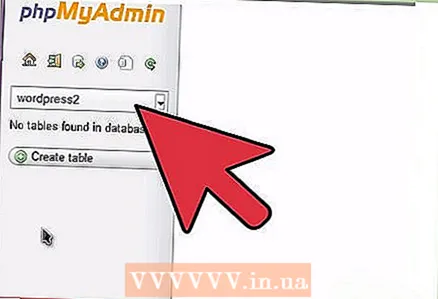 8 When the file is edited, save a copy of the file called "wp-config.php" in the wordpress folder and close the file.
 9 Go to the Wordpress installation page. Open your browser and enter the URL: http: //localhost/wordpress/wp-admin/install.php.
 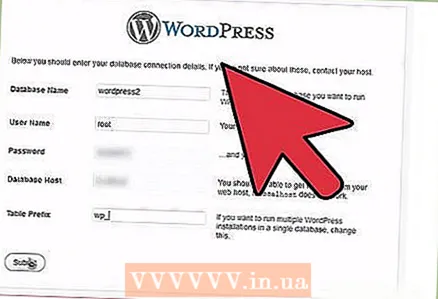 10 Enter a title for your blog in the Blog Title field. Enter your email address in the "E-mail" field. Click the "Install Wordpress" button.
 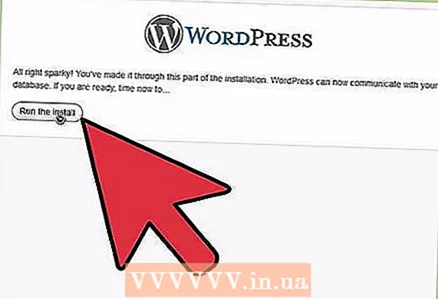 11 If the information in the previous step was entered correctly, a screen with a message about successful installation will appear: "Success!" The screen should display "admin" and a temporary password. It is generated automatically. Write down your password. Click on the login button: "Log In".
 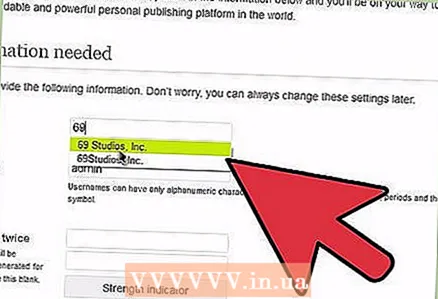 12 In the login window, type the word "Admin" in the "Username" field and enter your temporary password. Click the "Log In" button.
 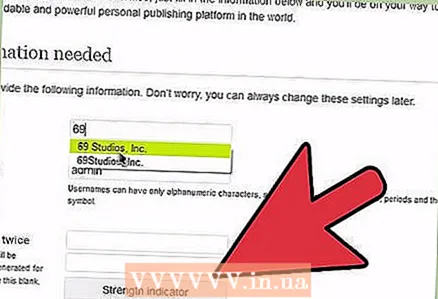 13 If the login was successful, the Wordpress home page appears. Now you can change the temporary password to any other. A message will appear stating that you are using a temporary password, prompting you to change it. Click on the message and change your password.
Tips
- Write down your password.


