Author:
Helen Garcia
Date Of Creation:
22 April 2021
Update Date:
1 July 2024
Content
This article will show you how to install and configure your webcam on a Windows or Mac OS X computer. Typically, you just need to connect the camera to a (modern) computer to start the setup process.
Steps
Part 1 of 2: How to install a webcam
 1 Connect your webcam to your computer. Connect the USB webcam cable to one of the USB ports (rectangular connectors) on the front, side, or back of your computer case.
 - The USB plug can only be inserted correctly. If you are unable to insert the USB plug, rotate it 180 degrees and try again.
- If you are using a Mac, you will most likely need to purchase a USB to USB / C adapter to use a regular webcam.
- Connect your webcam directly to your computer, not to a USB hub (USB hub). The USB hub is not powerful enough to power the webcam.
 2 Insert the webcam CD. Place the CD that came with your webcam into the optical drive tray of your computer (with the label facing up). Since most modern Macs don't have optical drives, you'll need an external DVD drive that connects to your computer via a USB cable.
 - If the CD was not included with your webcam, skip this step.
- To download the webcam software, open the webcam manufacturer's website and go to the Support page or similar.
 3 Wait for the webcam setup page to open. This should happen automatically. If the webcam comes without a disc, connecting it to your computer should start the installation process.
 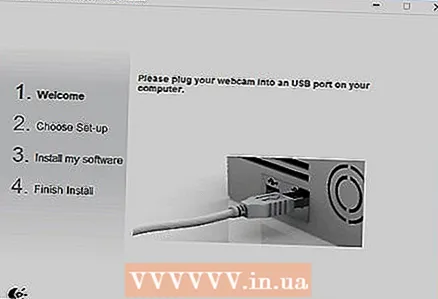 4 Follow the instructions on the screen. They depend on the webcam model, but in most cases, several windows with parameters will open, after configuring which you need to click "Install".
 - Review the parameters in each window carefully. You will most likely need to configure certain settings in order for the webcam to work properly.
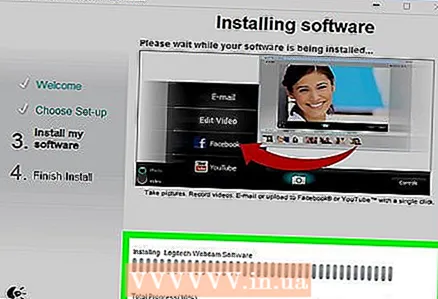 5 Wait while the webcam is installed. After that, its program will open, and you can start setting up the camera.
Part 2 of 2: How to set up your webcam
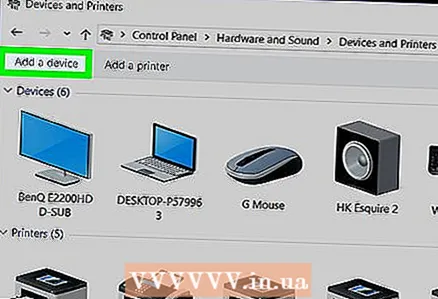
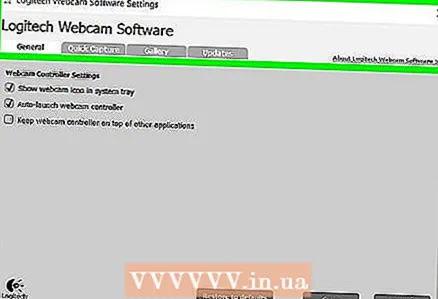
 1 Open your webcam software. If the webcam software does not open automatically after installation is complete, find the software and open it manually.
 - The name of a webcam program usually has the name of the camera company, so try to find the company (for example, "youcam") from the start menu
 (Windows) or Spotlight
  (Mac).
- The name of a webcam program usually has the name of the camera company, so try to find the company (for example, "youcam") from the start menu
 2 Place your webcam. Many webcams have a clip that can be used to attach the camera to the top of the computer monitor. If your webcam doesn't have this mount, just place it on a flat, raised surface.
 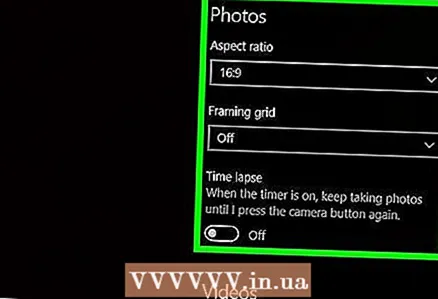 3 Point your webcam. A picture from the camera will be displayed in the center of the webcam window. Point the camera at yourself or another object you want.
 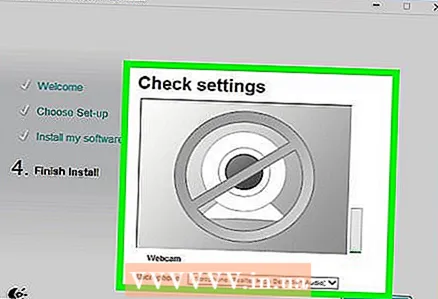 4 Check your webcam audio. Say something in the direction of the camera and make sure that the activity indicator appears in the "Audio" section (or similar) of the camera program window. If there is no such indicator, the webcam microphone is not working - most likely, you need to enable it in the webcam or computer settings.
 - Read your webcam instructions on how to turn on the camera microphone.
 5 Change the webcam settings (if necessary). Most webcam software has a Settings section (or a gear icon). Go to this section to view and change settings such as contrast, dim lighting, and more.
 - Location and setting options vary by webcam model. Please refer to your webcam manual if you cannot find the settings section.
Tips
- Read the instructions for your webcam before installing it - this will give you more information about your webcam.
Warnings
- Do not touch the webcam lens.


