Author:
Helen Garcia
Date Of Creation:
17 April 2021
Update Date:
1 July 2024
Content
Whether you are thinking of upgrading your bathroom or kitchen by replacing all the fixtures, or you just want to replace an old leaking faucet, knowing how to install a new faucet can save you money.If you decide not to call a professional plumber, or you just want to learn something new yourself by studying the tips, get to work.
Steps
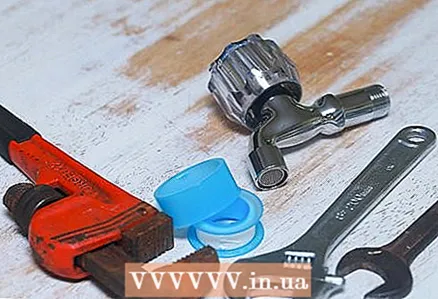 1 Gather the necessary supplies. You don't need any special plumbing tools, just a few basic tools that you should have. You need a small bucket to drain the remaining water into a plastic tray to prevent the bottom of the cabinet from getting wet in the event of a water leak or spill. Select a faucet from a hardware store and follow the manufacturer's instructions. A sink wrench will work, but you can use regular wrenches or pliers as well. You will also need a clear silicone putty, putty, and some plumbing tape.
 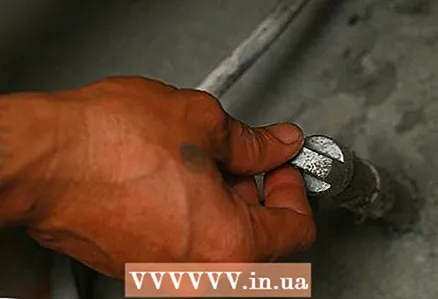 2 Disconnect the water. The shut-off valves are located under the sink. They are usually oval in shape and are found somewhere in the bottom of the water hoses connected to the faucet. To turn off the water, turn them (very carefully) clockwise. If the valve is too tight, it may need to be replaced.
 - Check the condition of the water supply hoses for leaks or obvious wear. You can replace them at the same time as you replace the tap.
- Most new faucets are sold fully assembled, and some even come with inlet hoses. Check it out in the store with the seller.
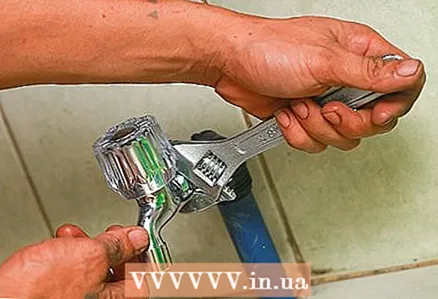
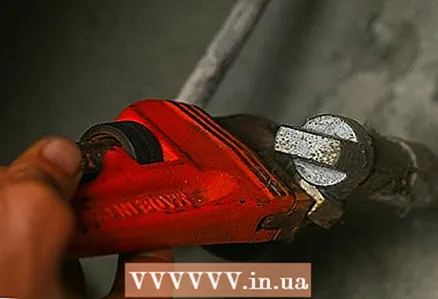 3 Disconnect the hoses. Disconnect the water supply hoses with a regular wrench. There should be two of them: one for hot water and one for cold water.
  4 Unscrew the nuts. Then unscrew the fastening nuts at the bottom of the old tap. They are usually located under the sink and below where the counter is mounted. There should be 1 to 3 nuts, and they tend to look like flaps or clocks rather than traditional nuts.
 - This job will be easier to accomplish with a sink wrench.
 5 Clear the area. Remove old patches or smears around the hole in the sink. The easiest way to do this is with a spatula. Clean the area thoroughly and wipe dry.
  6 Prepare a new tap. Wrap the thread of the valve with sealing tape at the point where it connects to the hose. Apply silicone sealant around the holes in the sink and on the new pressure plates.
 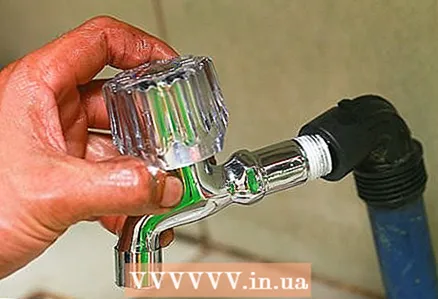 7 Install the tap. Insert the faucet into the holes in the sink. Use the back of the sink or wall to level the faucet.
 - Once you're done, wipe off any remaining silicone. Make sure the inside of the sink is dry.
 8 Fix securely. Hand-tighten the mounting nuts wide side up. Use pliers if necessary to stop the leak, but do not overtighten.
 - Refer to the manufacturer's instructions for the new valve to find out where and how many nuts to fasten. It depends on the crane model.
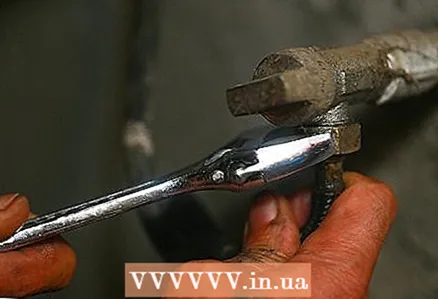 9 Connect the water supply hoses with an adjustable wrench. Plumbing tape can come in handy here. Check the labels on the hoses that are attached to the faucet to properly connect the correct temperatures (hot hose to hot faucet, etc.).
  10 Check the connection. Turn on the water at low pressure and make sure there are no leaks. If you see water dripping somewhere, close the valves and tighten slightly. Repeat as needed. If everything works as it should, everything worked out!
Tips
- Many plumbing accessories are available. Consult your store with a seller who specializes in plumbing.
- Take a list of everything you need to the store. If you need to replace your water hoses or isolation valves, bring the old ones with you to find the right replacement.
Warnings
- If the old check valves are soldered and need replacing, you may need to seek help from a plumber if you do not have the experience or suitable plumbing tools for the job.
What do you need
- New crane
- Small bucket
- Plastic tray
- Silicone sealant
- Sealing tape
- Pliers
- Adjustable wrench


