Author:
Bobbie Johnson
Date Of Creation:
2 April 2021
Update Date:
1 July 2024
Content
If you've connected a USB drive or SD card to your computer and find that shortcuts are displayed instead of files, the drive is most likely infected with a virus. Don't worry - the files haven't gone anywhere, they're just hidden by a virus. The virus can be removed using the free UsbFix utility or the command line. Once you've cleaned up your drive, run your antivirus to check your computer for viruses.
Steps
Method 1 of 2: Using the UsbFix Antimalware Tool
 1 Disconnect the USB drive from your computer and restart your computer. Do not connect the drive until you install a utility that will prevent the virus from starting.
 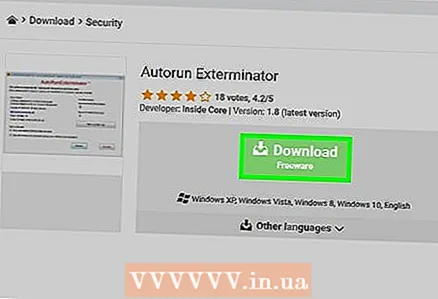 2 Download and run the Autorun Exterminator utility. It will prevent the virus from starting automatically when you connect the drive to your computer.
 - Go to https://ccm.net/download/download-11613-autorun-exterminator, click the green Download button, then select a location to save the file and click Save.
- Open the Downloads folder (or a folder of your choice).
- Right-click the AutoRunExterminator-1.8.zip file and select Extract All from the menu.
- Click Check Out. A new folder with the Autorun Exterminator utility will appear.
- Double click on the new "AutoRunExterminator-1.8" folder to open it.
- Double click on the "AutoRunExterminator.Exe" file. When prompted, click Yes or OK to run the program.
 3 Connect your USB drive to your computer.
 4 Download and run the free UsbFix utility. It will destroy the virus and restore your files.
 - Go to https://www.fosshub.com/UsbFix.html and under Download, click Windows Installer.
- Select the Downloads folder and click Save.
- Open the Downloads folder and double-click on the file that starts with “UsbFix”. You may need to click Yes to launch the utility.
 5 Click on Run an Analysis (Analyze). It's an option at the bottom of the window.
  6 Click on Full Analysis (Complete analysis). The utility will scan your computer, including your USB drive, for viruses. This may take some time.
  7 Follow the instructions on the screen to remove the virus. If a virus is found, the utility will remove it from the drive.
 - If the utility did not find a virus or cannot remove it, go to the next section.
 8 Unplug your USB drive and restart your computer.
 9 Check your computer for viruses. Once the virus has been removed from your drive, read this article to learn how to run a full virus scan on your computer and remove any other malware. Before reconnecting the drive to your computer, you need to make sure your computer is free of viruses.
 - The files should now appear on the drive. If you don't see them, they are in the folder. The folder may be unnamed, or the name may not be familiar to you. Double click on each folder to find the folder with the files you want.
- To uninstall the Autorun Exterminator utility, right-click on its folder (in the Explorer window) and select Uninstall from the menu.
Method 2 of 2: Using the command line
 1 Disconnect the USB drive from your computer and restart your computer. Do not connect the drive until you install a utility that will prevent the virus from starting.
  2 Download and run the Autorun Exterminator utility. It will prevent the virus from starting automatically when you connect the drive to your computer.
 - Go to https://ccm.net/download/download-11613-autorun-exterminator, click the green Download button, then select a location to save the file and click Save.
- Open the Downloads folder (or a folder of your choice).
- Right-click the AutoRunExterminator-1.8.zip file and select Extract All from the menu.
- Click Check Out. A new folder with the Autorun Exterminator utility will appear.
- Double click on the new "AutoRunExterminator-1.8" folder to open it.
- Double click on the "AutoRunExterminator.Exe" file. When prompted, click Yes or OK to run the program.
 3 Connect your USB drive to your computer.
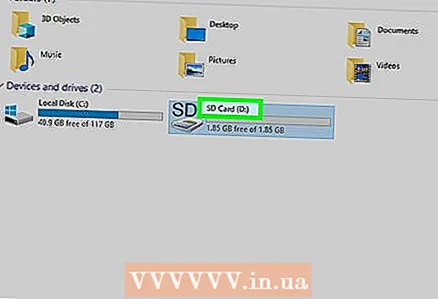 4 Find out what letter the USB stick is labeled with. Skip this step if you know the letter (for example, "E:").
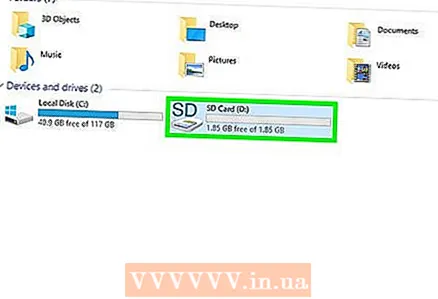
 - Click on ⊞ Win+Eto open the Explorer window.
- Scroll down the left pane to the This PC or Computer section.
- Look for the letter next to the USB drive's name.
 5 Open a command prompt as administrator. This process depends on the Windows version:
 - Windows 10/8 - Click ⊞ Win+Xto open the Power User menu (or right-click on the Start menu), and then click Command Prompt (Admin) or Windows PowerShell (Admin). Click Yes if prompted.
- Windows 7 and older - click ⊞ Win+Rto open the Run window, and then type cmd... Click on Ctrl+⇧ Shift+↵ Enterto open a command prompt as administrator, and then enter your password (or confirm your actions).
 6 Enter LETTER: and press ↵ Enter... Instead of LETTER substitute the letter for the USB drive.
  7 Enter del * lnk and press ↵ Enter. This command will remove shortcuts from the drive.
  8 Enter attrib -h -r -s / s / d LETTER:*.* and press ↵ Enter... Instead of LETTER substitute the letter for the USB drive. This command will display files, remove all read-only attributes, and remove shortcuts. When the command completes, the files can be used again.
 - For example, if the drive is labeled "E", enter attrib -h -r -s / s / d E: *. * and press ↵ Enter.

- For example, if the drive is labeled "E", enter attrib -h -r -s / s / d E: *. * and press ↵ Enter.
 9 Unplug your USB drive and restart your computer. Now check your computer for malware and remove it to avoid infecting your drive again.
 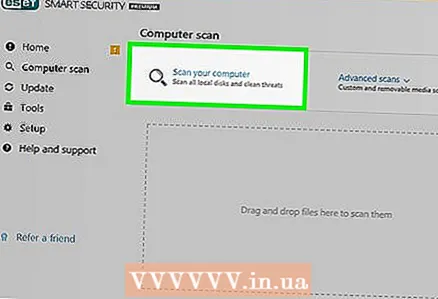 10 Check your computer for viruses. If your computer doesn't have an antivirus program, read this article to learn how to scan your computer using Windows built-in antivirus. If your antivirus finds malware, follow the onscreen instructions to get rid of it.
  11 Restart your computer and plug in your USB drive. Now we recommend formatting the drive (just in case).
 - When the computer restarts, the AutoRun Exterminator utility will not start automatically. To uninstall this utility, right-click on its folder (in the Explorer window) and select "Delete" from the menu.
 12 Return to the Explorer window and double-click on the USB drive. If you closed the Explorer window, click ⊞ Win+Eto open it. The connected USB drive is located under This PC or Computer in the left pane. In the drive window that opens, you will find your files.
 - If you don't see the files, they are in the folder.The folder may be unnamed, or the name may not be familiar to you. Double click on each folder to find the folder with the files you want.
 13 Copy the recovered files to a safe location on your computer. Do this to avoid losing them when formatting the drive.
 - For example, create a folder on your desktop (right-click on the desktop, choose New> Folder from the menu, name the folder, and then click ↵ Enter) and drag the files to that folder. Do not format the drive until all files have been copied to a folder on your computer.
 14 Right click on the drive letter in the Explorer window. You will find it under "This PC" or "Computer". A menu will open.
  15 Click on Format. The "Formatting" window will open.
  16 Uncheck "Quick Format" and click Launch. Formatting will delete all data from the drive, including any remnants of the virus. This process may take some time depending on the speed of your computer.
 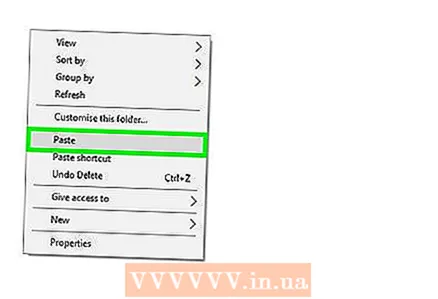 17 Copy the files back to the USB stick when the formatting process is complete.


