Author:
Joan Hall
Date Of Creation:
25 July 2021
Update Date:
1 July 2024

Content
- Steps
- Part 1 of 2: How to Import an Audio File
- Part 2 of 2: How to Reduce Background Noise
- Tips
- A warning
This article will show you how to use Audacity's Noise Reduction feature to reduce background noise in an audio file.
Steps
Part 1 of 2: How to Import an Audio File
 1 Open Audacity. The program icon looks like blue headphones with a red-orange sound wave between the ear pads.
 - If you do not have Audacity installed yet, download the installation file for Mac and PC from the official website.
- Since April 2017, Audacity is only partially supported for the macOS Sierra operating system, so the program may not work correctly on a device with such a system.
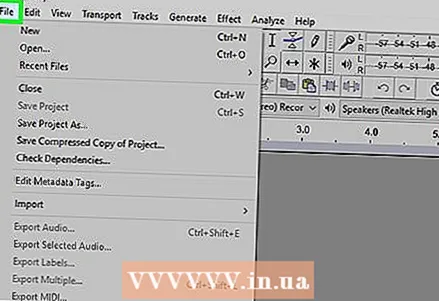 2 Click File. The tab is located in the upper left corner of the screen (Mac) or in the upper left corner of the Audacity window (Windows).
 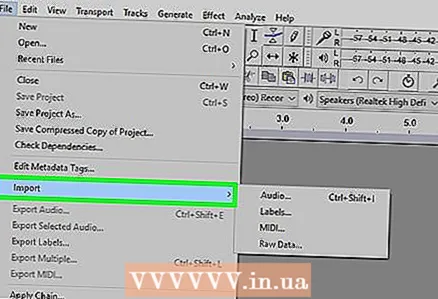 3 Hover the mouse cursor over Import. It's in the middle of the dropdown list File.
 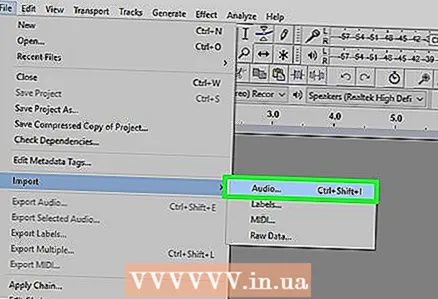 4 Click Sound File. This is the first item of the submenu Import... This will open a window where you can select an audio file.
 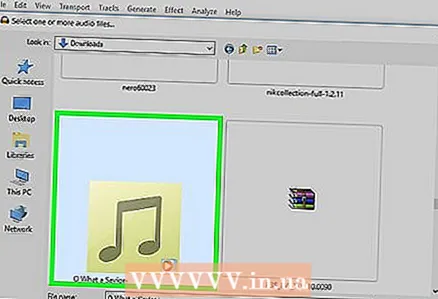 5 Select an audio file. If you do not know where the required file is, then look for it in the folders on the left side of the window. Find the required file and click on it to select.
  6 Click Open. The sound file will open in Audacity.
 - Depending on the file size, importing into Audacity may take several minutes.
Part 2 of 2: How to Reduce Background Noise
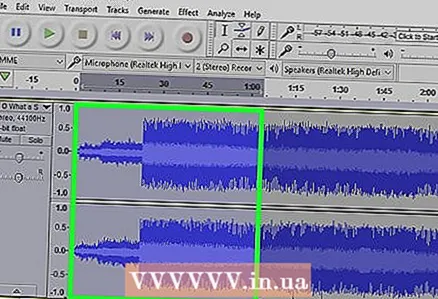 1 Select the part of the file that you want to edit. To do this, hold down the mouse cursor and drag it to the desired point, then lower the button. The required part will be highlighted in gray, which confirms your choice.
 - To select an entire track, press ⌘ Command (Mac) or Ctrl (Windows) and the button A.
- It is best to select the entire audio track so that the sound remains consistent after reducing background noise.
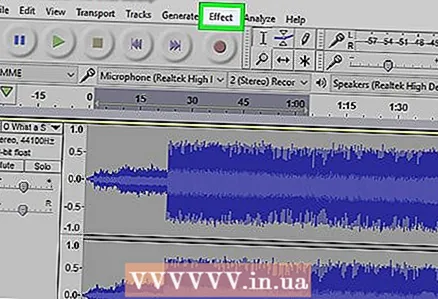 2 Click the Effects tab. It's in the toolbar at the top of your screen (Mac) or Audacity window (Windows).
  3 Click Noise Reduction. This item is just below the middle of the dropdown menu Effects.
 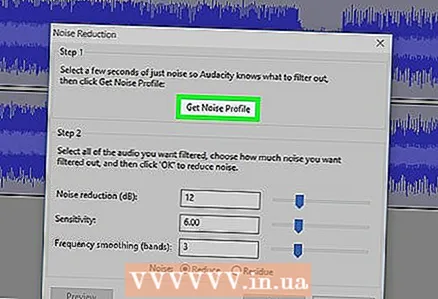 4 Click Create Noise Model. This item is at the top of the new window. It allows you to recognize noise and other audio information to filter out background noise and preserve the integrity of the audio recording.
 - For this function to be effective, the audio segment must be longer than three seconds.
 5 Click the Effects tab again. You will notice that new items have now appeared at the top of the dropdown menu.
 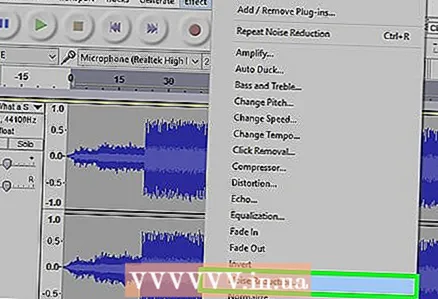 6 Click Repeat Noise Reduction. This is one of the top menu items. Click to apply the generated noise model to the selected part of the audio track and remove some or even all of the background noise.
 - If the process produced unwanted results, click the tab Edit at the top of a window or screen, then click Cancel... Then try selecting a different part of the track.
 7 Save your changes. To do this, click the tab File, select Export audio and press the button Save... Your file now contains significantly less background noise.
Tips
- It is recommended to create a copy of the edited file before saving changes.
A warning
- Noise Reduction will not remove all background noise in a song and may accidentally delete all audio information (in this case, you just need to undo the changes and select a different passage).


