Author:
Eric Farmer
Date Of Creation:
7 March 2021
Update Date:
1 July 2024

Content
- Steps
- Method 1 of 5: Microsoft Office Picture Manager (Windows)
- Method 2 of 5: Microsoft Word and PowerPoint (Windows)
- Method 3 of 5: iPhoto (Mac OS X)
- Method 4 of 5: View (Mac OS X)
- Method 5 of 5: Third Party Sites
Compressing photos reduces not only the file size, but also the dimensions of the images themselves, allowing them to be uploaded to websites or sent by e-mail without loading network bandwidth. Photos can be compressed using standard photo processing software (Windows or Mac) or using a photo compression site.
Steps
Method 1 of 5: Microsoft Office Picture Manager (Windows)
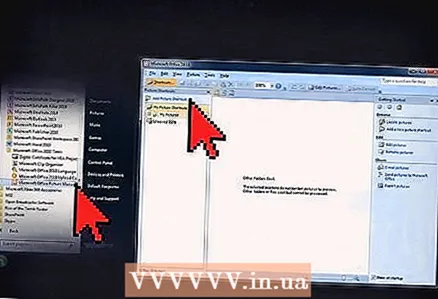 1 Start MS Picture Manager and click the Add Picture Shortcut link in the Picture Shortcuts panel.
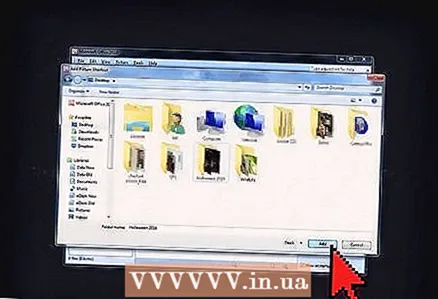 2 Select the folder with the photo you want to compress and click Add.
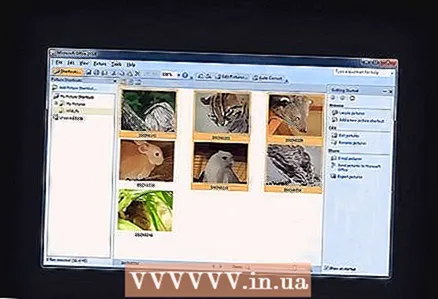 3 Click on the photo you want to compress. The photo will appear in the preview area.
 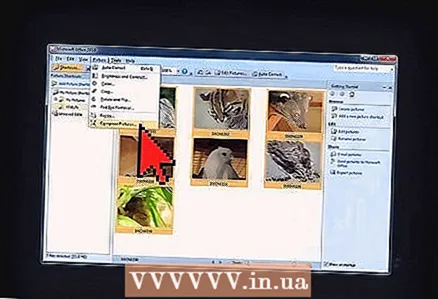 4 Click on Compress Pictures in the Picture menu.
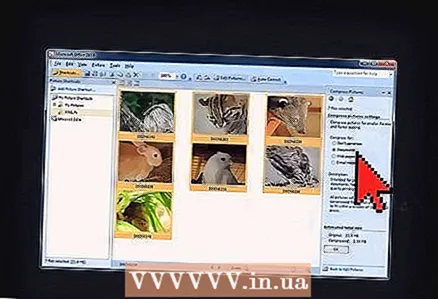 5 Depending on what you need the compressed photo for, choose “documents,” “web pages,” or “e-mails.” For example, if you want to send a photo by email, select "Email Messages".
 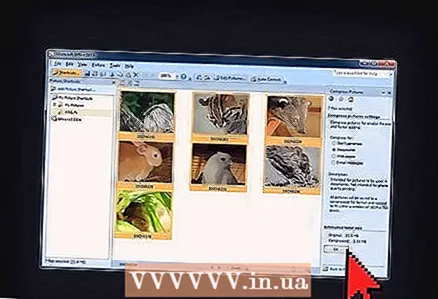 6 Click on the "OK" button to compress the selected photo.
Method 2 of 5: Microsoft Word and PowerPoint (Windows)
 1 Open your MS Word document and click on the photo you want to compress.
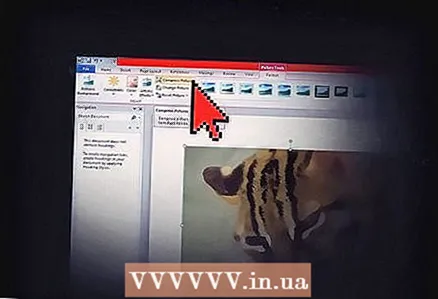 2 Open the Picture Tools menu and select Compress Pictures.
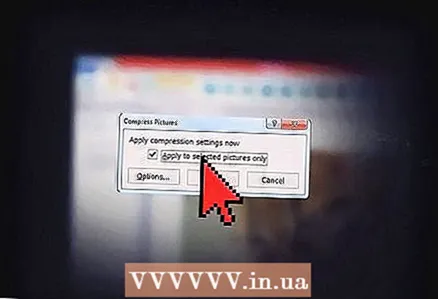 3 Check the box next to the caption: Apply to Selected Pictures only, and then click the Options button.
  4 Select the check boxes next to Automatically perform basic compression on save and Remove cropped areas from pictures.
 5 Depending on what you need the compressed photo for, choose Print, Screen, or Email. For example, if you plan to print your document, select Print.
 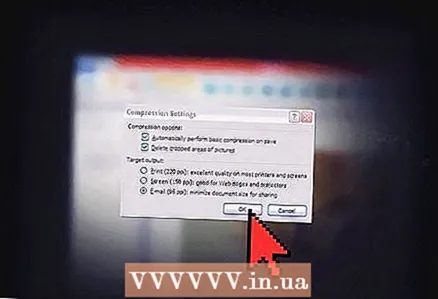 6 Click on the "OK" button to compress the selected photo.
Method 3 of 5: iPhoto (Mac OS X)
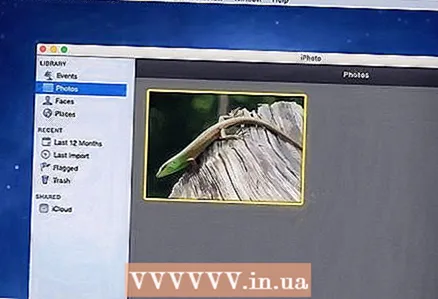 1 Launch iPhoto and select the photo you want to compress.
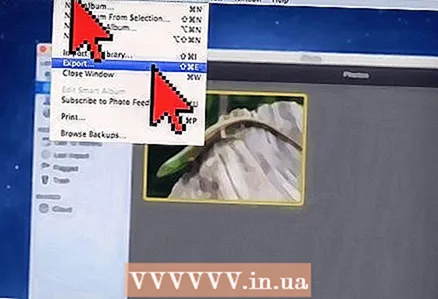 2 Choose File> Export.
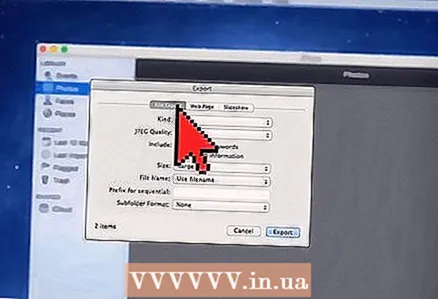 3 Click on the "Export File" tab.
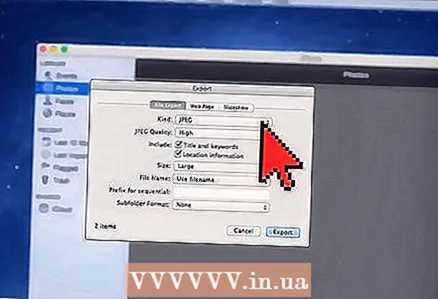 4 Select “JPEG” from the Type drop-down menu. JPEG is the most recommended format for compressing photos as it is compatible with most browsers and programs.
 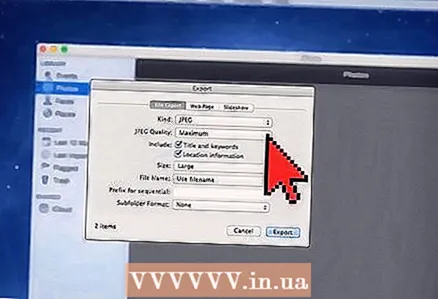 5 Select the quality of the photo in the "JPEG quality" line.
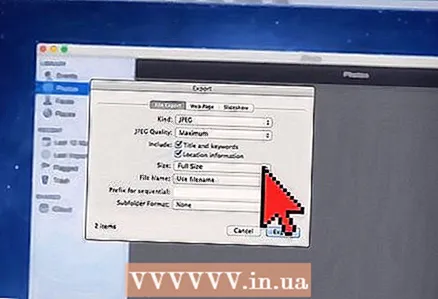 6 Select compression sizes from the Size drop-down menu. Choose Small, Medium, Large, or Custom to manually adjust the dimensions of your photo.
 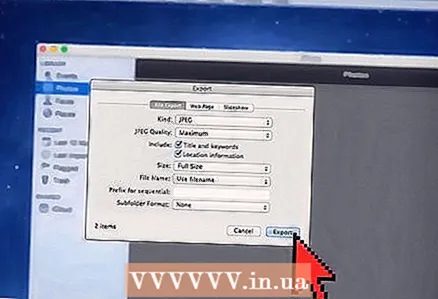 7 Click on "Export" and choose where to save the compressed photo.
Method 4 of 5: View (Mac OS X)
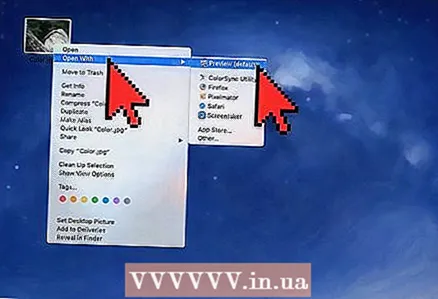 1 Right-click the photo you want to compress and choose Open In Program> View (Default).
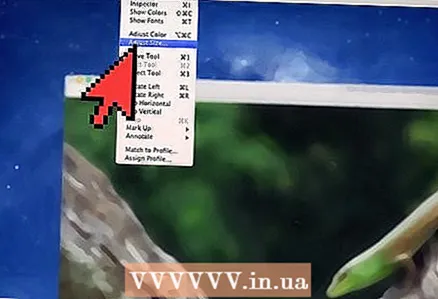 2 Open the Tools menu and select Custom Size.
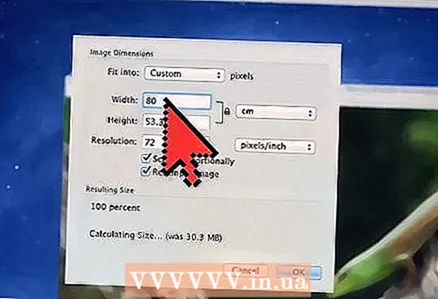 3 In the Width box, enter your preferred number of pixels. For example, if you want to make a photo smaller for a blog post, enter 300 in the Width field. The program will automatically change the value in the "Height" field to maintain the original aspect ratio of the image.
 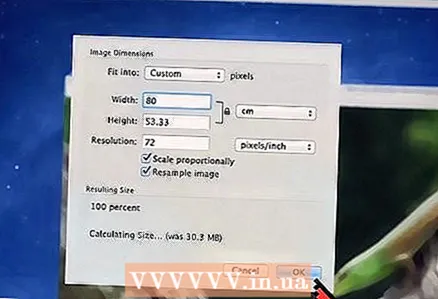 4 Click OK.
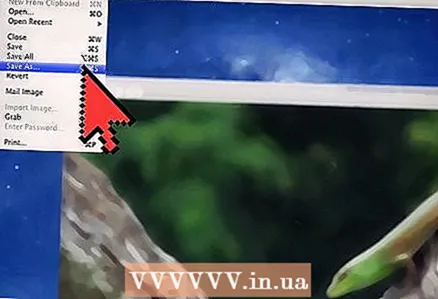 5 Click "File" and select "Save As".
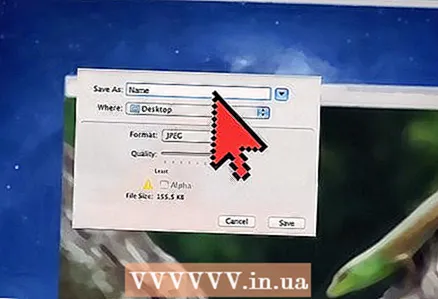 6 Enter a name for the new photo to save a compressed photo.
Method 5 of 5: Third Party Sites
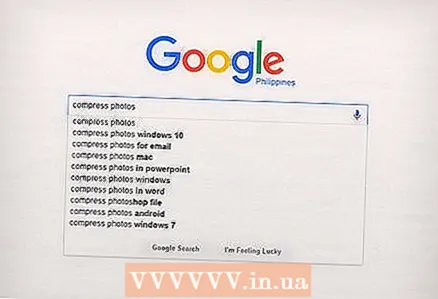 1 Launch your browser and look for third-party photo compression sites. Use one of the following searches: "compress photos" or "resize photos".
 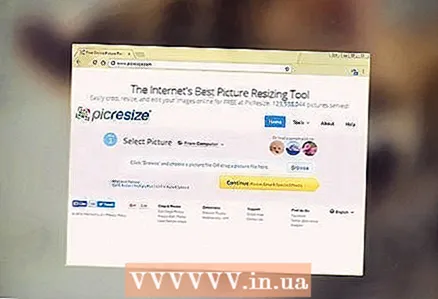 2 Open a site that offers free photo compression services. Here are some services that compress photos for free: Optimizilla, Compress JPEG, and Image Optimizer.
  3 Follow the onscreen instructions to compress the photo. Typically, you only need to click on the Browse button to select a photo on your device and enter the desired options for the photo.
 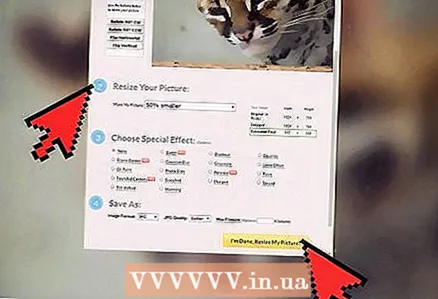 4 Click on "Compress" or "Resize" and then download the compressed photo to your device.


