Author:
Janice Evans
Date Of Creation:
26 July 2021
Update Date:
1 July 2024

Content
Desktop shortcuts are shortcuts to specific files that are stored on your computer's hard drive. Using a shortcut, you can quickly open a document or launch a program by simply double-clicking on the shortcut. Shortcuts save time because there is no need to search multiple folders for the desired file. This article will show you how to create a desktop shortcut.
Steps
Method 1 of 2: Using the desktop context menu
 1 Right click on an empty space on the desktop. In the menu that opens, select "Create".
 - A submenu will open; in it, select the "Shortcut" option.
 2 In the window that opens, specify the location of the file for which you want to create a shortcut. To do this, click "Browse", find the desired file and click on it. The file path will appear on the "Specify object location" line.
 - You can also enter the file path manually, but it is better to do this using the "Browse" button to avoid errors.
 3 Click Next (in the Create Shortcut window).
 4 Enter a name for the shortcut. Then click "Finish" at the bottom of the window. If a Next button appears instead of the Finish button, click it, select an icon for the shortcut, and then click Finish.
Method 2 of 2: Using the file context menu
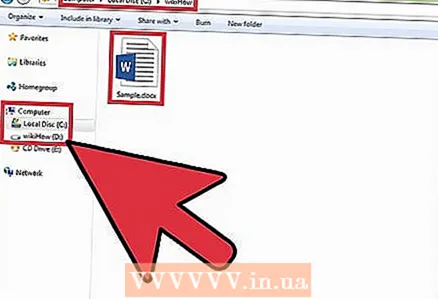 1 Find the filefor which you want to create a shortcut.
 2 Right click on the found file. Before that, left-click on the file to select it.
  3 In the menu that opens, click "Create shortcut".
- A shortcut will appear at the end of the list of installed programs. For example, if you created a shortcut to Microsoft Word, it will appear at the end of the list.
 4 Drag the shortcut to your desktop. Now, to open a document or run a program, just click on the shortcut.


