Author:
Virginia Floyd
Date Of Creation:
11 August 2021
Update Date:
22 June 2024

Content
Want to transfer your documents wirelessly to your Kindle? If yes, then you need to know the email address where you can send documents. To do this, you will need to install it. This article will walk you through how to create an email address.
Steps
 1 Open your web browser.
 2 Create an Amazon account if you don't already have an account there.
 3 Buy an Amazon Kindle, download free apps for PC, Mac, Android, iPhone / iPad / iPod Touch, Blackberry and Windows Phone 7, or use your browser on the Kindle Cloud Reader.
 4 Register your Kindle with Amazon. Open the device and register through its settings (after pressing the menu button). This login / register link is located on the first page of your Kindle's settings. So, your items should be uploaded and files can be sent.
  5 Open your web browser the next day, or if your Kindle is nearby (and charged), open it today.
 6 Visit Amazon- Manage Your Kindle Settings page for managing settings.
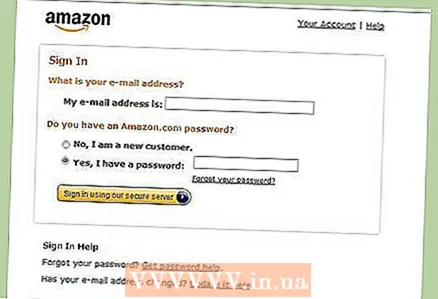 7 Sign in if you haven't already.
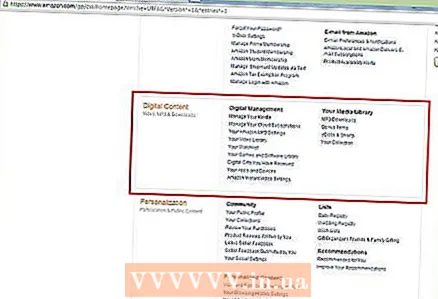 8 Click "Your Digital Items" at the top of any screen on the Amazon site.
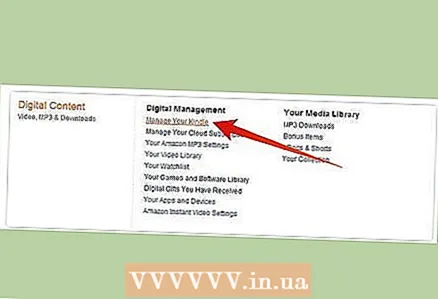 9 Click on the "Manage Your Kindle" link.
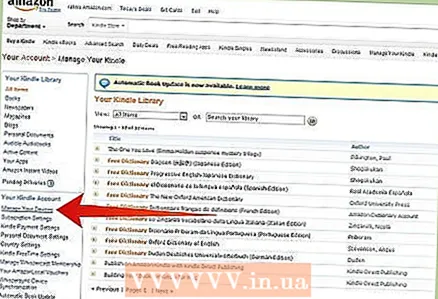 10 Click the "Manage Your Devices" tab on the left side of the site.
- Click on the link titled "Personal Documents Setting". You'll find this link under your account name, along with your registration address, device serial number, and your Kindle name.
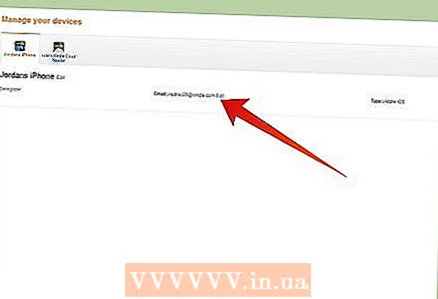 11 Then click the "Edit" link next to your Kindle to edit or add the address.
 12 Enter a new address. Make sure to fill in the name part. The "@ Kindle.com" part is already encoded into the system for use with every Kindle email delivery.
  13 Click "Update".
Tips
- To avoid problems with payment, there is a free email address on Kindle.com that you can use. However, you will not be charged anything until you try to send mail over the Whispernet 3G network. Make sure that the transfer will be connected to a Wi-Fi network (if you do it wirelessly).
- Amazon.com customer support can help you register your Kindle and set up your Kindle.com email address. Let the service agent know about your intentions to contact him, then talk to him. A customer service agent can also help you deregister your Kindle registration if you have any problems with it. Contact an Amazon.com representative for details.
What do you need
- Internet access with a non-mobile web browser
- Amazon Kindle
- Computer mouse and keyboard
- Written ideas of what your address should be
- Accessing Amazon web page


