Author:
Clyde Lopez
Date Of Creation:
19 June 2021
Update Date:
24 June 2024

Content
MS Publisher is a desktop publishing application that is included with some versions of Microsoft Office. Publisher is designed to meet the needs of the average computer user with little or no design experience. This article will show you step by step how to create your logo in Microsoft Publisher.
Steps
 1 Start Microsoft Publisher. Click on the "Start" button at the bottom left of the screen. Next, select "All Programs" and find the "Microsoft Office" folder. Select Microsoft Publisher from the submenu. The application will open on your desktop. Select the paper size for the work area. From the post type menu in the left column, select Blank Page. Select Letter (portrait) from the available sizes. This is how we prepared the workspace for logo design in Microsoft Publisher.
  2 Choose a logo shape. Click the AutoShapes button located on the Objects toolbar. Browse the submenu to find a shape, line, banner, cutout, or connector for your logo design. Click on any object to insert it into your document.
 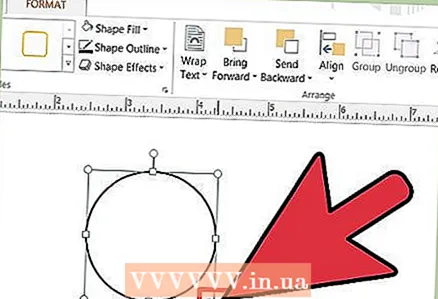 3 Resize the shape. Magnification is a good way to improve the resolution of the final image. Click and drag an edge or corner to resize the shape.
 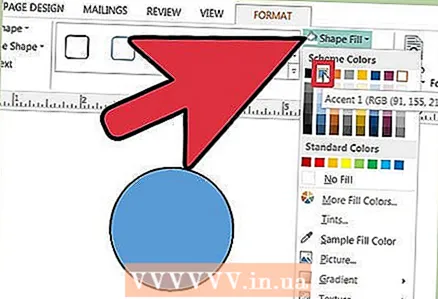 4 Choose a color for the shape. Click the Fill Color button on the toolbar. Choose a fill color from the standard color options, or click the Customize tab to create a custom fill color.
 - Choose a color that looks good with the font color being used. You can create any possible hue in the custom menu colors by adjusting the color picker sliders or by adjusting the RGB value. You can also create a transparent filler.
 5 Choose a color for the outline of the shape. Click on the "Line Color" button on the toolbar. Choose from the submenu the color options for the outline, you can also create your own colors. You can create any possible hue in the custom menu colors by adjusting the color picker sliders or by adjusting the RGB value.
 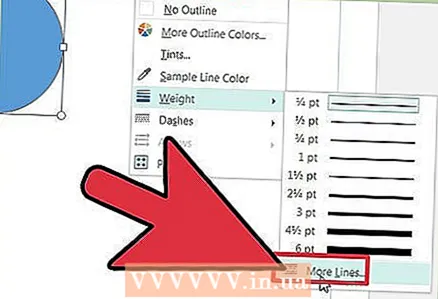 6 Choose a line style for the outline of the shape. Click the Border Line Types button and choose a line style and outline thickness. Select a line from the available styles (single, double and triple) or select the "Additional Lines" option located at the bottom of the drop-down menu. The shape outline can be of any width.
  7 Add your logo text. Right-click on the shape and choose Add Text from the drop-down menu. The cursor appears inside the shape. Enter your logo text.
 - Change the font of the logo text. Right-click on the text and select Change Text. In the Font box, select the appropriate font for your text. The font should be legible. Helvetica, Bodini, Garamond, and Futura are some of the most common typefaces used by professional designers. Experiment with different fonts to find the one that works best for your project.
- Adjust the size of the text. Right-click the text again and choose Font from the drop-down menu. Select the "AutoFit" text function from the submenu and select "Best Fit". The text will be adjusted to better fit the size of the object.
 8 Save the logo as a graphic file. Right-click on the object and select "Save as Picture" from the drop-down menu. Click the Save As button under the Type category and select Bitmap. In the Save As dialog box, select the print extension options for Configuration 300.The logo design you create in Publisher is saved to your computer.
  9 Ready.
Tips
- The key to a successful logo design is simplicity and readability. In most cases, you should avoid using more than 1 or 2 colors. Choose a font that is easy to read from a distance. Shape, path, and gradient effects should be used with care. In most cases, shadow and 3-D text effects should be avoided in order to create a clean, aesthetic and easily recognizable design.


