
Content
- Steps
- Part 1 of 3: Removing the linoleum itself
- Part 2 of 3: Removing the adhesive paper or bedding
- Part 3 of 3: Completion
- Tips
- Warnings
- What do you need
Linoleum is an affordable and sustainable floor covering commonly found in kitchens, foyers and reception rooms. It is easy to lay it on the floor in two different ways: by gluing it completely or by gluing it around the perimeter. The floor itself is completely covered with glue during the full adhesion process; when gluing around the perimeter, the glue is applied only to the edges and internal seams. Removing linoleum is very simple, and most of you will be able to handle it yourself, even with very little experience. Read this article to learn how to remove linoleum.
Steps
Part 1 of 3: Removing the linoleum itself
Linoleum is attached to the floor using adhesive paper or a special underlay. As a result, you get two layers. Peeling off the top layer is usually much easier and faster than peeling off adhesive paper or bedding. Sometimes both layers can be removed at the same time using the tips below.
 1 Clear your workspace. Remove all furniture and anything that might get in your way from the linoleum.
 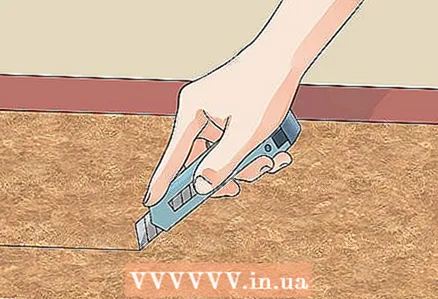 2 Cut the linoleum into strips of 35 cm with a sharp knife. Removing linoleum in small strips will be much easier than trying to remove the entire coating.
 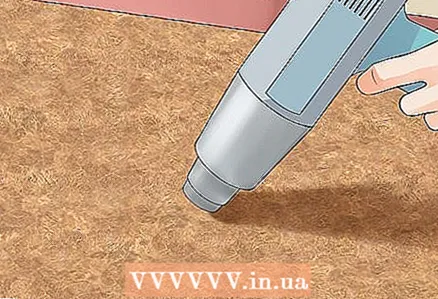 3 Heat the linoleum with a heat gun to make it softer and easier to remove. To make the top layer softer and more flexible, you can heat it piece by piece. This will make it easier for you to work.
 - What if you don't have a heat gun? A hair dryer can help, but chances are your hair dryer just won't have enough power. Test your hair dryer at its highest power and you will see if stripping is easier for you.
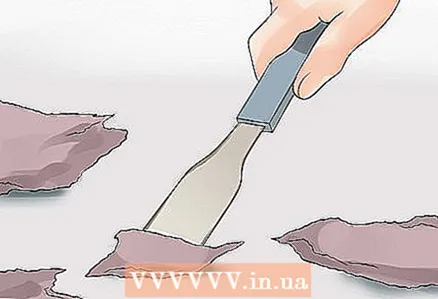
 4 Peel off the strips by hand. Prying the edges of the linoleum with a spatula, you lift the strip and then tear it off. The hard outer layer should come off very easily, but if the linoleum was completely glued, then the glue may interfere with you and then you will have to work harder.
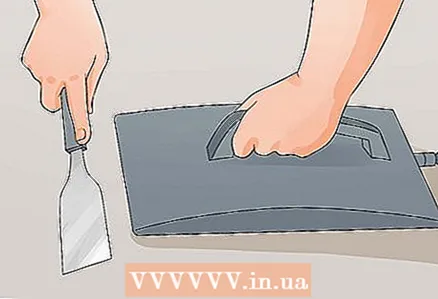
 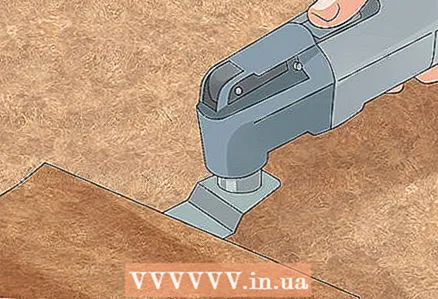 5 Alternatively, you can take advantage of the fully automatic process by taking a special tool with a special hard scraper. Spread some Vaseline on the scraper to keep it clean. Then, start cutting the bottom seam with the automatic scraper while lifting the linoleum with your free hand. Remove the linoleum in the direction of the seams. Depending on the amount of work, sometimes it will be faster to remove linoleum this way.
Part 2 of 3: Removing the adhesive paper or bedding
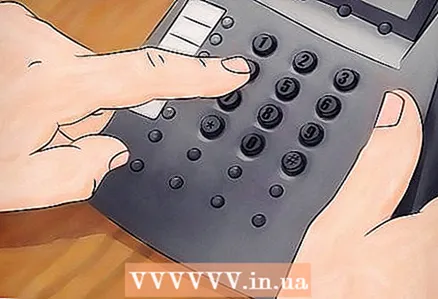 1 Removing the sticky paper or liner that the linoleum itself is glued to can take a long time. Previously, linoleum (before the advent of plywood)) was attached to the floor with a litter that could contain tar. If your linoleum is very old and it is very difficult for you to remove the litter, then it will be better to turn to a professional.
  2 If you have old linoleum, it may be best to break off a small piece of adhesive paper or bedding and check for asbestos. Old linoleum often contains either asbestos tiles or sheeting, which are small fibers that are dangerous if inhaled by someone. While safe and proper removal of asbestos-laden linoleum can be done easily at home, it can be much easier (and certainly safer) to remove such linoleum with the help of a professional.
 - In any case, prepare large safety goggles and a respirator mask to filter out any possible asbestos tissue. Take advantage of this for your own safety, regardless of whether your surface contains asbestos or not.
- Another way to reduce the potential harm from asbestos boards or sheeting is to wet them with water before removing them. Dry asbestos travels very easily through the air, even if you can't see it. Wet asbestos is not easily carried through the air. Be careful when soaking the backing if you have wood floors. Read the next steps.
 3 For delicate floors, remove the adhesive or backing with a trowel. You don't need to press hard, it all depends on the strength of the glue itself. This can be very time consuming, but this will not damage the wood flooring underneath.
 - You can try using a heat gun or a special hard scraper tool to remove the adhesive after you remove the top coat. However, you may find it difficult to pick up the adhesive underneath with this machine. Either way, the heat gun will soften the adhesive and make it easier to remove.
 4 If you have a stronger bottom coating, soak the glue in hot water and let it soak in water for about 15 minutes. Again, only use water if you have cement or plywood underneath. Wood can begin to warp when water is applied to it, so be careful when handling the undercoat.
 - Here's how you can pour hot water over the glue or bottom layer without creating a mess or even flooding. Divide the floor into sections with towels - towels you won't mind throwing away. Pour hot water over the towels so that the towels absorb most of the water, but let the steam go down. Wait 15 minutes before removing the towels.
- Then scrape off the glue with a spatula. You can use a larger spatula for wet glue, as it comes off much better than dry glue and will make it easier to work with.
 5 As a neat trick, you can use a steam wallpapering machine. You can rent it from one of your local home improvement stores. Let it warm up. Then you need to direct the steam to a specific area with glue, and heat this area for 60-90 seconds. You can then easily peel off the adhesive in that area.
 - This process is much faster than removing dry adhesive from the surface. You can clean a floor of 3000 square meters in less than 2 hours.
Part 3 of 3: Completion
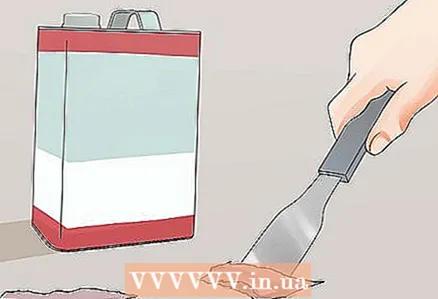 1 Apply the chemical to the areas where you have been unable to remove the adhesive, following the instructions. Most of these substances contain active ingredients, which are also found in paint corrosive substances. You can buy them at hardware stores.
  2 Scrape off the treated adhesive with a spatula to remove any residue. Since you have already removed most of the glue before, this process will go quickly enough.
 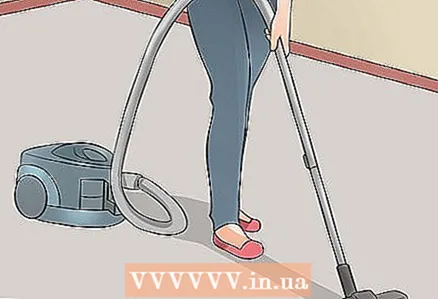 3 Sweep or vacuum the cleaned floor to remove any debris. Now he is ready to shine in a new way!
Tips
- New Pergo tiles or vinyl flooring can be laid directly on top of linoleum, provided the floor is even and firmly in place.
Warnings
- Products and adhesives applied before 1980 may contain asbestos, so always be careful when removing or sanding unfamiliar material.
- Provide adequate ventilation and follow all safety instructions when handling chemicals.
What do you need
- Knife
- Work gloves
- Putty knife
- Hot water
- Chemical stripper


