Author:
Florence Bailey
Date Of Creation:
26 March 2021
Update Date:
1 July 2024

Content
Good lighting is required for macro photography and product photography. However, it is difficult to properly illuminate an object to show its natural color, detail and beauty. The Lightcube is a great solution. It diffuses light and creates a uniform background on which to place the subject.While a light cube can be expensive, this article will show you how to make a light cube for as little as £ 60 (or even free if you already have the required materials).
Steps
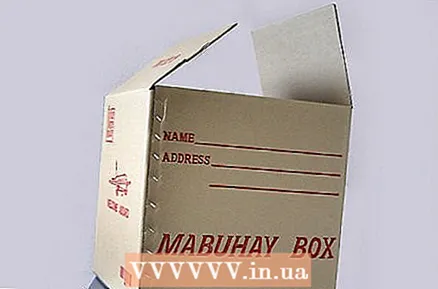 1 Select a box. It should be sized appropriately for the subject you intend to photograph. You may need to make boxes of various sizes.
  2 Secure the bottom of the box with packing tape. Use extra tape to secure the bottom flaps inward. Then they will not interfere with you.
 - 3 Lay the box on its side. The hole should point towards you.
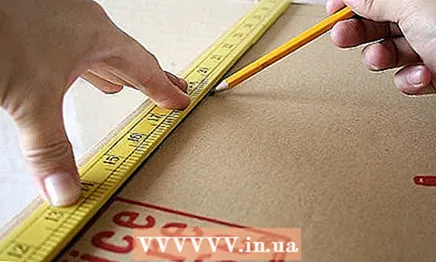 4 Draw lines about 2.5 cm from the edge on each side of the box, including the top. A standard 30 cm long ruler has the desired width and can be used to create a perfectly straight edge.
  5 Using a clerical knife, make neat cuts along the lines you have drawn. You can use a ruler as a straight edge to guide the cut. The cuts do not have to be perfectly straight. It is important that at this stage the front flaps of the box remain in place for added stability to the box, which will be easier to cut. Cutting is easier if the front flaps of the box are sealed in the closed position.
 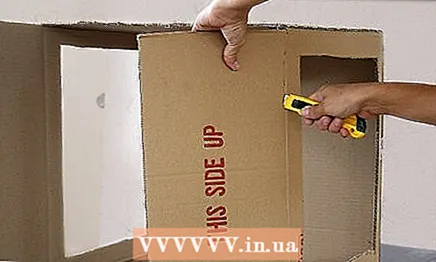 6 Cut off the front flaps with a utility knife.
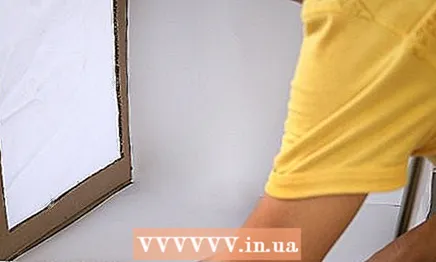
 7 Cut a piece of thin wrapping paper large enough to cover the holes you cut out. Then stick it to the outside of the box with duct tape. Start with one layer of tissue paper. After you finish the box and take some test shots, you may find that you need to add layers of wrapping paper to achieve the right lighting.
 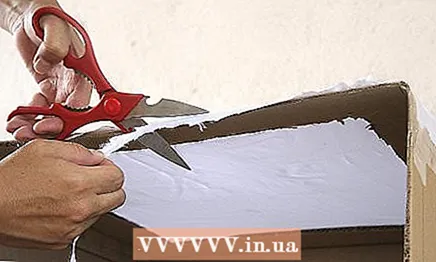 8 Using a utility knife and scissors, remove any excess pieces of cardboard from the front of the box.
- 9 Cut a piece of matte white Whatman paper to fit the inside of the box. It should be in the shape of a rectangle, the width of which is equal to the width of the side of the box, and the length is twice that.
 10 Insert a sheet of Whatman paper into the box, bending towards the top of the box. Bend it gently without crushing it. Cut the sheet if necessary. This will ensure that the background for your photos looks endless, endless.
 - 11 Cut a piece of matte black Whatman paper large enough to cover the areas with brown paper. This will allow you to block light in certain directions while shooting.
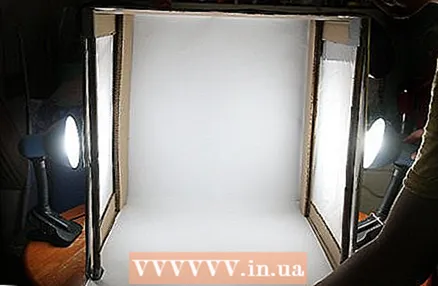 12 Add highlighting. Constant light sources, flashes, and even standard table lamps can be placed on either side of the box or above it, depending on the desired lighting effect.
 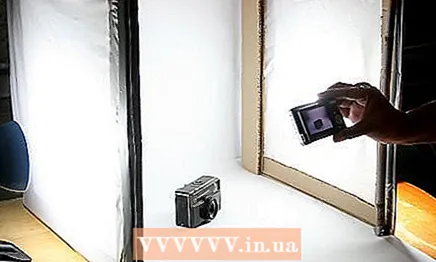 13 Take some test shots as you go. Check how well the wrapping paper filters and diffuses light. Add layers of paper as needed. This photo was taken in a similar light tube and has not been processed (except cropping). It's time to take great photos! !
  14 At the end of the day, your photos should come out clean, crisp and grayscale-free. Take a look at the sample photo captured in the LightCube, taken as described above.
 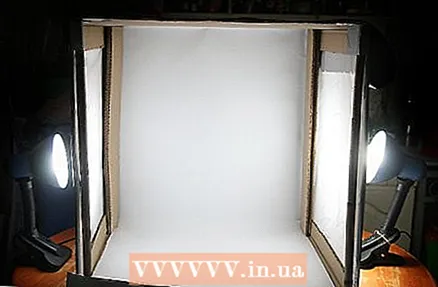 15 Ready.
Tips
- Be sure to use matte, not glossy, whatman paper. Glossy Whatman paper reflects light and creates glare.
- Try other colors of whatman paper or even fabric to get the effect you want.
- Learn to use the White Balance (WB) function if your camera has one. This will greatly improve the results when shooting with this technology.
- If you are photographing from top to bottom, cut out the bottom of the box as well as the sides and top and cover with wrapping paper. Then place the box with the open side down and cut a lens-sized hole on the top. This way, you can place the item on a piece of white matte cardboard, then cover it with a box and photograph through the hole.
- You may find it more convenient to cover your subject with a light cube by removing the bottom of the box.
Warnings
- Make sure that the backlight does not light up!
- Do not turn on the flash on the camera.
- Be careful when using a utility knife. It's hard to take photos without fingers! Always cut away from you and from your hands.
What do you need
- Cardboard box (size depends on what you intend to shoot)
- 2-4 sheets of white wrapping paper
- 1 sheet of white matte Whatman paper
- 1 sheet of matte black Whatman paper
- Duct tape
- Packing tape
- Ruler 30 cm long
- Pencil or pen
- Scissors
- Stationery knife
- Constant light source / flash / standard table lamps


