Author:
Joan Hall
Date Of Creation:
26 July 2021
Update Date:
1 July 2024

Content
- Steps
- Method 1 of 3: Firefox Extension
- Method 2 of 3: Keyboard shortcuts (Windows)
- Method 3 of 3: Scissors Utility
There are several ways to take a screenshot (screenshot) in Firefox and Windows. Use a browser extension to take a screenshot of the entire content of a web page and save it in a single file. Alternatively, use keyboard shortcuts or the Scissors utility to take a screenshot of the Firefox window for troubleshooting or tutorial creation.
Steps
Method 1 of 3: Firefox Extension
 1 Benefits of using an extension. By taking advantage of a browser extension that allows you to take screenshots, you can take a screenshot of the entire web page, even if it extends beyond your screen. Moreover, this extension will allow you to quickly and easily upload a screenshot to any photo hosting and even edit the screenshot.
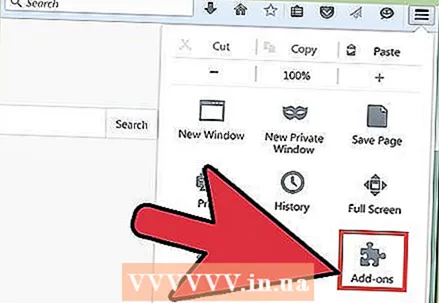
 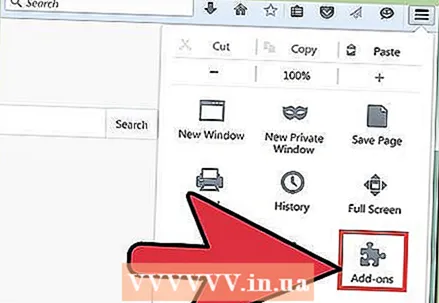 2 In Firefox, click the Menu (☰) button and select Add-ons. The add-ons page will open.
 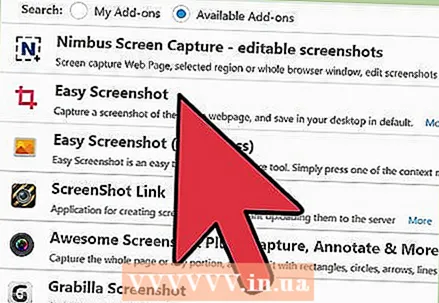 3 In the search bar, enter "screenshot" or "screenshot" (without quotes). A list of the many extensions that allow you to take screenshots will be displayed; most of these extensions work in a similar way. This article describes how the Nimbus Screen Grab extension works.Other popular extensions are Screengrab and Lightshot.
 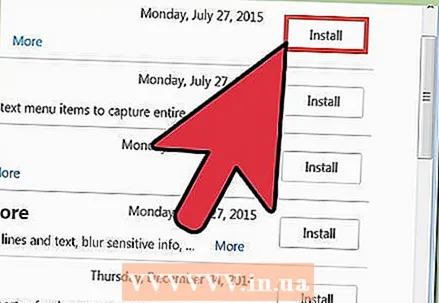 4 Next to the extension you have chosen, click "Install". To view detailed information (including user reviews) about an extension, double-click it. Before installing a particular extension, read descriptions and reviews for several extensions.
 - After installing some extensions, you need to restart Firefox.
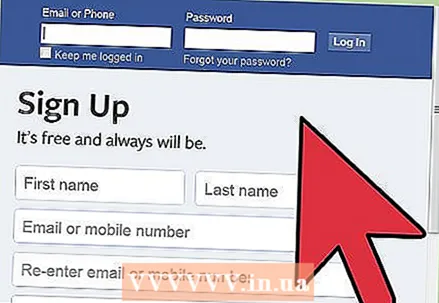 5 Open the web page you want to screenshot. After installing the extension, open the desired site. The installed extension will allow you to take a screenshot of the visible area of the screen, the entire page, or select the area of the screen manually.
 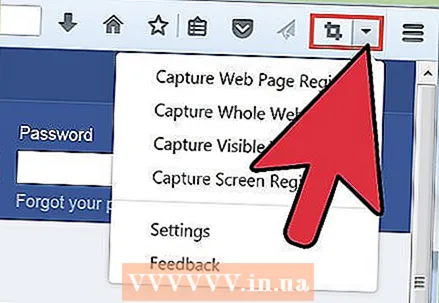 6 Click the extension button, with which you can take a screenshot. Alternatively, right-click on the page and select the extension from the menu that opens. The various options for the installed extension will be displayed.
 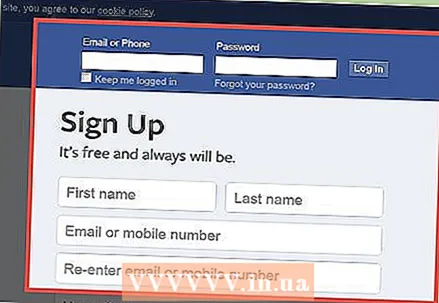 7 Select the area of the screen that you want to screenshot. If you clicked on the option to manually select a screen area, drag the rectangle to constrain the area you want a screenshot of.
 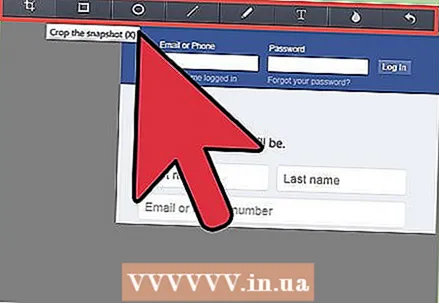 8 Edit the screenshot. After you select an area of the screen, the screenshot editing tools will be displayed, if, of course, the installed extension allows you to edit screenshots. In this case, you can insert a note, highlight something important, and so on. Editing tools will appear below the address bar of the browser. When you're finished editing, click Finish.
 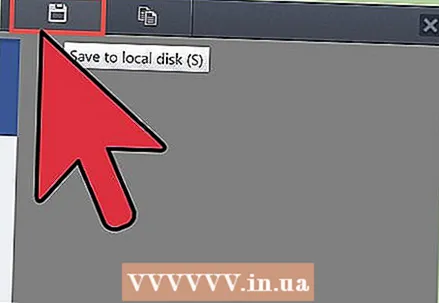 9 Save the screenshot. After editing the screenshot, save it or upload it to a photo hosting service. Or you can copy the screenshot to the clipboard to, for example, paste it into a document.
 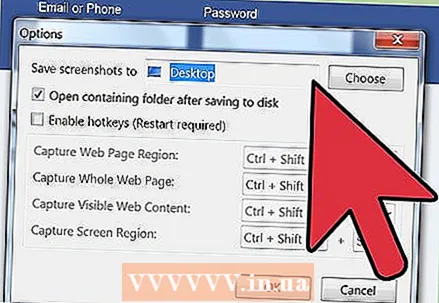 10 Set the screenshot parameters. In most cases, you can leave the default screenshot options unchanged, but if you need to, click the extension button and select Options or Preferences. You can change the format of the file with the screenshot, set the quality of the screenshot, change its name, and so on, depending on the functionality of the installed extension.
 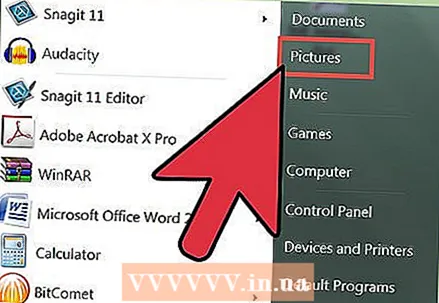 11 Find your saved screenshot. As a rule, screenshots are saved in the folder with photos or in the folder with documents. If you want to change the default folder, do it in the extension settings.
Method 2 of 3: Keyboard shortcuts (Windows)
 1 Situations in which to use keyboard shortcuts. With a browser extension, you can take a screenshot of an entire web page, but if you want a screenshot of the Firefox window itself, use a keyboard shortcut. Moreover, it is the fastest way to take a screenshot if you are unable to install the browser extension.
 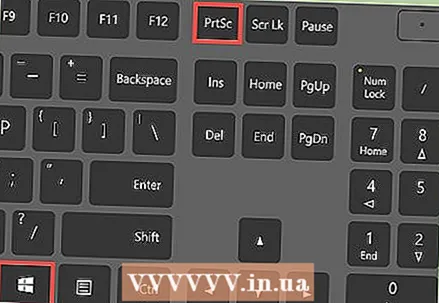 2 Click.⊞ Win+PrtScnto take a screenshot of the entire screen (Windows 8 and later). The screen will be dim for a moment and the screenshot will be saved in the "Screenshots" folder. This folder is located in the "Pictures" folder.
 - On your keyboard, the key PrtScn can be denoted differently, for example, Print Screen, Prnt SCRN, Prt Sc or similar. Typically, this key is located between the keys ScrLk and F12... On a laptop, you may need to press the key Fn.
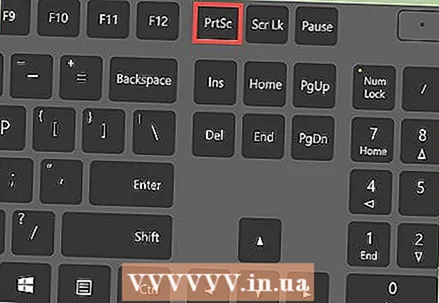 3 Click.PrtScnto copy the screenshot to the clipboard (on any version of Windows). The picture displayed on the screen at the moment the key is pressed will be copied to the clipboard. The copied screenshot can be pasted into Paint or Word to save it as a file.
 - After taking a screenshot, open Paint; to do this, press the key ⊞ Win and enter "paint" (without quotes). To insert a screenshot into Paint, click Ctrl+V... Click "Save" to save the screenshot on your computer.
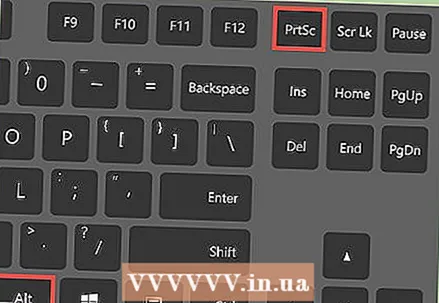 4 Click.Alt+PrtScnto take a screenshot of the active window. To get a screenshot of the Firefox window, make it active (to do this, click on the window), and then click Alt+PrtScn... The Firefox window screenshot will be copied to the clipboard, allowing you to paste the screenshot into Paint.
 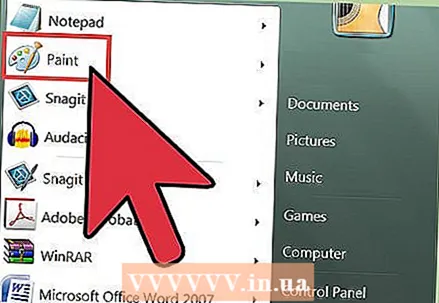 5 Edit the screenshot in Paint. By taking a screenshot of the keystrokes ⊞ Win+PrtScn, right-click the file and select Edit. The screenshot will open in Paint. If you pasted a screenshot in Paint, edit it before saving, for example, add a note, highlight something important, and the like.
Method 3 of 3: Scissors Utility
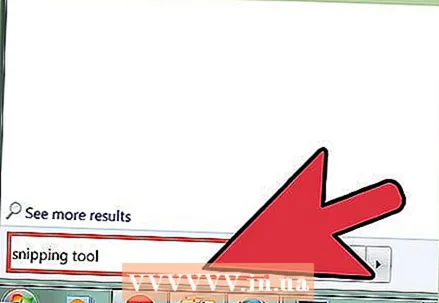 1 Open the Scissors utility. You will find this utility in Windows Vista and later versions of that operating system. To quickly launch the Scissors utility, click ⊞ Win and enter "scissors" (no quotes). With this utility, you can take a screenshot of the entire screen, a specific window, or a selected area of the screen. Also, the "Scissors" utility will allow you to perform the simplest editing of the screenshot.
 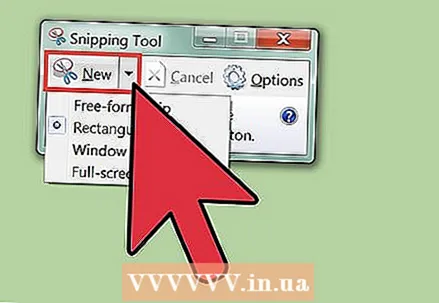 2 Select the type of screenshot you need. To do this, click on the ▼ icon next to the "Create" button.
  3 Take a screenshot. The process for taking a screenshot depends on the type of screenshot you choose.
 - Freeform - Circle the area of the screen you want a screenshot of. In this case, the screen area is highlighted with a free-form shape that you define.
- Rectangle - Drag the crosshair to create a rectangular shape. In this case, a screenshot of the screen area enclosed by the rectangle will be taken.
- Window - in this case, click on the window you want to take a screenshot of.
- Full Screen - In this case, a screenshot of the entire screen will be taken.
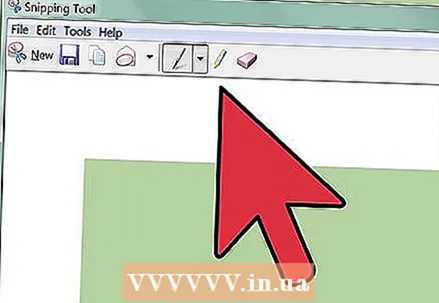 4 Edit the screenshot. After you take a screenshot, it will open in the "Scissors" window. Here you can perform basic editing of the screenshot using tools such as Pen or Highlighter.
 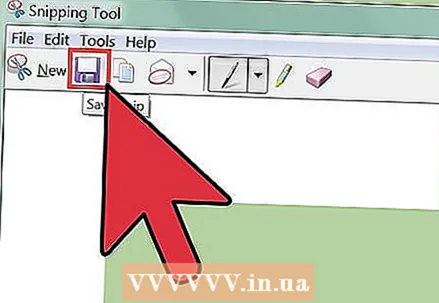 5 Save the screenshot. Click "Save" (floppy disk button) to save the screenshot to your computer. If you are using Windows Mail, you can attach a screenshot to an email directly from the Scissors window.


