Author:
Gregory Harris
Date Of Creation:
14 August 2021
Update Date:
21 June 2024

Content
Crown Knot - A knot tied at the end of the rope that is twice the diameter of the main rope. The crown knot is best held in the hand with the long end. But not for a rope that needs to be tied in a tight space.
Steps
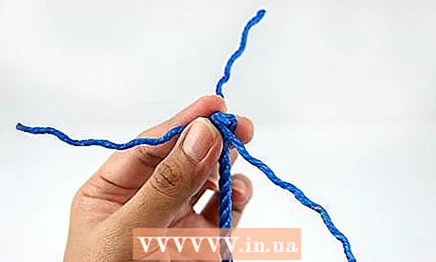
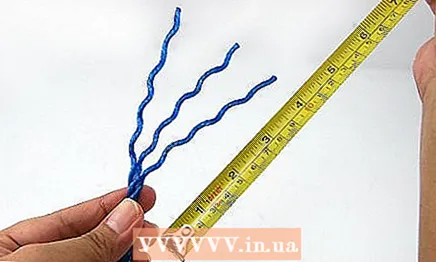 1 Place the end of the rope in your left hand, twisting about 4 "(10cm). Before you form the knot and begin the connection, the end of each strand must be finished to prevent unraveling during this tying technique.
 - With polypropylene, nylon ropes, you can heat the ends over a flame or other fire source hot enough to melt the rope fibers and fuse the ends together.
- Ropes made from cotton, beckoning or sisal, wrap the ends with duct tape.
 2 Place your thumb on the top rope and the rest of your fingers on the back. Use your thumb and forefinger to pinch the strands of the rope to prevent further decoupling.
 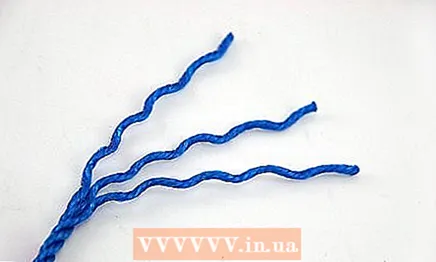 3 Arrange the strands so that two of them run across the top of the rope in a diagonal direction (bottom left, top right). The third thread should run from the bottom of the top two, in the bottom right corner to the top left. This structure is essential for the knot to be properly connected.
  4 On the right side, take the top thread (which will be thread 1) and bend it to the right, forming a bend. Make sure the bend goes behind strand 2, the second strand of rope. Secure the end of string 1 between your left thumb and middle finger.
 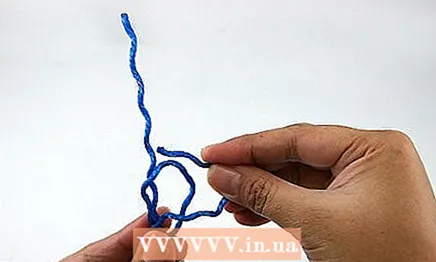 5 On the right side, take yarn 2, the remaining two yarns that originally formed "on top" of the rope, and bend it around the bend into loop 1 that you hold in the left. The wrap should be done around the entire working end of the bend.
 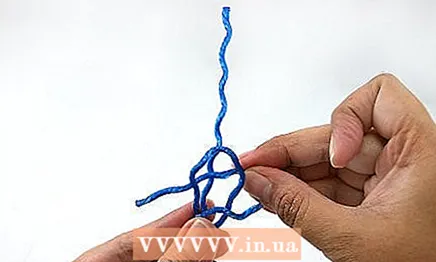 6 After doing this wrap, place the end of strand 2 between the standing end of the bend in strands 1 and 3. Thread 3 is the only thread that has remained intact at this point.
  7 Secure the end of string 2 between the index finger and thumb of your left hand and the rope.
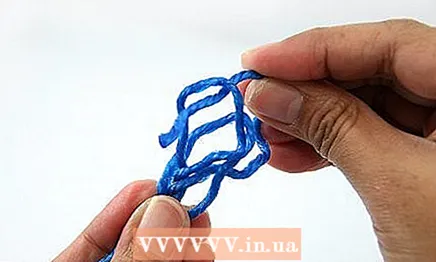 8 With your right hand, take the end of thread 3 and place it under the bend in loop 1 and over all parts of thread 2, studying this mechanism, you will see that each thread is closed and, in turn, blocked by the other.
 9 Release the grip at the ends of the threads. Start with any of the three strands and drag over to begin tightening the crown of the knot. Don't try to pull one strand out completely before pulling another.Take each one at a time, a little at a time, until the crown is stiff.
 - At this point, the crown will be complete and the ends must be joined to complete the "crowning" process and to prevent the rope from unraveling.
 10 Hold the crown knot end of the rope in your left hand. Pick any of the threads sticking out of the crown and grab it with your right hand. Note that it goes under the thread of the crown and then lies down or passes through the threads at the end of the rope that has just been crowned. Take a look at the entire crown as well as each strand, so you know the placement is correct for each strand.
 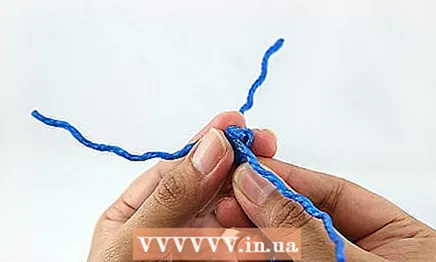 11 Select a thread, let's call it thread 1 (even if it is threads 2, 3 or 1) sticking out from under the crowned knot and start connecting the ends at this point by placing your right thumb partially under it and at the same time under the thread that passes above him. Grasp the rest of the crown knot with your thumb and middle finger tips.
  12 With your left index and thumb, grasp the curve just below your right thumb. This bend is directly below the working portion of bend 1.
 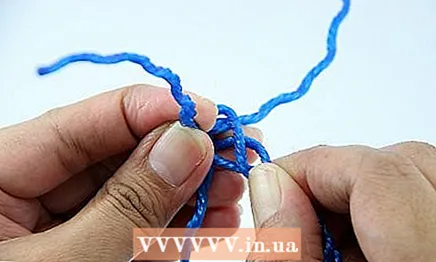 13 On the right side, twist the crown clockwise and twist the end of the rope counterclockwise from the left side. This will open the rope and allow you to isolate the second loop below the point where thread 1 comes out from under the crown.
 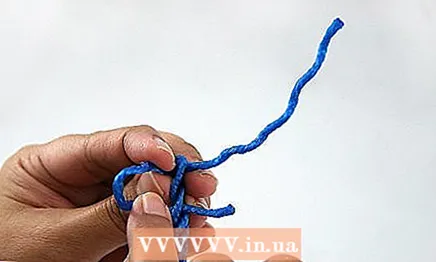 14 Keep this loop insulated and with your right hand place the end of loop 1 underneath it and pull it out against the crown itself.
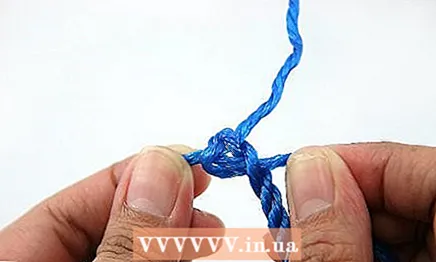 15 Pull up the crown by holding it in your left hand and pull each loop made downward in a clockwise direction.
 16 Move on to the next loop that is connected to the main rope, twist the rope around 1/3 turn in either direction until the next loop comes out from under the crown knot. This is bend 2.
 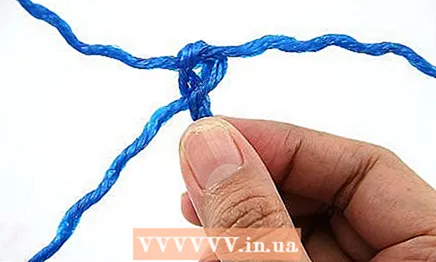 17 As before, place your right thumb under loop 2 and above the loop. Grasp the rest of the knot with the tips of your index and middle fingers.
  18 Study the coronation at this point, the noose coronation principle you are working on now, no. 2. You should take the loop of the main rope one at a time and isolate it with your left thumb and forefinger. This is done by twisting the crown to the right and the end of the rope to the left.
 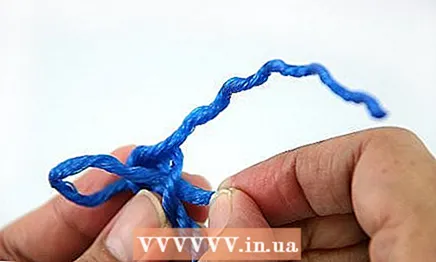 19 Keep this loop insulated, and grasp the end of the thread 2 underneath it and pull it out against the crown until it is tied in a knot.
 20 Pull up the crown as before, pulling each loop clockwise downward.
 21 There is only one loop 3 untouched, the rest must go through the same process. As mentioned above, there should not be any difficulties in the design of the loops to be performed, since loop 3 lies on it.
  22 Take the knot in your right hand as you did before for the first and second stitches. Now, before you start twisting, define a constant loop at the end of the rope to transfer the loop. Once again, this loop goes directly under the last loop. Since your last loop becomes the main loop, it is easier to make a mistake now. Keep in mind that only one loop can go at a time, that only one loop can go below the other. With this in mind, twist the end of the rope in your left hand and loop as before.
 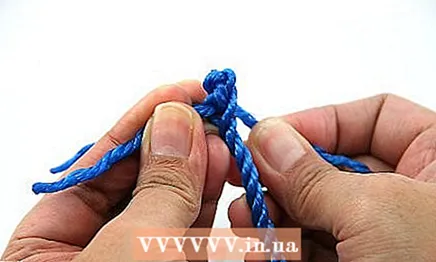 23 Tighten the knots as before, pulling each loop clockwise downward.
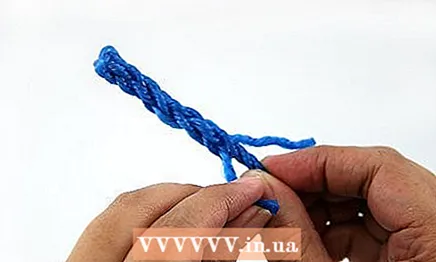 24 To proceed with the coronation and connection of the ends, repeat the previous steps for all connections as desired. It is not necessary to repeat the process for more than three rounds in succession.
  25 Finish the crowning or knotting by final constriction and rolling the entire crown between the palms of the hands. Cut the ends of the crowned knots around a quarter of an inch from the last loop. Sharpen the ends when cutting so that the crown is less rough in your hands. The crown will not disintegrate and will be a permanent element of the rope.
  26 The final.
Tips
- Only one loop is passed at a time.
- Standing end or a piece of rope that doesn't work.
- Only the loop can be constant by itself, the rest pass under -and-over.
- Working end a rope is the part that works or is used in forming a loop.
- Only one loop can go below the other.
- Always remember the under-and-over principle when making the crown of the knot.
- A loop is the twist of a rope that crosses itself.
- Bending refers to a twist in the rope that does not cross itself.
What do you need
- Rope


