Author:
Joan Hall
Date Of Creation:
28 July 2021
Update Date:
1 July 2024

Content
- Steps
- Part 1 of 5: Plan
- Part 2 of 5: Collect what you need
- Part 3 of 5: Pictures
- Part 4 of 5: Lettering
- Part 5 of 5: Add embellishments
- What do you need
Making albums for photos is easy and fun, but for beginners, this art may seem a little daunting. To do this, you need to give freedom to your imagination. If you are unsure of where to start, this article has some helpful tips.
Steps
Part 1 of 5: Plan
 1 Pick a specific topic. If you've decided to make an album, then you probably have some ideas. If you haven't thought about it yet, then it's time to do it.
 - The theme will determine the look and design of the album.
- You can choose themes such as:
- Family vacation
- High school or college graduation
- Family meetings
- Family holidays
- Get-togethers with friends
- Military service
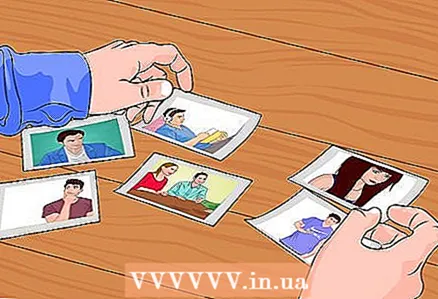 2 Sort photos by topic. Start with recent photos and then add older ones.
 - Use only clear photos - no worn out or smudged ones.
- Take note that you don't need to take the whole photo. The chances are good that the photos will need to be cropped. There are photographs in which the background or background did not turn out very well, and it is better to crop them first, and only then place them in the album.
- Select all the photos you like. You can remove unnecessary ones later.
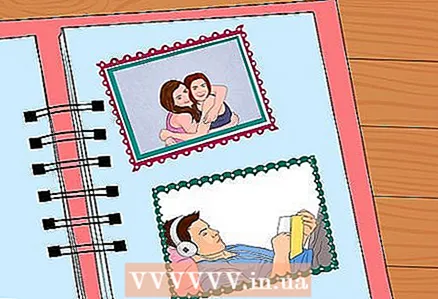
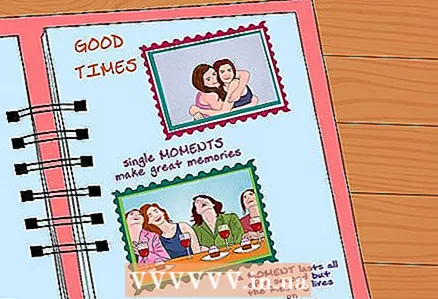
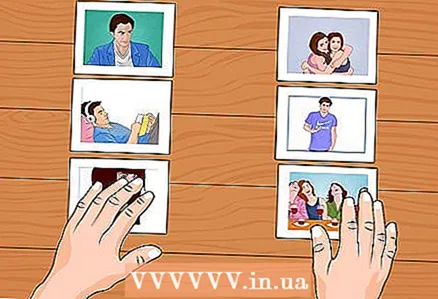 3 Organize all your photos into categories. Each page should have separate categories, approximately four to six images.
 - If you decide to make a small album, then two or three photos are enough on one page.
- If you wish, you can single out several pages into one category. For example, if you are making an album about family vacations, then there might be the following categories: vacation trip, beach, hotel, museums, road home. If you have a lot of beach shots, stick them over multiple pages. The idea is to group similar photos together.
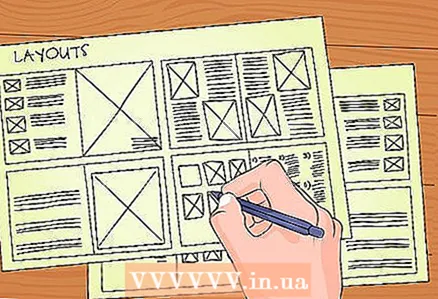 4 Decide in advance how you want your album to appear. It is not necessary to plan the design of each page, but at the very least, you need to determine how many pages you want to make, how many pictures will be on each page, what the design will be, and how many lettering you plan.
 - Write your ideas down in a notebook. Then go through your posts and pick the best ones.
- It's also a good idea to decide in advance whether you want to include titles on the pages to categorize images, or whether you want captions right above the photos.
- You can lay out the pictures on your desktop so you know roughly how each page will look.
Part 2 of 5: Collect what you need
 1 Find an album. Photo albums can be purchased at a clerical or gift store. Standard landscape pages are typically 12 by 12 inches (30.5 cm by 30.5 cm).
 - Pocket albums are smaller - 6 by 8 inches (15.25 cm by 20.3 cm).
- As a last resort, you can use the standard metal ring binder albums, but the photo album is preferable as it looks better.
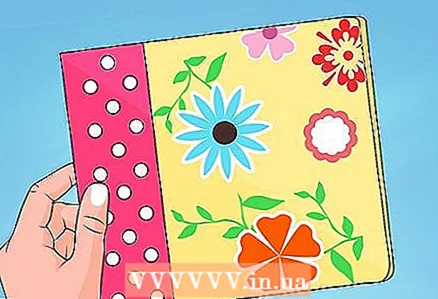
- The color of the album should correspond to the theme of the photographs. For example, for photos from the beach, a light blue cover is suitable, and if you have pictures of your friends, then you can choose an album of more fun shades.
- Note: For important events such as a wedding or demobilization, there are special albums with a corresponding inscription on the cover.
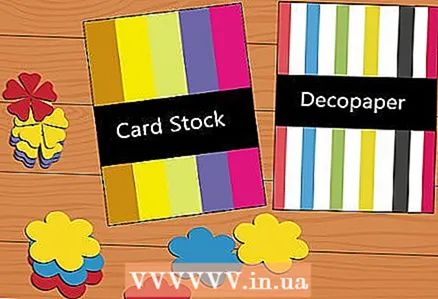
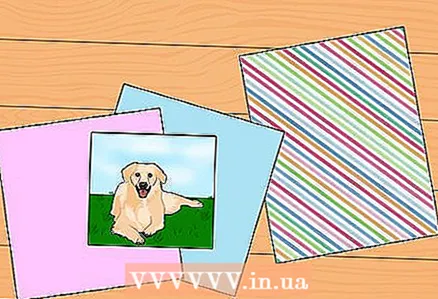 2 The paper should blend in with the photographs. To do this, take some photos with you. Plain paper should blend in with your photographs, and patterned paper should match the color and theme of your scrapbook.
 - You will need two sheets of plain paper and one or two decorative paper for each page.
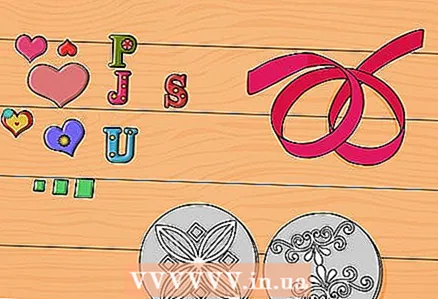 3 Choose decorations. They should match the theme of the album.
 - Typically, decorations can be three-dimensional stickers, rubber stamps, key chains. It all depends on your imagination. But remember, they must be flat or your album won't close.
- Stickers and stamps are the best choice because you can find them on just about any topic.
- Jewelry should match the color and blend in with the photographs and paper.
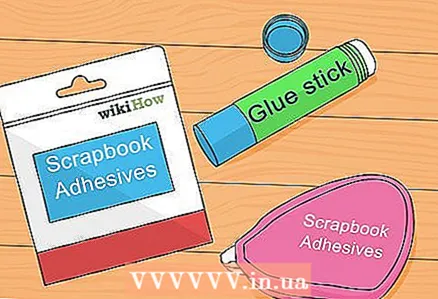 4 Choose a glue for the album. There are a lot of them, and each has its own pros and cons.
 - Spray adhesives are great because they are convenient to use on a large surface and do not make the paper too “wet”. They are also convenient for working with thin materials. Let the glue dry after application.
- Adhesive tapes and dots sticky on both sides can be cut to size. They make pages visually appealing.
- Pressure-sensitive dots are ideal for heavy jewelry because they are very durable.
- Glue - pencil, perhaps the most convenient to use. Make sure you use the minimum amount and choose an adhesive that says “acid-free” or “photo-safe”.
- Liquid adhesives are good for jewelry and are easy to apply, but they can wrinkle pictures and other paper decorations if you pour too much.
- Double-sided tape is not very durable, but it will work for pictures, paper jewelry, and small, lightweight items.
 5 Tidy up at your workplace. Everything you need should be at hand.
 - Lay out your photos in the order in which they should be in the album.
- Set the decorations aside at the other end of the table until you need them.
Part 3 of 5: Pictures
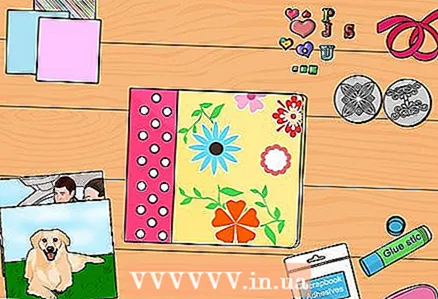
 1 Now we need to adjust the borders of the background paper. Lay a scrapbook in front of you and attach background paper to the top of it. Usually this does not work the first time, but sometimes you can get by with one sheet.
 - Do not use more than three sheets of background paper. It will look ridiculous.
- Each sheet should go slightly over the next, and they should go exactly along the same line.
- When finished with the background, then secure it around the edges with border paper.
- At this stage not glue the paper.
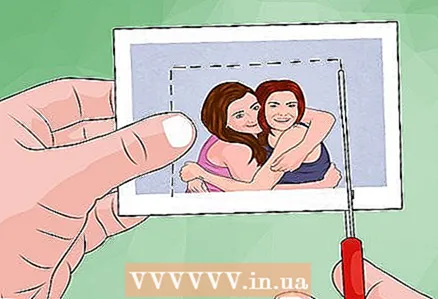 2 Crop your photos. Determine the coordinates of the photos and calculate what background is needed. If all the essential details remain in the center, then you did everything right.
 - The optimal size and shape for pictures depends on their position on the page.
- It would be very far-sighted of you to have copies of the photographs in case of error.
 3 Attach a snapshot. Its color should be slightly different from the background. Cut off excess paper and position the photo on top.
 - Don't glue anything yet.
- Leave some space under or beside each shot so you can write on it later.
 4 Leave some room for everything else. You will need space to decorate the album with labels and stickers.
 - All parts of each page must touch each other or partially cover. They should not float or be too far away.
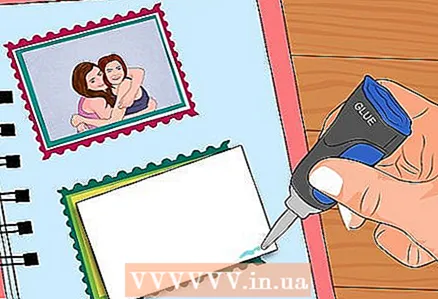 5 Glue everything. Don't overdo it with glue.
 - This must be done from top to bottom. First glue the pictures onto the background paper and wait for them to dry. Then the background paper should be glued to the page.
- Only write and glue the decorations after the paper is completely dry.
Part 4 of 5: Lettering
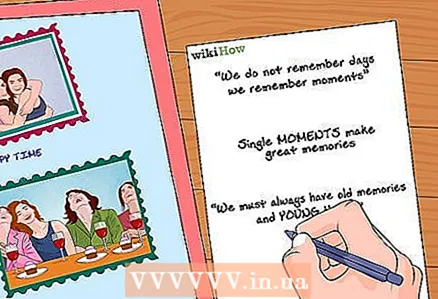 1 Think about the captions ahead of time. It's important to understand what each photo means to you and those around you.
 - Write down your ideas in a separate notebook.
- First write them down on a draft.
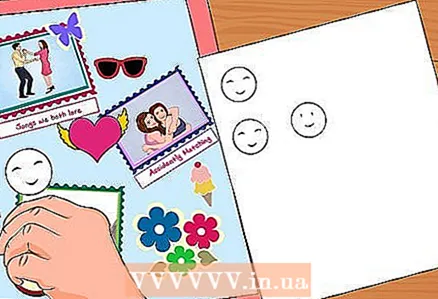
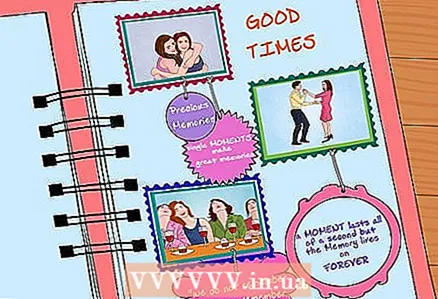
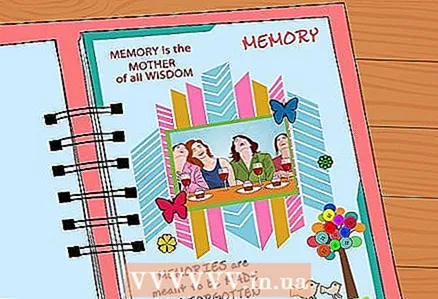
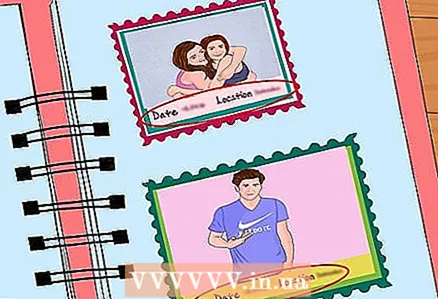 2 Add captions if desired. If you've left a space next to each photo, write a short title using a ballpoint pen or felt-tip pen.
 - Usually they write the date, place and names of the people in the photo.
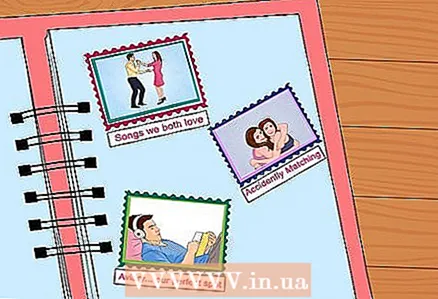
 3 If you want, you can add to which category the picture belongs to.
- For headlines, you can use stories, quotes, anecdotes, or relevant quatrains.
 4 Decide if you will be typing or handwriting. Most write by hand, but some prefer to type, print and paste the text.
 - Handwritten text may be sloppy or misspelled, but it is also more personal and meaningful.
- Printed text looks good, but may seem devoid of personality.
Part 5 of 5: Add embellishments
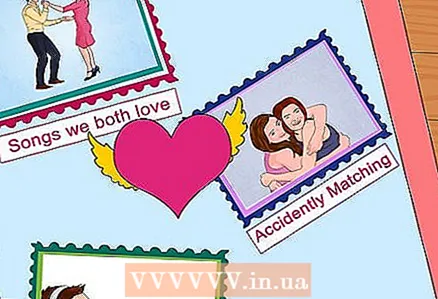 1 Accommodation. Decorations should lightly touch the photos, but not obscure important details.
 - Do not attach jewelry too far from pictures. Nothing on the page should "float".
 2 Use stickers. Any will work for you, but it is better to take those that do not contain acids. Three-dimensional stickers will look good.
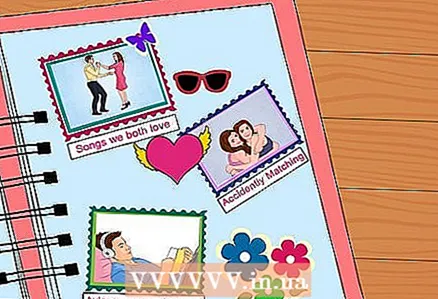
 - Stickers must correspond to the category and subject of the photo album. For example, stickers - shells are suitable for the beach, footballs or basketballs - for pictures from sports events, hearts or roses - for romantic themes.
 3 Seals. They will also help a lot to diversify the page, just like stickers. Choose rubber stamps that suit your theme and that blend in color with your photos.
 - Test printing on a separate sheet of paper before use.
- When stamping, make sure the image is evenly covered with ink. Do this on a hard, level surface and hold the seal firmly on both sides.
- Do not touch the picture until it is dry, otherwise you will smear the ink.
 4 Cut your decorations out of decorative paper. You can cut your own simple shapes and designs out of paper that matches the color scheme of each page.
 - You can also use colored cardboard.
- You can draw and cut shapes by hand.
- You can also get interesting shapes with a punch or hole punch.
 5 Attach tags. If you forgot to label next to the pictures, then it is easy to fix, just stick the tag with the inscription on the photo.
 - The tag can be written with a pen or marker.
- Apply the tag with a little glue to the end of the tape or string.
 6 Be creative. You can use almost any relatively flat object to decorate your photo album. Make sure, though, that it doesn't damage your photo.
 - These can be: pressed flowers, buttons, ribbons, locks of hair, magazine clippings, or newspaper headlines.
- Be careful when using metal jewelry. Never attach metal directly to the photo, as it can damage the photo over time.
What do you need
- Photo album
- Photos
- Background paper
- Decorative paper
- Cards
- Stickers
- Scissors
- Rubber stamps and ink
- Stapler
- Glue
- Decorations
- Pen or felt-tip pen


