Author:
Janice Evans
Date Of Creation:
25 July 2021
Update Date:
1 July 2024

Content
- Steps
- Part 1 of 3: Content to appear on the cover
- Part 2 of 3: Cover Design
- Part 3 of 3: Printing and Inserting the Cover Art into the Disc Box
- Tips
- What do you need
With a little imagination, you can turn a standard home video cover into a fun and catchy one, just like a store-bought movie disc. This article will guide you on how to make a DVD cover for your home video or favorite movie.
Steps
Part 1 of 3: Content to appear on the cover
 1 Think about the content of the movie. Before you start creating a DVD cover, determine what the movie on the disc is about.
 - Is this a home video? Are these videos you filmed while on vacation? Or is it a short that you made for school or just for fun?
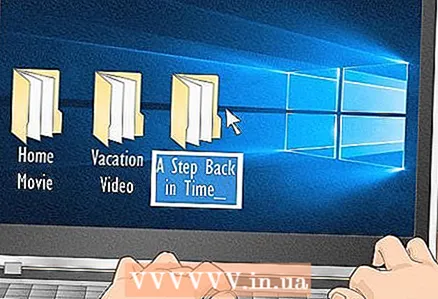 2 Come up with a title for the movie. The name should be not only informative, but also interesting and attractive.
 - Come up with something more interesting than just Family Vacation to make the cover look more attractive.
- In the title of the movie, include the name of the countries you have visited or what you did there.
- For example, if you made a video for a school history project, don't call it “History Project”; call it "Back to the past!".
 3 Find a suitable picture. Look at the cover of any film, and you will notice that there is a central image or theme on it, usually including the characters of that film.
 - As a picture, you can use a frame from a video you have taken or a photograph you have taken.
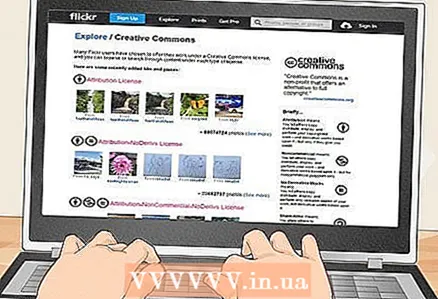
- Moreover, on the Internet, find a picture that you think will fit the cover of the disc. But keep in mind that if you are going to redistribute this disc, you may have problems, as the image downloaded from the Internet may be copyrighted.
- You can find images on the internet that are not copyrighted. There are many such pictures on the respective sites and on Flicker (in the "Creative Commons" section).
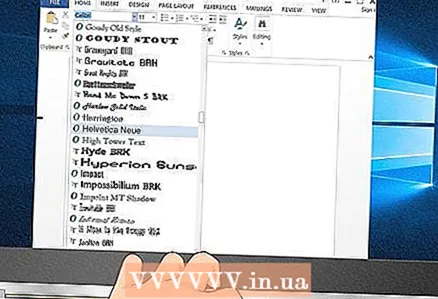 4 Pick one or two fonts. If you type the cover text in one or two fonts, then it will be easy to read.
 - To give your cover a professional look, use the following fonts: Helvetica, Folio, or Standard CT.
- If you've traveled to Asia, you might want the font to indicate the geography of your trip. In this case, use the Papyrus or Bonzai font. If you want a funny, fun typeface, use Distillery or True North.
 5 Browse the covers of your favorite films for inspiration. Do you have a disc or poster of your favorite movie? Look at it and note its merits and demerits.
 - Perhaps you like a photo collage cover or a funny font. Inspired by what you like, you can imagine what your CD cover should look like.
Part 2 of 3: Cover Design
 1 Use Word or a graphics editor. You can create cover designs in Microsoft Word or Photoshop.
 - In Microsoft Word, you can use a ready-made template or set the document parameters manually. In OpenOffice.org Writer or Microsoft Word, click Format> Columns and select 3. Set the width of the first column to 129 mm, the second to 15 mm, and the third to 129 mm. Then click Split Line.
- If you know how to work with Photoshop, create a cover design in this program.
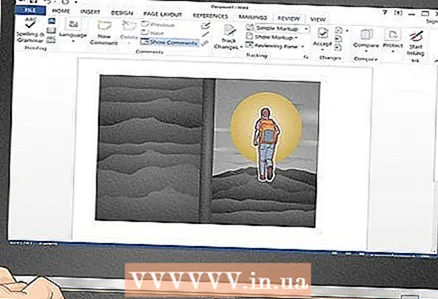 2 Insert pictures into a text document. If you have set the page parameters so that it can be printed and folded accordingly, then you can insert pictures on the front and back of the cover.
 - A standard DVD cover is 184mm x 273mm. Depending on your printer model and paper size, you may be able to fit the entire cover onto one sheet of A4 paper (this is a standard sheet that will fit the cover on it). You may need to reduce the page margin size to 0.
- If the size of your sheet of paper does not fit the entire cover, then both the front and back of the cover are 184 mm x 130 mm. The title strip (spine) is 184 mm x 13 mm (perhaps the sides of the cover will partially cover the spine).
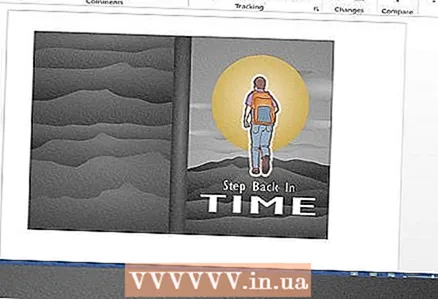 3 Insert your text. After inserting images, enter text.
 - In Word, use the "Insert Text" feature. In Photoshop, press the "T" (in the toolbar) and then place the text box over the pasted image. A flashing cursor will inform you that you can enter text.
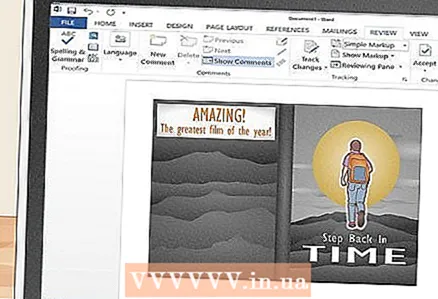 4 Get creative. You can insert not only a picture, but also authoritative or your own comments, for example, "It's amazing ... The best film of the year" - Peter Ivanov, Seance magazine. If the disc contains home videos, insert a commentary on the video or trip that emphasizes the content of your movie.
 - This will make your cover look more professional. For the same purpose, you can add a fake barcode and age restrictions for viewing this video (for example, 12+, 16+, 18+).
Part 3 of 3: Printing and Inserting the Cover Art into the Disc Box
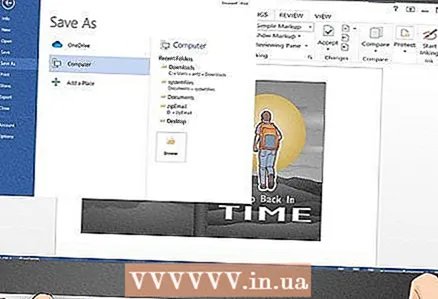 1 Save the file. Before you print the generated file, save it in case something goes wrong - you can always make changes, for example, if you don't like the printed cover.
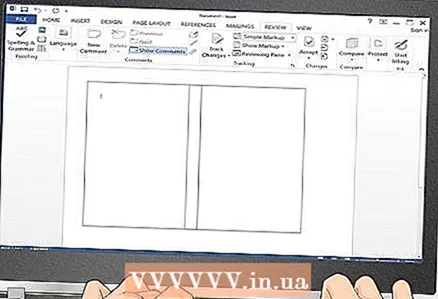
  2 Preview the created cover. This is to make sure the content is positioned correctly and the cover looks exactly as you intended.
 - In Windows, click Menu - Print - Preview.
- On Mac OSX, go to the File tab and click Preview.
- In Photoshop, just click Print.
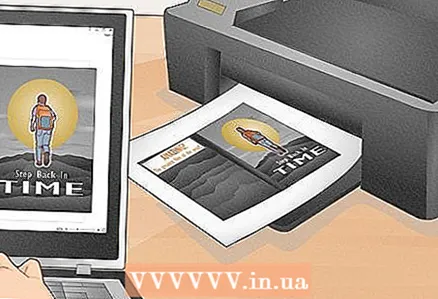 3 Print a test page. If you intend to print several of the same covers, first print one test page to make sure the cover looks as you intended. That way, if the cover needs to be tweaked, you won't waste paper and ink.
 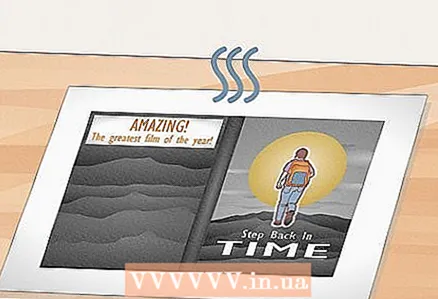 4 Let the ink dry on the paper. Before inserting the cover into the disc box, place the printed sheet on a horizontal surface and wait about 20-30 minutes for the ink to dry; otherwise, the ink will smear when you insert the cover into the disc case.
 - If you are using glossy photo paper, wait a little longer as the ink dries more slowly on such paper.
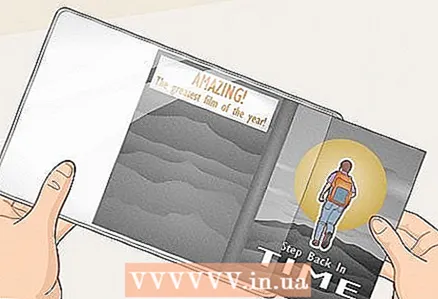 5 Insert the cover into the disc case. When the ink is dry, open the box completely (that is, flat). Insert the cover into the plastic pocket of the box; if the cover is crooked, use your fingers to straighten it. That's all! You have received a CD with a cover art made by yourself.
 - If your disc has a white surface and you have an optical drive that allows you to print images onto the surface of the disc, take advantage of this! This will make your disc look even more professional. If you do not have such a disc or equipment, attach a label to the disc. Self-adhesive labels can be purchased at specialty stores or found in the office.
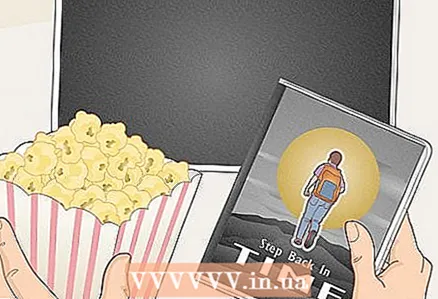 6 Grab some popcorn and enjoy your movie! Show the professional-looking disc to your movie audience to wow them.
Tips
- If you run into problems, there are various online forms and templates to help you with the correct cover and paper sizes.
- Look at the CD covers and posters of movies you like for inspiration.
- Allow the ink to dry before inserting the cover into the DVD case.
What do you need
- Computer with Word or graphics editor.
- Printer
- Paper
- DVD box


