Author:
Joan Hall
Date Of Creation:
2 July 2021
Update Date:
1 July 2024

Content
- Steps
- Part 1 of 3: Preparing your hair
- Part 2 of 3: Prepare your hair strands
- Part 3 of 3: Glue the strands
- Tips
- Warnings
Extension involves attaching store-bought strands of hair to your own to create more volume and length. For extensions, natural and synthetic hair are used. Extension is carried out by sewing on or gluing strands. Sewing and braiding is a very time-consuming process that is best left to an experienced hairdresser, so if you want to extend your hair right now, then you better use glue. Keep in mind that this technique works best for thick hair. Fine, straight hair may not be strong enough and may be damaged in the process.
Steps
Part 1 of 3: Preparing your hair
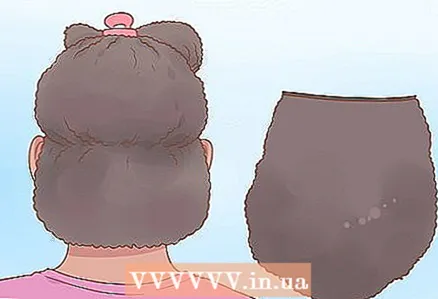
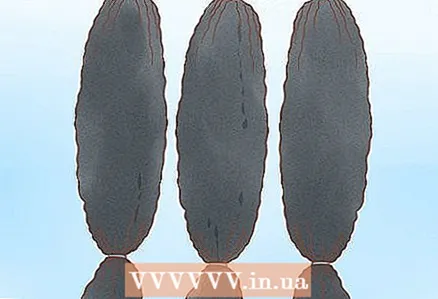 1 Buy strands. As a rule, such strands are made from natural hair that is sewn by hand or with a machine. They differ in color, texture and length. Choose a color and texture that matches your hair, so the hair extensions look as natural as possible. If you do everything right, no one around you will notice that this is not your hair.
 - You can dye strands or add highlights to get the perfect color or hue. If you cannot choose one of two shades, give preference to the lighter one.
- Virgin or Remy strands are made from natural hair with no or minimal processing. This makes them more expensive, but makes your hair look more natural. Synthetic hair is cheaper, but it often happens that it cannot be washed or styled.Plus, they can look less natural than natural strands.
- In addition to the strands, you need a special build-up glue. The color of the glue should match your hair color. Do not try to use any other type of glue.
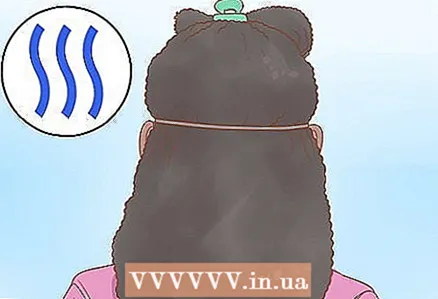
 2 Make sure to match the texture of your hair and strands. If you bought straight strands, and your hair naturally curls, you will need to permanently straighten your hair. before thathow to start building. For the result to look natural, the texture of the hair must match as much as possible.
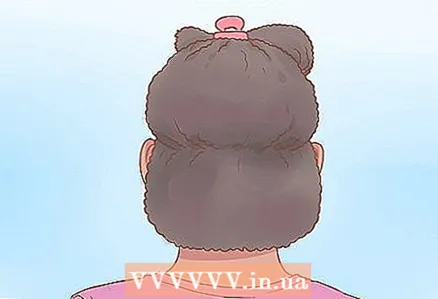
 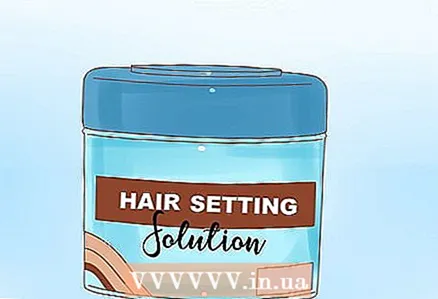 3 Apply hair fixer. This will help lock your hair in place and minimize damage. If you have short hair (above the shoulders), comb it back, cover it with a special fixative, and press it as close to the scalp as possible. If long, gather them in a tight, low ponytail and smooth back using the product. Let the product dry completely.
 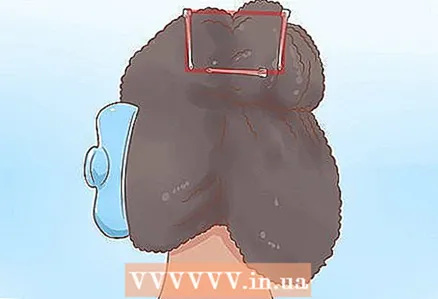 4 Detach the rectangular section. Using a comb, separate a section of hair in a rectangle at the crown of the head. Make parting along the sides and across the back of the head, in the most convex part of the head. Secure the separated section with an elastic band.
 - All strands will be attached just below this rectangular section. You need to have enough hair in this rectangle to cover the top of the attached strands. Otherwise, the place of their gluing will be noticeable.
 5 Make a U-part at the bottom. Use a comb to make another parting that starts 7.5 cm from the bottom hairline and runs from side to side, around the base of the head. The bottom-most overhead strands will be glued directly under this parting.
 - Make sure to part your hair very evenly. If the line is uneven, the build-up will look messy.
- Make sure the parting is about 7.5 cm above the hairline. If you make your extensions too low, they will be noticeable when you pull your hair into a high hairstyle.
Part 2 of 3: Prepare your hair strands
 1 Measure and cut the first section of your hair. Attach a strand of hair to the U-shaped bottom parting to measure how long you want. Press the strand to your head so that it fits into the parting. The edges of the strand should be about 1.5 cm from the hairline on the sides of the head. If the strand is behind the hairline, it will be too noticeable when you brush your hair up. Use scissors to cut the strand to the desired length.
 - Double check the length of the strand by attaching it to your hair before trimming it.
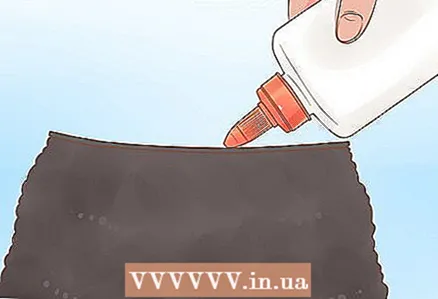 2 Apply special glue to a section of hair. The strand will naturally curl inward and the glue must be applied from the inside of the curl. Apply the glue slowly and carefully in a straight line around the edge of the strand. Take your time to do everything neatly. The glue will be thick enough.
 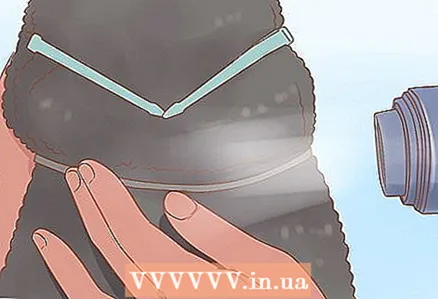 3 Soften the glue with a hair dryer. Use a hair dryer to heat the glue and soften it to a sticky consistency. It shouldn't run or be slippery, but should feel sticky to the touch. Make sure all the glue is tacky by gently touching it along the entire strand.
 - If the glue becomes too runny, it can run off onto the hair and damage it. Make sure it's not wet, just sticky enough to stick to your hair.
Part 3 of 3: Glue the strands
 1 Attach a section to your hair. Very carefully position the strand so that the glue is facing your hair. Starting at 1.5 cm from the side of the hairline, press the strand into the hair about 2-3 cm below the parting. Gradually press the strand into your hair, step by step, until you get to the other side of your head.
 - Be very careful not to stick the strand to your scalp. If you stick a strand to your scalp, it will inhibit hair growth and create a bald patch.It is very important to glue the strand a few centimeters below the parting and only to the hair, not to the skin.
- Remember to stick the strand 1.5 cm from the lateral hairline. If you stick a strand too close to the hairline, it will be noticeable.
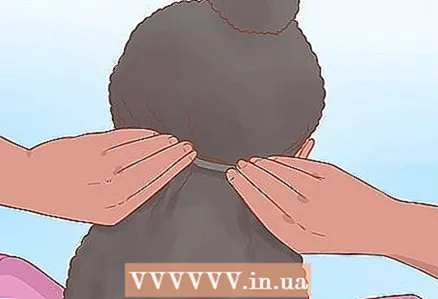
 2 Let the glue dry. When you are finished gluing the strand, wait about 3 minutes for the glue to dry completely. Pull on your hair a little to make sure it sticks well. If part of the strand does not hold well, apply some more glue and press down until the entire strand is properly glued.
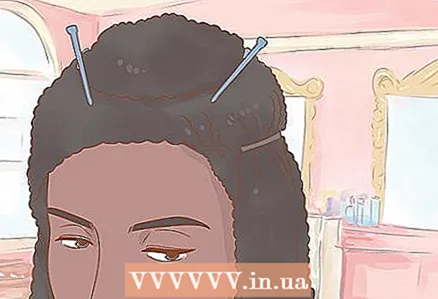
 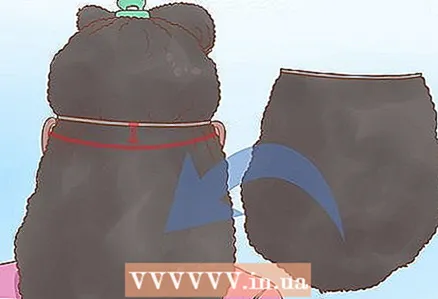 3 Repeat the process, stepping back 6.5 cm from the first strand. Now that one strand is glued, it's time for the next. Step 6.5 cm up from the top of your first strand and make another U-part around the back of your head. Pin your hair over the parting and repeat the same process for the next section: measure, cut and glue.
 - Measure out a new strand and trim it so that on the sides it does not reach the hairline by 1.5 cm.
- Apply the glue to the strand in a straight line, then use a hair dryer to make the glue sticky but not runny.
- Glue the strand a few centimeters below the parting, making sure that it does not touch the scalp.
 4 Finish sticking on the strands. Continue glueing the strands, going up 6,5 cm each time, until you reach the top of the head - the rectangle that you separated from the very beginning. When you get to that top, measure, cut and glue the last strand. This time, the strand will stretch from the edge of the forehead on one side through the crown and to the edge of the forehead on the other side. On both sides, step back 1.5 cm from the hairline.
 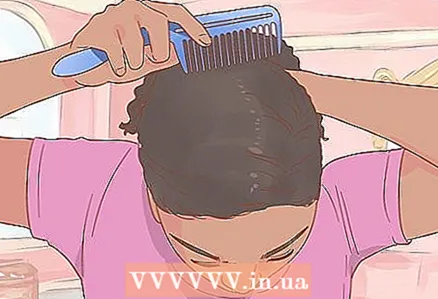 5 Comb your hair. When all the strands are in place, remove the elastic from your rectangle of hair. Use a comb to blend your hair with glued strands. You can now style your hair as usual. You can also trim your hair to make the strands look even less natural.
 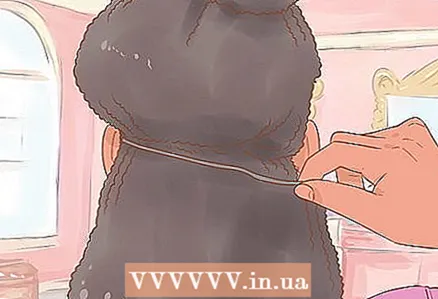 6 Remove the extensions when the time is right. After a few months, your fake strands will naturally loosen up and you will take them off. You can use a special lotion remover cream. Apply the cream around the area where the hair is stuck, let it work for as long as indicated on the instructions on the package, and then use a comb to separate the strands.
 - If you don't want to buy a cream to remove strands, try using olive oil. Apply oil and leave on hair for 20 minutes, then use a comb to remove strands.
- If olive oil doesn't work, try peanut oil or use dishwashing detergent.
Tips
- Buy shampoo, conditioner, and styling products specifically formulated for hair extensions.
- Think about your hairstyle before doing a quick extension. When the strands are glued on, you will have the same hairstyle for a long time, so think about which hairstyle you will not get tired of wearing and will be comfortable to style.
Warnings
- Keep in mind that after a quick build-up, the scalp may feel uncomfortable for several days.
- Make sure you dissolve the glue well before removing the hair extensions to avoid damaging your own hair.


