Author:
Janice Evans
Date Of Creation:
25 July 2021
Update Date:
14 May 2024

Content
- Steps
- Method 1 of 6: Photoshop
- Method 2 of 6: Microsoft Paint
- Method 3 of 6: Using Microsoft PowerPoint
- Method 4 of 6: Use Online Banner Designers
- Method 5 of 6: Create an avatar that matches your banner
- Method 6 of 6: Adding a banner to forums, websites, etc.
- Tips
- Warnings
A web banner is something we are all familiar with. It is a graphic at the top of a web page that displays a company name and logo, or it can be an advertisement, or both, especially when a banner appears on a commercial website.The banner should be informative, engaging and inviting - you want the casual visitor to open the site many times. We will show you several ways to do this.
Steps
Method 1 of 6: Photoshop
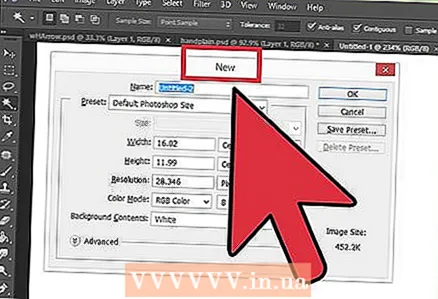 1 Create a new document. Determine the banner size: there are accepted sizes for a standard banner. We'll focus on a standard "full banner" of 468px by 60px:
 - Note that this is a standard size, but not a requirement. If other sizes are suitable for your needs and requirements, please change the size. This will help you.
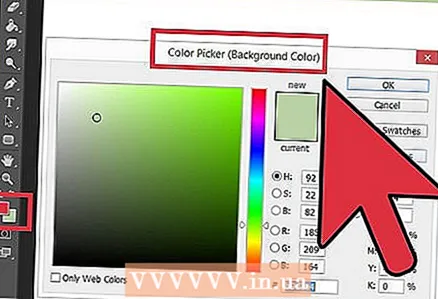 2 Set the background color. Fill the background layer with a background color that suits your website design.
 - Click on the foreground color to open the color picker and choose a fill color.
- Use the Paint Bucket tool to fill the banner's background layer with the color of your choice.
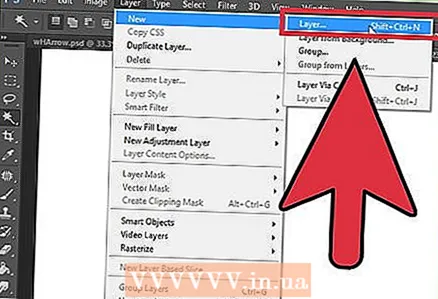 3 Create a new layer. We're going to fill it with a richer color to help make the text and logo stand out. We want it to be proportional to the banner size and centered.
 - In a new layer, select a frame slightly smaller than the banner and fill it with the desired color
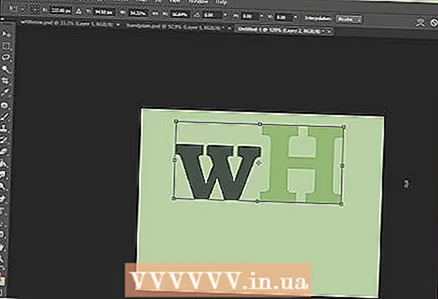
- Move the filled area to the center. Select the entire layer by pressing CTRL-A (PC) or Command-A (Mac).
- From the menu Layer Select Align Layers to Selection> Vertical Centers. Repeat this step but now select Horizontal Centers. This will center the contrast layer horizontally and vertically.
 4 Add your logo. Open your branding file, copy it and paste it into your banner document, where it will appear as a new layer. Resize it as needed to fit the banner. Press CTRL-T (PC) or Command-T (Mac) and use the handles to resize the image as needed. To resize proportionally, hold down Shift.
 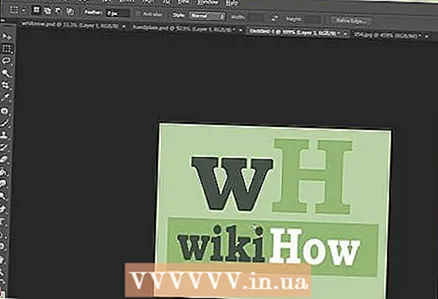 5 Add the name of your company or website. Select the text tool, select the font you want and type in the title. Adjust the size as needed as described in the previous step.
  6 Add additional elements. Sometimes a logo and a name are enough. Sometimes adding some lines and embellishments will generate additional interest in your banner. Create a new layer to do this so that you can make any adjustments without disturbing other layers.
 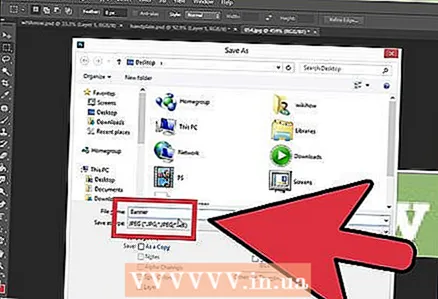 7 Get everything in order. Fine-tune the placement of the logo, title, and additional elements. Save your banner.
Method 2 of 6: Microsoft Paint
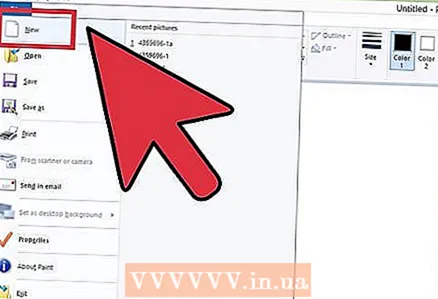 1 Create a new document.
 2 Select the part of the window for the desired banner size. It can be any size you like. Or click here for standard banner sizes.
 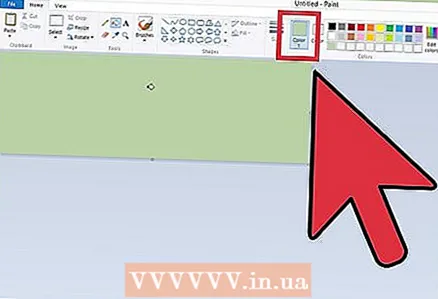 3 If you want a colored background, use the Paint Bucket tool to fill the banner with any color you like. Make it so that it blends in with the rest of your website.
 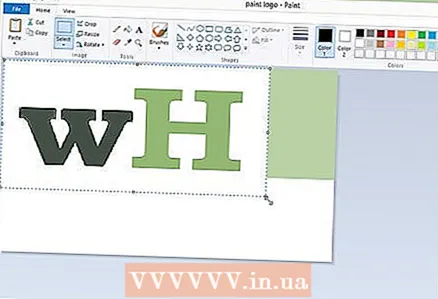 4 Add photos, graphics and text. Press Paste (Insert). Choose from the menu Paste from.
 - Find the picture you want and click on the button Open (Open).
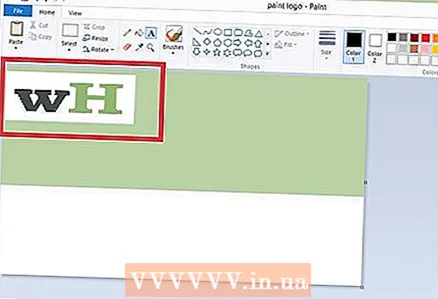 5 Resize your picture. Click on the button Resize (Resize) then select Pixels (Pixels). Change the height to match the height of your banner.
 - Move the picture to the desired location.
- Add as many relevant images as needed
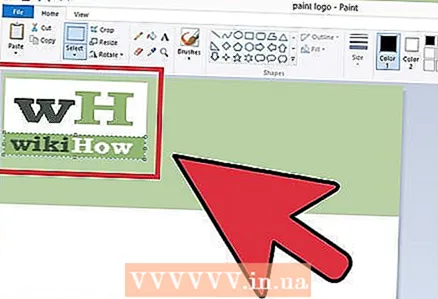 6 Add a title or any required text. Use the text tool (button A ) .
 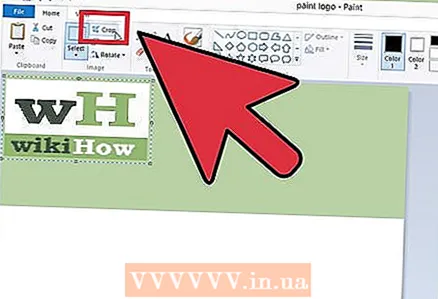 7 Crop your banner. Use the tool Select (Select) and select a banner. Make sure it is the correct size. Then click on Crop (Crop).
 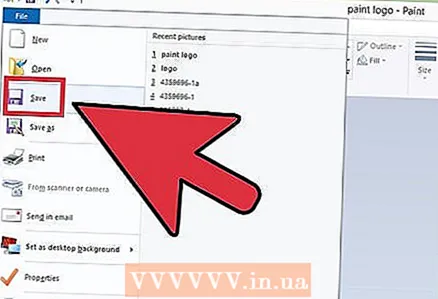 8 Once you're done, save the file!
Method 3 of 6: Using Microsoft PowerPoint
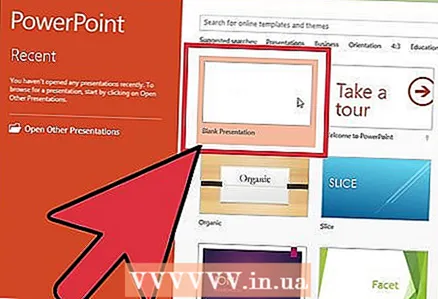 1 Create a new blank PowerPoint document.
- Set the magnification to 100%.
 2 Set the banner background. Use one of the standard banner sizes or the size you need.
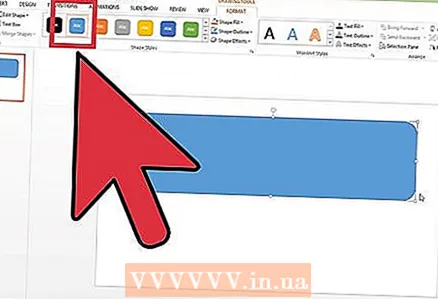
 - Click on Shape (Shape) and select the base rectangle.
- Draw a rectangle of the desired size and fill it with the desired color.You can use a solid color or from the fill with color menu choose Fill Effects (Fill Effect). You can click on button Quick Styles (Quick Styles) and choose a style.
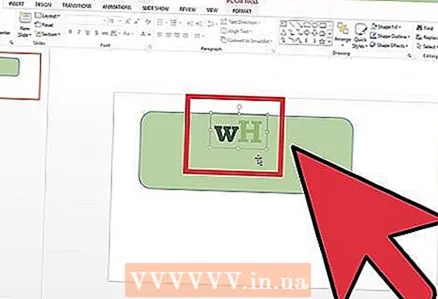 3 Add photos or logos. You can add photos, logos, emblems or other images to your banner. We will use clipart for illustration. Click on the button Picture (Picture) and select the desired type of picture you want to include. Add an image, resize it and place it in your banner
 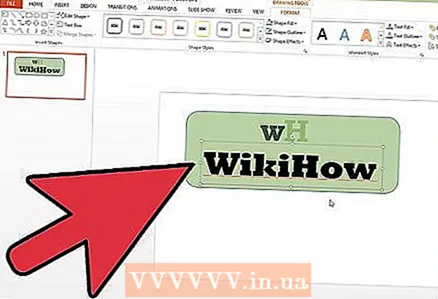 4 Add text or other elements. Place your company name, subtitle or any other information to finish making your banner.
 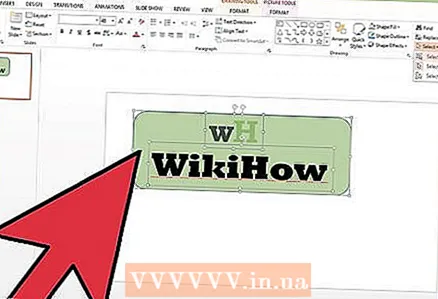 5 Select a banner. From the menu Edit (Edit) select Select All (Select All) or press CTRL-A (PC) or Command-A (Mac). It's important to make sure your banner is exactly what you want it to be and that there is nothing extra on the slide!
 - Right click on any non-text element of your banner and select, Save as Picture (Save as Image).
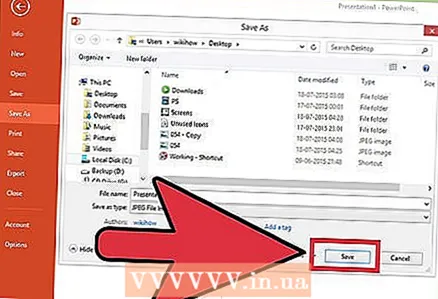 6 Save your banner. Open it up and check that it is the way you wanted it and use it!
Method 4 of 6: Use Online Banner Designers
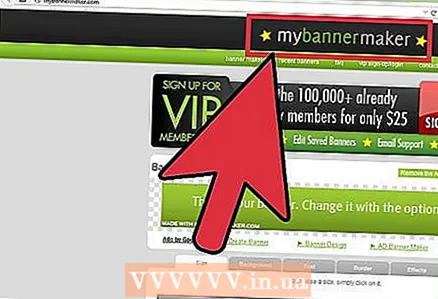 1 Visit one of the following websites: BannersABC.com, Addesigner.com, mybannermaker.com, etc. (search other sites on Google). There are many online banner designers. Spend a few minutes comparing their features and choose the one that suits you best.
 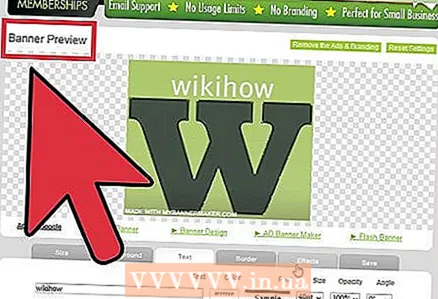 2 Add your text and images. Follow the prompts on the screen and use their methods to build your banner. They will often have their own artwork that they can use right there or even import custom-made images into the banner.
 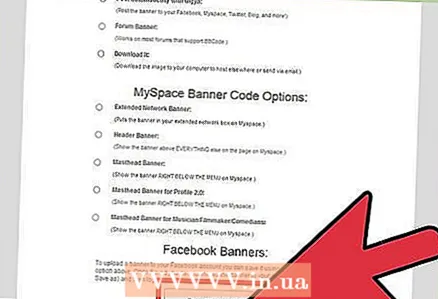 3 Generate your banner. When done, use the export function, which will allow you to determine where you want to save the file and the file format (usually jpeg). Follow the instructions, save, download and use!
Method 5 of 6: Create an avatar that matches your banner
 1 This is optional. You can use your avatar for your banner if you use it on the forums.
 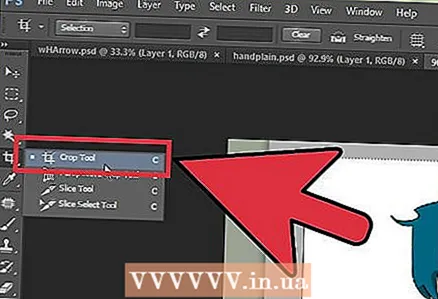 2 Use the "Crop" function. It is available in most graphics applications. Crop your banner to a small section.
 - Alternatively, you can design a small version that includes elements of the larger banner. It can be just your logo, or your photograph, or just the name of the company. The main thing is to make it recognizable.
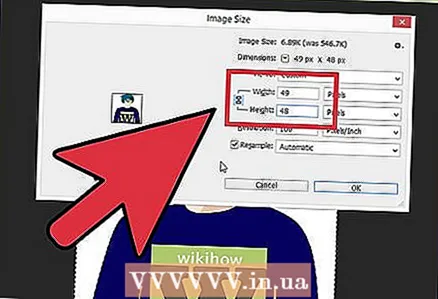 3 Your avatar should be small. 48x48 pixels is the standard size.
 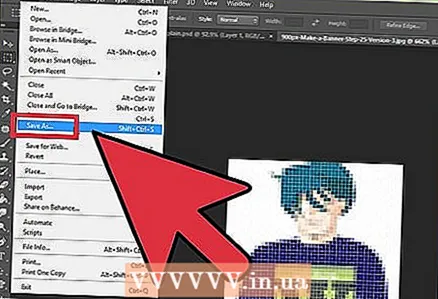 4 Save your avatar!
Method 6 of 6: Adding a banner to forums, websites, etc.
 1 Create an account. Use a photo storage site like Photobucket, Flickr, Tumblr, or something similar.
 - Once you have created an account, you can upload your banner, avatar, and any other images to your website.
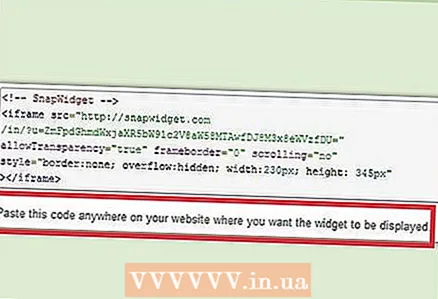 2 Get the code. Use the sharing features to add your banner HTML to your forum signature, website, or whatever.
Tips
- Use the wide variety of fonts available on your computer.
- The master's work is afraid.
- Take a look in the forums or elsewhere to see examples of banners!
Warnings
- Creating a banner takes time and patience!
- To have your banner in the best format, save it in 24-bit resolution. Make copies in Jpeg and Gif, because Jpeg and Gif can accidentally mess it up.
- When you upload your photo to Photobucket, if you've used PowerPoint to make your banner, it might be an EMF file that Photobucket doesn't accept. To convert it, make sure you save it (step # 9) as a JPEG or GIF. Then you can upload it to Photobucket.


