Author:
Joan Hall
Date Of Creation:
3 July 2021
Update Date:
1 July 2024

Content
Would you like to make an applique to support your favorite band, movement or quote or something else? Learn to make an applique using acrylic paint and stencils (this is NOT silk screen printing!) Best if you do not plan to make a large number of such products, as the stencil will most likely deteriorate and / or the image will not be perfect. Make the applique yourself!
Steps
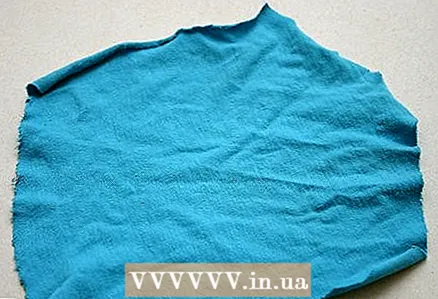 1 Cut a piece of fabric to the size you want the appliqué to be. If you are going to sew fabric to something, remember to leave a gap if you plan to tuck the edges.
 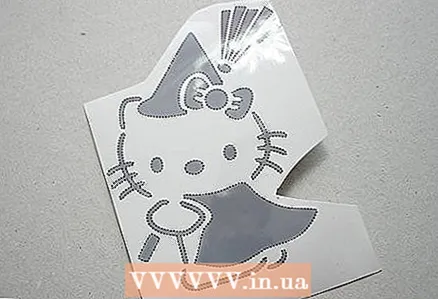 2 Find a stencil with the pattern you want. You can find it in a magazine or print it from your computer. Be sure to adjust the print size so that the stencil fits the applique. Remember, if you're going to cut letters or intricate shapes, your stencil can be difficult to make!
 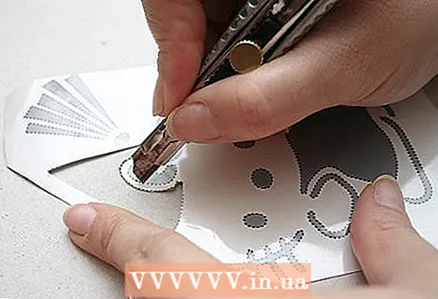 3 Using a razor blade or utility knife, cut out the stencil along the lines. Be sure to put a protective cover on as the blade will definitely go through the paper and you will need to protect the table or other surface you are working on.
 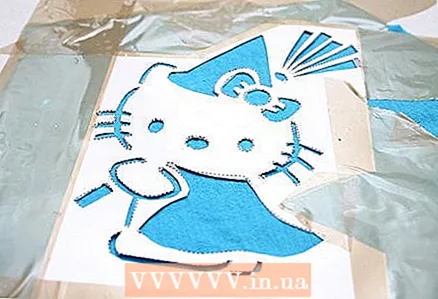 4 Relax, the hardest part is behind! Take a stencil and place it on the fabric where you want to draw. Secure it with duct tape as close to the edges as possible. Also wrap the duct tape around the fabric and stick it where there is room on the back of the stencil. The more reliable the better.
 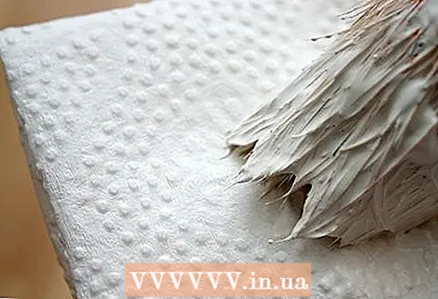 5 Wet the brush and wipe it lightly on a paper towel to keep the paint from the brush from thick and lumpy. Apply some paint to the brush and start stencil painting. Take your time and be careful when working around the edges.
 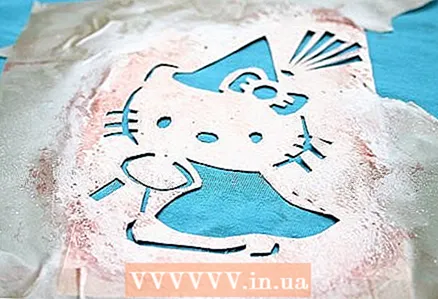 6 Let the paint dry. It may be necessary to apply more than one coat of paint to the stencil. br>
 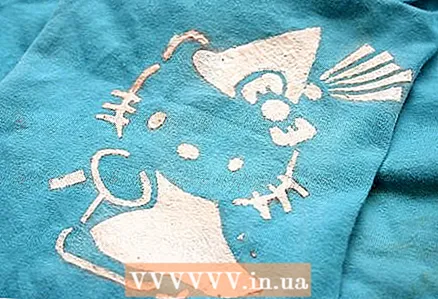 7 When you are satisfied with the resulting color, carefully peel off the adhesive tape and remove the stencil and any other pieces of paper. Ready!
 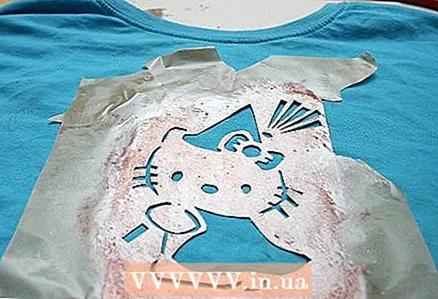 8 You can also use this method to stencil shirts and other items! Be careful with the other side of the piece, acrylic paint can bleed through, so be sure to place something under the stencil.
Tips
- Before cutting the stencil, you can place it on cardboard or something else that won't cut.
- You can thin the acrylic paint with water as much as you like to achieve the consistency you want. However, the less frequent the paint is, the more coats you will need to apply to get the original color, and the more likely it is that the paint will show through the fabric.
- Before attaching the stencil to the fabric, you may need to trim it so that the edges of the stencil are close to the edges of the paper. When you attach it with duct tape, the stencil will be fixed where you apply the paint and you will achieve less paint smearing.
- Make sure your stencils are made correctly! For example, when making the letter "O", if you cut O, you get a circle. You can avoid this by making two semicircles, leaving a strip of paper below the middle to hold the smaller O. There are many fonts on the Internet to help you do this. Alternatively, you can try using duct tape or using your fingers to hold the smaller circle of the O as you paint. (This works well for large stencil parts that can be easily secured with duct tape.)
Warnings
- If the stencil does not fit snugly, there is a good chance that paint will penetrate under the stencil and ruin your design. Make sure the stencil is in place and press down on the paper as you apply the paint.
- Be careful when using a razor blade or utility knife! They can slip off easily.
What do you need
- the cloth
- acrylic paint in contrasting colors
- brush
- stencil with pattern
- utility knife or blade
- duct tape
- Smooth surface


