Author:
Helen Garcia
Date Of Creation:
17 April 2021
Update Date:
1 July 2024
Content
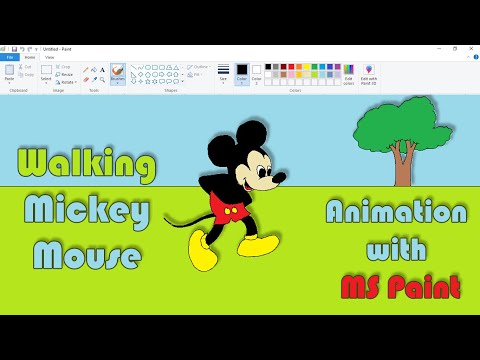
Using simple software (such as Paint and Movie Maker), you can create your own animations for Youtube and other sites on the Internet.In addition, this article will introduce you to free (or very cheap) programs that make animation much easier than you thought without learning Flash and other complex programs.
Steps
 1 Decide what you want to animate. Before you start drawing, you need to come up with a good (or better, great!) Story. Wikihow has a couple of articles to help you: "How to write a short story" is a good start for you. Remember, a good story consists of an introduction, a climax, and a conclusion.
  2 Storyboard your script (translated into a series of hand-drawn pictures). See articles on Wikihow for storyboarding tips.
 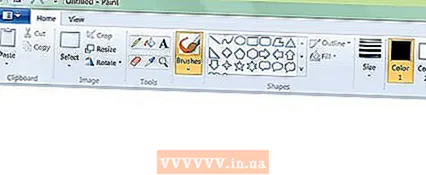 3 Let's start making animation! Open MS Paint (or any other image processing software like JASC Paint Shop Pro). PSP is a fairly straightforward program, although there are some learning difficulties. Most importantly, in PSP, you can add bits that will move in your animation as layers. Then, you will move the layer to get the effect of movement (against the reshaping of the whole frame, or "cel").
 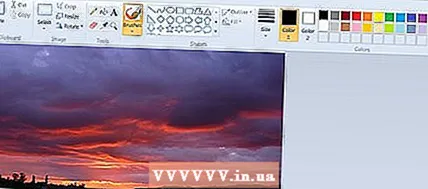 4 Draw the first frame (or import a photo). Make sure you do everything the way you wanted, otherwise, you will be very angry with the result, and you will waste your time.
 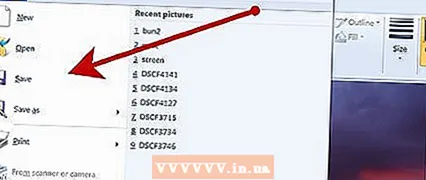 5 Save this to the Pictures of the program you were using (or better copy it to the Animations of the program). GIF animations (GIF-A) are free, and are recommended for your first animation. You can also watch the JASC animator program (the "trial" version never ends). Animation programs will speed up the process in many of the above ways.
 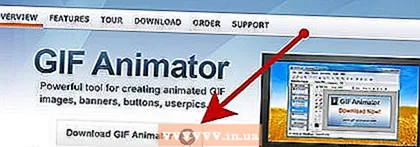 6 Make the adjustments you want to make for the next shot. This is an animation, so you have to do everything step by step. Each frame is usually just slightly different from the previous one. If you know about "layers" and are using PSP, then you can achieve this with the movement of your mouse.
 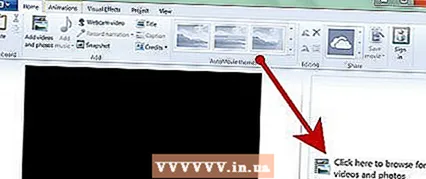 7 It is important to save your photos (or better an animation file) in Windows Movie Maker (MM). Do this when you finish the scene. Drag them down to the storyboard panel. You will do this many times until you create your creation.
  8 Add title and special effects. Once all the pictures are the way you want them to be, it's time to add special effects, parts, titles, whatever you need.
 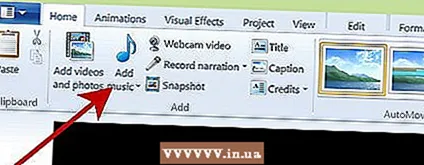 9 Add sound: this is necessary for a spectacular film. MM has a sound editor, but it is constantly buggy, difficult to modify, and can reboot without warning (often requires a hard reboot). You can edit the sound in any other program (for example, in CoolEdit, but it must have a suitable package), then drag the finished file to MM. You can download the sounds you need from the net simply and free of charge.
 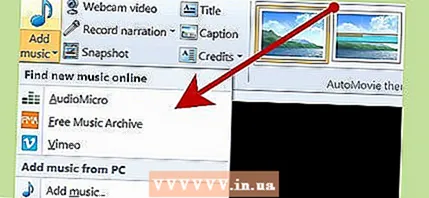 10 Don't forget about external sounds. This is a random background sound, usually something like a dull murmur; if you don't have that, then the transition from "conversation" to complete silence will be very noticeable. You can insert a soundtrack as a background, but if this is not possible, you should never (almost never) have a complete lack of sound. To do this, you again need a program like Cooledit for sound processing: you insert the background (or music) soundtrack into one channel, and your speech and sound effects into another channel.
 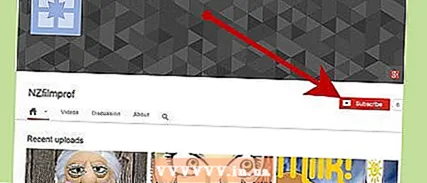 11 Search for animation examples using the programs mentioned in this article. Take a look at www.youtube.com (and search for "nzfilmprof" there). Kiwi Kids has many samples of young students using Paint; and other examples made with PSP.
Tips
- Perfect lip sync and speech is not required... when the character speaks, as a rule, a simple movement of the mouth and lips is sufficient, but they do not have to accurately match the speech. If you add a few more movements in between (squint, look away, raise and lower your eyebrows, like in an LBJ show) and tilt your head slightly to the left or right, then the end result will be quite suitable.
- Think about integrity. For example, if a rocket is fired from the left in a specific sequence, then it should be shown to the left if / when it hits something (as correctly shown in Stuff and Nonsense). However, the intro of this clip is spoiled when there is a transition from the cacophony of a rock song to people sleeping on (and under!) Beds.
- Don't use too many different transition effects; you don't want to "take the viewer out of the story" (that is, distract him). MM offers 25 types of transitions, but 95% of the time, fade in / out will be your best choice.
- Move your eyes, do it. Cut out two eye holes on the face. Draw (or photograph) matching eyes. Now using layers, place both eyes one layer BEYOND the head layer. Anything that will show through the eye holes you cut out will be the eyes. With a mouse click, you can move your eyes back and forth at the same time. This method (appropriately adapted) also works well for animating the mouth when your character speaks.
- The viewer's eyes and brain picks up a lot of actionas in the example where the news rep throws his hands in the air in a state of alarm. Only two positions (hands below and hands above) are needed to show this action (the viewer's brain will fill in the “missing” frames).
- If using MM, wait until “all” of your pictures are in the order you want for the final movie. Then add any titles, captions, sound, etc. Otherwise, if you add a clip in the middle, EVERYTHING (sound, credits, etc.) after the point will require changes.
- As in the case above, two or three positions are required to show the rotation of the mill; after the windmill has made one revolution, you can make it spin endlessly by repeating these three frames. Anything like this (for example, moving targets in a dash) can be done with a few repetitive frames.
- Frame sizedepends on image quality and software requirements. Setting the image size above 1024x768 is good for smooth edges in your frames. However, if you plan on uploading a clip to YouTube, this will reduce the size of your images to 320 x 280 anyway. Also, the larger your images, the slower the MM will work (and this will reduce the animation size). Also, if you are using GIF -A, pick one frame size and stick to it. If you're using different sizes, GIF won't do the job well.
- Animation often relies on gags. Knowing the Rule of Three is invaluable. Show action. Show it again (with a slight change). The third time you start showing the action, the viewer will think, "I know what will happen!" Check out the sequence of bees in "Kiwi Kids Stuff and Nonsense" on Youtube for an example ("Stuff" also has some examples of fourteen year old animation in Paint).
- Diversify your plans: close-ups, medium, distant, low angle, high angle, etc. Also, if two (or more) characters are talking, go from the group shot to one face and back again for a change.
- It will look more believable if you make a drawing, a statue, some fictional creature move than a face. Why? We all know how a face moves, and it gets ridiculous if it doesn't move the way we expected it to. For fictional characters, you may deviate a little more from the norm.
- The first thing that is visible on the screen, this is a setting shot that helps the viewer understand where he is. This is an optional requirement, but the norm. The reverse strategy is when you start with a group shot and then pull the camera back to show that where you started is part of something larger. This technique is known as "disclosure."
- After you've animated the short clip, you can use the JASC Animator to select parts of the scene (usually a close-up of the face) and create a second clip. This will give you two animations for one main one, and it helps you add variety to your shots.
- Typically, for animation, only a few positions are needed (sometimes just two or three) to make the action realistic.
- Some drawing skills can be useful for creating animations (if you really intend to draw your own frames). If your drawings or pictures don't look good enough, then your animation won't work out very well ... no matter how well done.However, if you do animation using photographs as the main block, even with a little drawing skills you can achieve an acceptable result.
- Here's the right software that can really help you:
- GIF Animator, JASC Animator, or any other equivalent. You may find that "GIF Advanced Animator" starts to glitch and the seller refuses to reply to emails.
- Abrosoft FantaMorph costs $ 100 but will rotate, pan and scan. It will generate roughly 100 of the tweens, including intro and trailing shots. It's not perfect, but his helpdesk will be responsive and will make changes if the product isn't of quality.
- CoolEdit (or any other sound processing software packages).
- Boilsoft (costs about $ 30) lets you put small animations together. This not only avoids the limitations of MovieMaker, but also makes editing easier (it's easier to edit a 2 minute clip than one 10 minute clip).
- You can easily create transitionsusing morphing software, which 20 years ago required several months of work from a team of skilled technicians. Abrosoft FantaMorph is one option, but there are many more. Consider the following example: first, Big Jim looks at the Star Cafe crew on his porch (gaze frame), then his gaze slowly moves to the Cafe. Finally, what Jim saw is now what the viewer sees.
- Lay out the background carefully. Consider combining elements from multiple photographs and / or other illustrations to get “that effect you want.” Then place your characters (yes, using layers!) On top of the background; with a mouse movement, you can move them around effortlessly. Example (heavily modified) old ovens, pots, frying pan and pancakes are glued to the top of the tile floor and in the background of the window PSP lighting function, gives an explosion effect The oven (on its own layer) will be remade as if it were dancing on the floor.
Warnings
- Do not use other people's drawings, photographs, or creative work without their permission, and show respect when asking for permission. On the one hand, you will not be eligible to make money on Youtube, but your video will be extremely popular.
- Song copyright protection is a gray area: Youtube does have an algorithm that looks for songs that are copyrighted, however, if someone important (like Disney or Warners) does not complain, then your clip will not be banned.
- When MovieMaker fails it will often throw error messages that make you nervous (to put it mildly). MM will complain about the lack of "virtual memory" or something like "could not save the file in the specified location." These are meaningless messages. Basically, you could have exceeded the MM resources on your PC. You have to reduce the file size, or split the animation in half, or reduce the frame sizes.
- Keep it short! For example, Youtube limits the upload length to no more than 15 minutes. Honestly, it's rare that animation can keep the viewer interested for more than five minutes.
- Movie Maker has its limits... You may not know that a clip is more than two minutes long until it works. To make a 4 minute animation usually requires you to paste two 2 minute files together (using a program like Boilsoft, but there are others).
What do you need
- MS Paint (or equivalent: JASC PaintShopPro, Photoshop, etc.)
- Computer (the more RAM and processing power, the better)
- A lot of patience (knowing the "layers" will certainly reduce the amount of patience required!)
- Digital drawing (recommended but not required)


