Author:
William Ramirez
Date Of Creation:
22 September 2021
Update Date:
1 July 2024

Content
- Steps
- Part 1 of 7: Auto Refrigerator
- Part 2 of 7: Sealing holes
- Part 3 of 7: Grinding your car refrigerator
- Part 4 of 7: Primer
- Part 5 of 7: Design a stencil
- Part 6 of 7: Painting
- Part 7 of 7: Anchoring
- What do you need
Drawing on portable refrigerators has become a means of self-expression during summer vacations. Any cheap plastic car refrigerator can turn into a work of art over the weekend if primed and painted. Read on to learn how you can paint your car refrigerator.
Steps
Part 1 of 7: Auto Refrigerator
 1 Get a portable refrigerator.
- Look for a used car refrigerator at a thrift store or sale. Since the paint is applied externally, it will be able to cover minor surface damage.
- Buy a car fridge from a supermarket like Walmart or Target. Plastic car refrigerators cost from 600 rubles. up to RUB 3000
 2 Choose a car refrigerator without wheels to make it easier to paint. The flatter the surface, the more evenly the paint can be applied.
 - A flat surface car refrigerator is better than a ribbed car refrigerator.
Part 2 of 7: Sealing holes
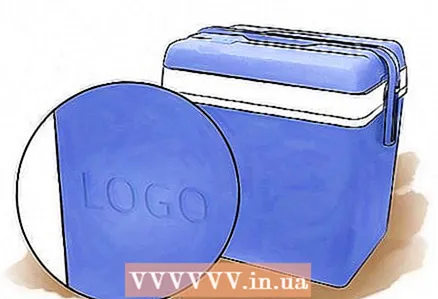 1 Examine your car refrigerator. If there are dents or an embossed logo, you will need to follow the next tip.
 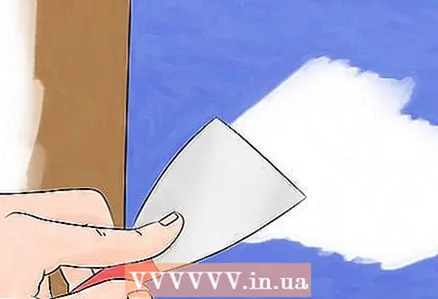 2 Fill the grooves with putty paste and putty knife. This paste is available at most home improvement stores, as well as a primer and other painting tools.
  3 When using putty, follow the directions on the package. Wait about 12 hours for it to dry.
Part 3 of 7: Grinding your car refrigerator
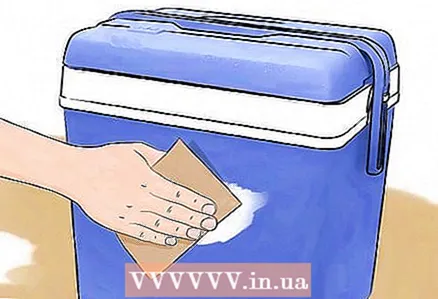 1 Use coarse sandpaper to sand the surface of your refrigerator. Sand all surfaces you intend to paint on.
  2 Then use a medium grit sandpaper.
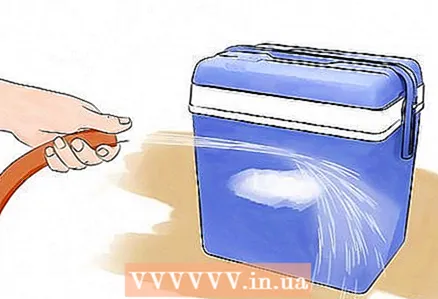 3 Use a hose to water the refrigerator. Then wash it with soap and water. Rinse well and allow time to dry.
Part 4 of 7: Primer
 1 Use a plastic primer on the surface of a clean car refrigerator.
 2 Take the refrigerator outside. It is advisable to prime and paint outdoors.
 - For best results, use a special primer for uneven plastic surfaces. Look for Rustoleum Fusion for Plastic or a similar product. Spray paint can be applied quickly and easily.
 3 Let the paint dry. If recommended by the manufacturer, apply 2 coats.
Part 5 of 7: Design a stencil
 1 Find designs online if you haven't come up with your own yet. Stencils and logos can be printed.
 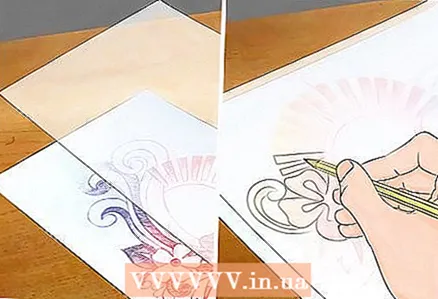 2 Buy tracing paper. If you printed the pattern, then copy it onto tracing paper.
  3 Keep tracing paper on the refrigerator and draw lines where you will paint in different colors. You can also draw a freehand pencil on the refrigerator using the lines as an outline.
Part 6 of 7: Painting
 1 Buy colored acrylic paints of your choice. You can also buy a bulk paint like Gesso and mix your own colors.
  2 Buy paint markers to complete small details and phrases. Outlines and small illustrations are much easier to draw with these pens.
  3 Apply paint thick enough to the car refrigerator to cover the entire surface. Take your time and make sure you paint over the entire pattern.
 - Use blue masking tape for straight lines. Apply paint to the primed surface. Then remove the tape and paint in the outlines underneath.
 4 Paint one side at a time. Do not tilt the refrigerator onto the painted side until the paint is completely dry.
  5 After you are finished with the pattern, allow the auto refrigerator to dry for 24 hours.
Part 7 of 7: Anchoring
 1 Apply a coat of polyurethane sealant such as Minwax Polycrylic. Make sure you apply the layer evenly.
  2 Wait for the layer to dry. Apply 1 - 2 coats.
 - How carefully you apply a protective layer of sealant will determine how long the paint will last on your refrigerator.
What do you need
- Auto refrigerator
- Acrylic paint
- Epoxy putty
- Putty knife
- Brushes
- Sealant
- Sandpaper
- Mild soap
- Water
- Primer for plastic
- Tracing paper
- Paint marker
- Blue masking tape
- Pencil


