Author:
Clyde Lopez
Date Of Creation:
24 June 2021
Update Date:
24 June 2024

Content
It is not so easy to drill a hole in a ceramic tile, because the fragility of the tile can simply crack and break. To accomplish the task correctly, you need to acquire patience and the right tools.
Steps
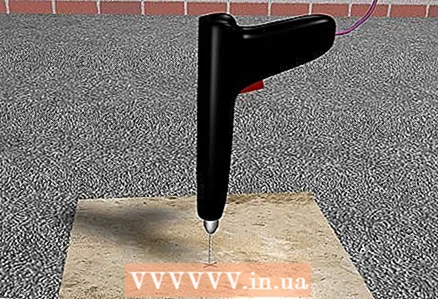
 1 Clean the tile surface. Clean tiles always have a flat surface. By examining a clean tile, you can also determine if it has cracks, which will complicate the drilling process many times over.
  2 Means of protection. Wear safety glasses. Ideally, the tile should not crumble or break. But this option is not excluded, so it is better to protect your eyes.
 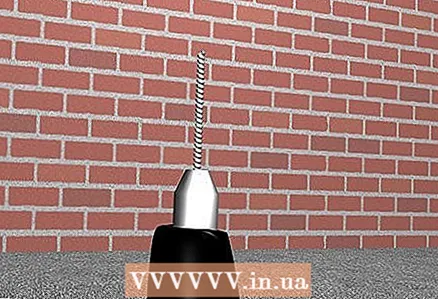 3 Insert the carbide tipped drill into the drill.
- Due to its toughness, carbide provides the sharpness and durability of the drill. Carbide itself is quite expensive, so a combination of carbide and steel is usually used.
- If the planned hole is larger than 6 mm, then first use a thin carbide drill to make the base hole, and then expand it to the required size. Without a base hole, the risk of cracking the tiles increases significantly.
 4 Open the surface of the tile. Ceramic tiles used in kitchens and bathrooms often have a durable glossy finish that protects the tiles from damage. The drill will slide and move over the smooth surface, which can cause unwanted scratches. To avoid this, try the following method:
 - In the desired place of the hole, stick an electrical tape in the shape of a cross. The insulating tape is designed to increase the adhesion of the drill to the surface, and also to protect the outer rim of the hole from chips.
- Open up the glossy surface. Use a thin carbide drill for the base hole. After going through the top layer, stop before moving on to the next step.
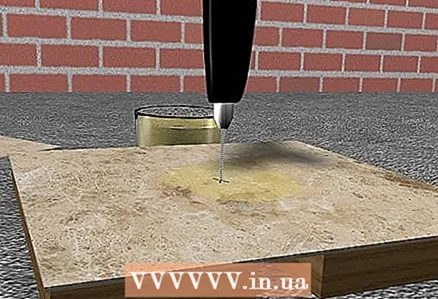
 5 Moisten the drill bit to protect the drill from overheating and to contain dust. Take a glass of water and keep it close at hand. With your free hand or with an assistant, continuously pour water in a thin stream onto the rotating drill. Place a towel under the tile to absorb the water.
  6 Drill the tile. Drill at low speeds and do not use excessive force. You need to drill slowly, and not press so that the tile cracks.
 - If the pressure is too high, the tile may not withstand and crack from the back side, as a result of which a weak spot will appear, and the hole will turn out to be larger than planned.
 7 Drill the backing. If desired, a conventional drill can be used for this purpose. Continue drilling slowly and slowly as it is equally important to keep the wood or drywall lining intact. If the lining is damaged, it will be more difficult to use the anchor bolts to secure the towel rack, screw in a screw, or otherwise use the hole.
What do you need
- Drill
- Insulating tape
- Drill with carbide brazing
- Protective glasses
- Glass with water
- Towel


")