Author:
Joan Hall
Date Of Creation:
1 July 2021
Update Date:
1 July 2024

Content
This article will show you how to create an icon in Windows 10 using the graphics editors Microsoft Paint and Paint 3D. In Microsoft Paint, you can create basic icons, and if you need a more complex image, use Paint 3D.
Steps
Method 1 of 2: Paint
 1 Remember the limitations of Microsoft Paint. Unfortunately, you cannot create a transparent image in Paint; since most icons are at least partially transparent (so that the desktop appears behind them), an opaque icon will be square. Plus, it will include different colors than the ones you used to create the icon.
 - It is best to create black and white icons in Microsoft Paint, as other colors can be distorted.
- To solve the transparency issue, save the Paint project as an image (not an icon) and then use an online converter to convert that image to an icon.
 2 Open the start menu
  . Click on the Windows logo in the lower left corner of the screen.
  3 Start Paint. Enter paint, and then click Paint at the top of the Start menu. Microsoft Paint will open in a new window.
  4 Display grid lines. This will make it easier to create the icon:
 - Click on the "View" tab at the top of the window.
- Check the box next to Gridlines in the Show or Hide section of the toolbar.
- Click on the "Home" tab to go to it.
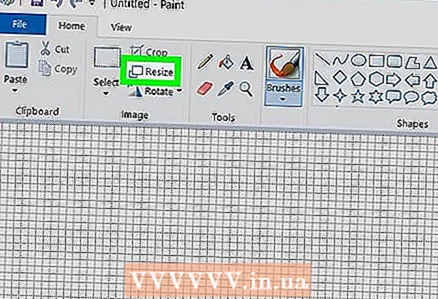 5 Click on Resize. It's in the toolbar at the top of the Paint window. A pop-up window will appear.
 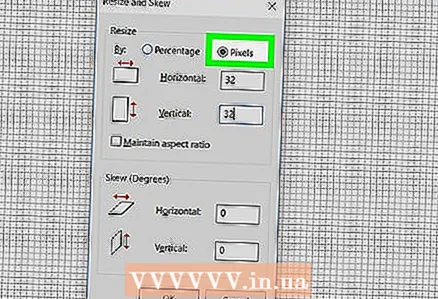 6 Check the box next to Pixels. It's near the top of the pop-up window.
 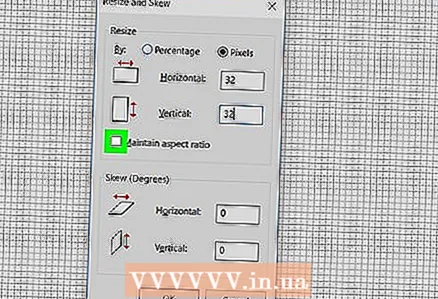 7 Uncheck Constrain Proportions. This option is in the center of the window. If you have previously worked with a canvas that was not square, disabling this option will create a new canvas where all sides are of equal length.
 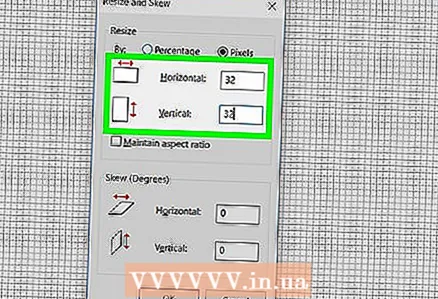 8 Create a 32 x 32 canvas. Enter 32 in the "Horizontal" line. Then enter 32 in the "Vertical" line and click "OK" at the bottom of the window.
 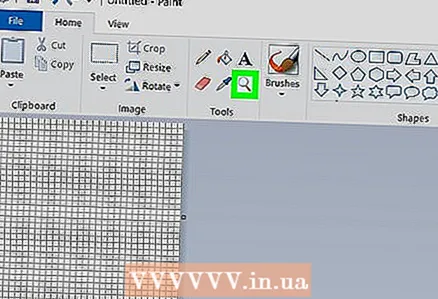 9 Zoom in on the screen. Since the 32 x 32 canvas is quite small, click the "+" sign in the lower right corner of the window seven times to zoom in on the screen.
 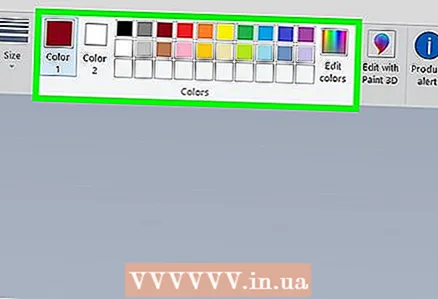 10 Draw the icon. Select a color in the upper right corner of the window, then hold down the left mouse button and drag your pointer across the canvas to draw an icon.
 - Change the size of the brush you are using if you like. To do this, click "Thickness" at the top of the "Home" tab, and then select the line of the desired thickness from the menu.
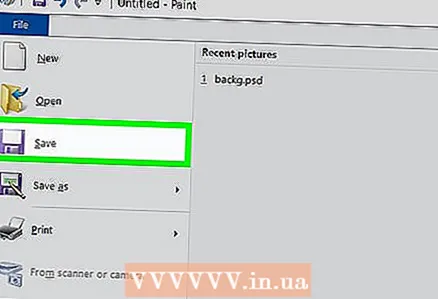 11 Save the icon. If you want to convert the icon later, click File> Save, choose a location to save, and click Save. But to save the created picture as an icon, follow these steps:
 - Click "File".
- Choose Save As> Other Formats.
- Enter a name for the icon and then enter the extension .ico (for example, if the icon will be named "alternative_Word", enter "alternative_Word.ico").
- Open the File Type menu and choose 256 Color.
- Select a folder to save on the left side of the window.
- Click Save> OK.
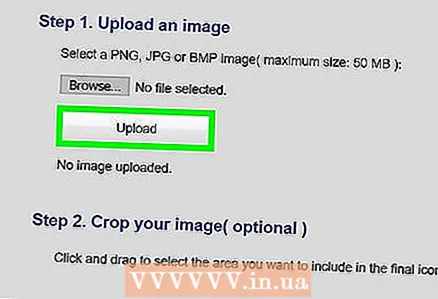 12 Convert the image to an icon. If you saved your Paint project as an image (for example, in PNG or JPEG format), convert it to an icon using the free online ICO Convert service:
 - Go to http://icoconvert.com/ in your computer's web browser.
- Click “Choose file”.
- Select the JPEG file and click Open.
- Click Upload.
- Crop the image if necessary, then scroll down and click Select None.
- Scroll down and click "Convert ICO".
- Click on the Download your icon (s) link when it appears.
 13 Use the created icon as a shortcut. To do this, assign the icon to the appropriate shortcut on your computer.
Method 2 of 2: Paint 3D
 1 Remember the limitations of Paint 3D. Unlike Microsoft Paint, you can create transparent images in Paint 3D, but you cannot save them as icons directly from Paint 3D.
 - To convert an image to an icon, use the online ICO Convert.
 2 Open the start menu . Click on the Windows logo in the lower left corner of the screen.
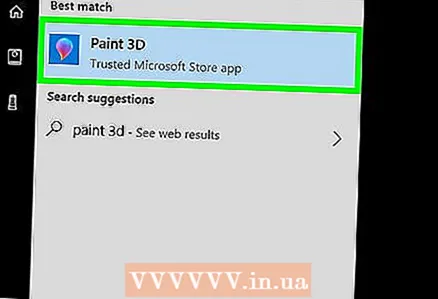
  3 Start Paint 3D. Enter paint 3d, and then click Paint 3D at the top of the Start menu.
 - Unlike Microsoft Paint, Paint 3D is only available on Windows 10 computers.
- Paint 3D was first introduced in spring 2017. If you don't have Paint 3D on your computer, update Windows 10.
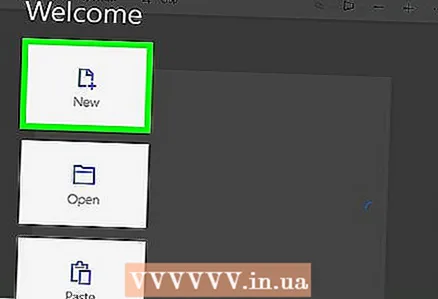 4 Click on Create. It's near the top of the window.
 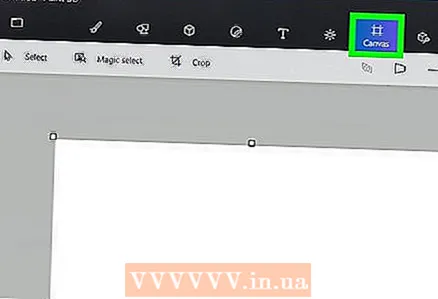 5 Click Canvas. It's a square icon in the upper-right side of the window. The right side panel will open.
 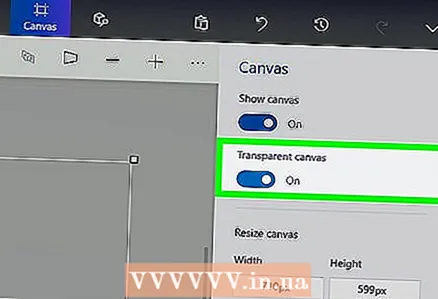 6 Click on the white switch next to "Transparent Canvas"
  . The switch turns blue
  - this means the canvas will be transparent.
 - If the switch is blue, the canvas is already transparent.
 7 Resize the canvas. In the right pane, do the following:
 - Open the "Percentage" menu and select "Pixels" from it.
- Replace the value in the Width field with 32.
- Replace the value in the "Height" field with 32.
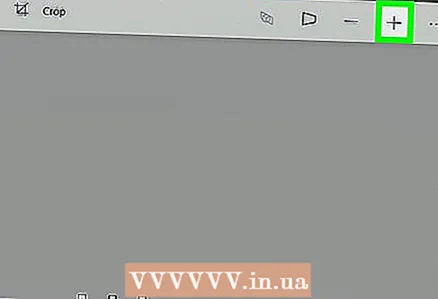 8 Zoom in on the screen. To do this, move the slider in the upper right corner of the page.
 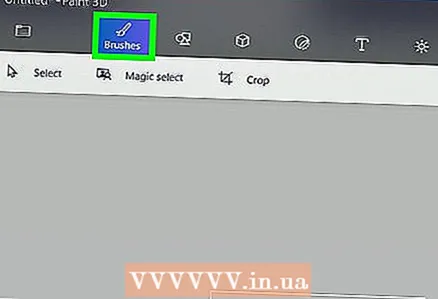 9 Draw the icon. Go to the Brushes tab, which is marked with a brush icon at the top of the window, and then select a brush, a color, change the size of the brush (if necessary), and then hold down the left mouse button and drag over the canvas to draw the icon ...
 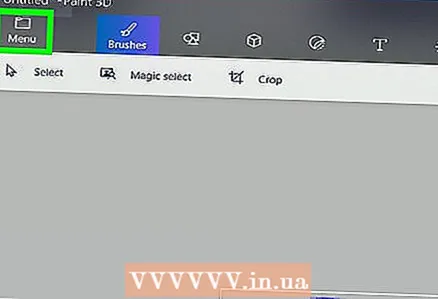 10 Click on the "Menu" icon. It looks like a folder and is located in the upper left corner of the window.
  11 Click on Drawing. It's an option in the main window. The "Save As" window will open.
 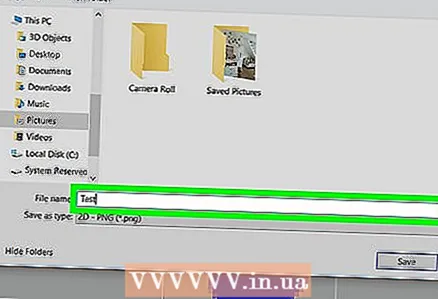 12 Enter a name for the icon. Do this on the "Filename" line.
  13 Choose the correct file format. Open the Save as type menu and choose 2D - PNG ( *. Png).
 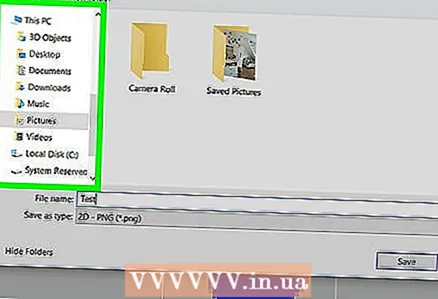 14 Select a folder to save the file. Click on a folder (for example, Desktop) on the left side of the window.
 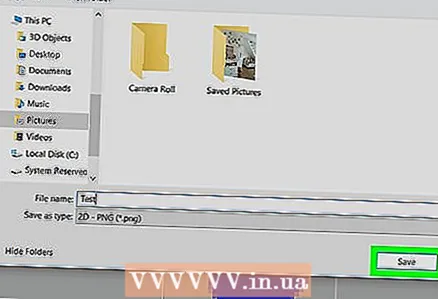 15 Click on Save. It's in the lower-right corner of the window. The project will be saved as a PNG image with transparent background.
  16 Convert the image to an icon. Since a PNG file cannot be used as an icon, you need to convert it to an icon using a free online converter:
 - Go to http://icoconvert.com/ in your computer's web browser.
- Click “Choose file”.
- Select the PNG file and click Open.
- Click Upload.
- Crop the image if necessary, then scroll down and click Select None.
- Scroll down and click "Convert ICO".
- Click on the Download your icon (s) link when it appears.
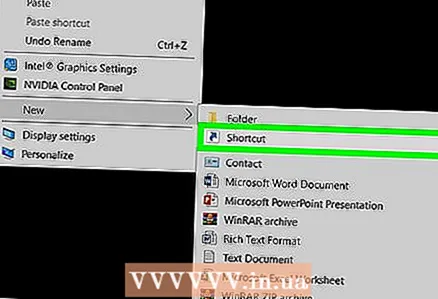 17 Use the created icon as a shortcut. To do this, assign the icon to the appropriate shortcut on your computer.
Tips
- Most Windows icons have a transparent background; you need it to see the desktop behind the icon.
Warnings
- Unfortunately, a transparent background cannot be created in Paint.


