Author:
Gregory Harris
Date Of Creation:
8 August 2021
Update Date:
1 July 2024
Content
- Steps
- Method 1 of 2: Bow Preparation and Range
- Method 2 of 2: Aiming the Crosshair
- Tips
- What do you need
Archery is popular with both hunters and those who like to train their skills on the shooting range. As with any weapon, hitting a target with a bow is not easy. You can't just point the weapon in the general direction of the target and have a real hope of hitting it. The process of aiming from a bow with a scope increases to the maximum the chances of hitting the target. Aiming with a bow scope allows the archer to balance the arrow's flight due to gravity, taking into account the distance and displacement caused by shooting while aiming. See Step 1 for how.
Steps
Method 1 of 2: Bow Preparation and Range
 1 Take a few days. You will want to extend targeting across multiple sessions. This is because fatigue affects accuracy and strength, and your imagery is more likely to shift. Using the scope on the bow for several days will result in better accuracy.
 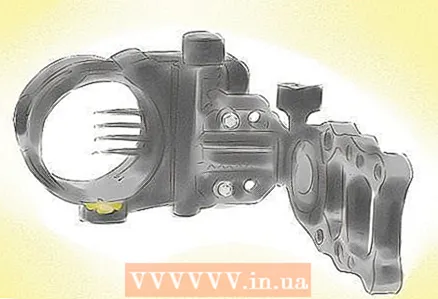 2 Buy a scope. Bow scopes come in a variety of styles and should be tailored to the wishes of the archer. Archery scopes are available at sporting goods stores and archery retailers. If you are just planning to hunt with a bow, you can use a simple sight, which will cost you about $ 40 (about 1400 rubles). Competition scopes can cost 5x or more.
 - This manual is for a fixed-pin sight. This is the most common scope and recommended for hunting and recreation.
 3 Set the scope on the bow. Follow the instructions included with the scope for correct installation. Most scopes attach to a riser and are secured with a pair of screws. Most bows have pre-drilled holes for attaching scopes. Do not overtighten the screws, otherwise you may damage the bow. Aiming marks should be lined up vertically with a bowstring.
 - The bow sight should be at right angles to the bow.
- After installing the scope, leave it overnight. You may need to tighten it further after it settles.
 4 Set all reticle settings to the midpoint. This will give you maximum room to adjust the directions you need. A hex wrench, available from hardware stores, will come in handy for adjusting reticle.
 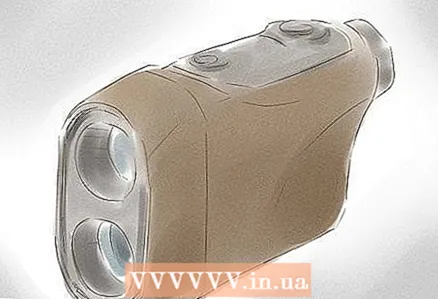 5 Set up a target and mark your ranges. Ideally, you want to be able to mark every 10 yards (approximately 9 m) from the target, up to at least 40 yards (36 m). Use a rangefinder for accuracy if possible. Rangefinders are available from hunting and outdoor stores.
 - Try to use a sturdy target that can hold a lot of arrows, as adjusting the scope for a bow can take a while and require a lot of repetitions.
Method 2 of 2: Aiming the Crosshair
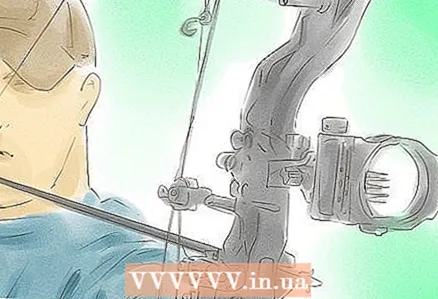
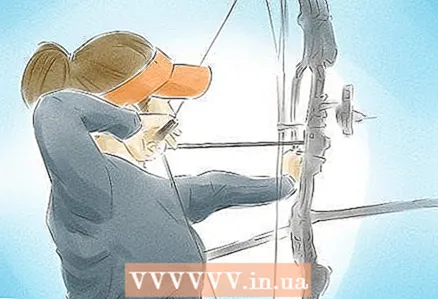 1 Set the first 20 yard mark. Approach the closest distance, which usually reaches the 10-yard mark. Stand with your body perpendicular to the target and pull the arrow backwards with your bow. Look directly into the crosshair at the top of the mark and shoot an arrow at the target. Repeat with multiple arrows.
 - Pay attention to where the arrows hit by comparing locations. If the arrows go higher than where the mark showed, move the sight glass higher onto the bow.
- Repeat this step until the arrow hits exactly the top of the mark.
- Step back 20 yards. Repeat the process with the scope, increasing the scope box as needed. If the arrows do not hit the top of the mark, you can make adjustments for the arrows flying too far to the left or right by moving the crosshair to the right or left, respectively.
- Don't worry about perfect marksmanship now, this mark is likely to shift.
 2 Set your second 30-yard mark. Once you have determined that your 20-yard top mark is accurate, you can return to the 30-yard mark on the range. Aim downward at the crosshair using the second mark and shoot several arrows at the target. Start making the same adjustments as you did with the scope at 20 yards.
 - Remember to move the entire aiming box when making adjustments at this stage.
- Take the time to make the 30-yard mark as accurate as possible because it cannot be changed. This will be the anchor of your scope.
 3 Return to 40 yards. Shoot arrows at the target while looking at the third 40-yard mark through the scope. When you make adjustments this time, move the mark instead of the aiming box. You will no longer move left and right with the aiming box; instead of focusing on getting the arrow to fly exactly where the mark is pointing.
 - The distance between 30 and 40 yards will be greater than the distance between 20 and 30 yards.
- If you need to adjust the position of your right and left crosshairs, turn to the 30 yd marker on the range and make your adjustments here.
 4 Check your 20 yard shot again. After you set your 30 yard target and make adjustments to your 40 yard target, go back and fire 20 yards again. This time, make adjustments to the mark itself instead of the entire scope.
  5 Go back and set additional marks. Depending on the scope, you can set additional marks for 50 yards, 60 yards or more. Go back from the target and repeat the previous steps while moving the mark to make adjustments.
Tips
- Make all of the crosshair adjustments in ascending order. Significant adjustments to the crosshair are likely to throw the crosshair back, resulting in lag and frustration.
- Go to the archery squad for some practice in aiming. These units are usually found in local clubs.
- Make sure the bow and string are loose. The scope while using a new bow or new string will lose its effectiveness over time if the bow and string are pulled too tight.
- You can make your own target range. If you try this, do it outside where you can't hurt anyone or anything with stray arrows.
What do you need
- Onion
- Bow sight
- Arrows
- Target range for arrows
- Rangefinder or distance measuring instrument
- Hex wrench


