Author:
Marcus Baldwin
Date Of Creation:
13 June 2021
Update Date:
24 June 2024
Content
- Steps
- Part 1 of 3: Preparing the Land
- Part 2 of 3: Landing the Hosts
- Part 3 of 3: Taking care of hosts
- Tips
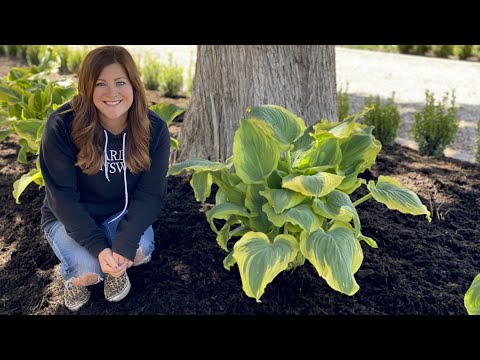
Hostas are perennial plants with large leaves, dense foliage and small flowers. They prefer shady locations, although many species require a certain amount of sunlight. Many gardeners buy adult shrubs from a gardening store or plant nursery if they want to plant hosts on their property, although you can divide an existing shrub or grow it from seed.
Steps
Part 1 of 3: Preparing the Land
 1 Wait for the right time to board the host. Hosts are not very sensitive to cold, so they can be planted in the spring as soon as the soil has warmed up enough for gardening. It is best to plant hosts in spring or late summer - at this time they are in the stage of active growth and will take root easily.
 - If you plan to plant your hosts in late summer, do so at least six weeks before the first frost.
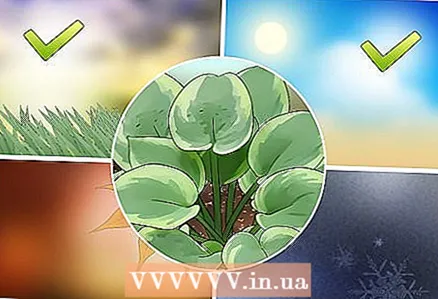
 2 Choose a location that is shady enough. Hosts tolerate shade well and require very little sunlight, although they will not thrive in a completely shaded area. An area with indirect sunlight, sheltered from strong winds and hail, and shaded from noon to 4 pm is best.
 - To protect hosts from sun, wind and hail, they can be planted under mature trees. However, do not plant your hosts too close to the roots of trees, otherwise they will lack nutrients.
- Different types of hosts will carry shadows differently. Typically, hosts with yellow leaves require more sunlight than their counterparts with green, blue, or white leaves. Hostas with blue leaves tolerate sunlight the worst.
- Hosts also grow well near walls and fences, where they receive a small amount of sunlight.
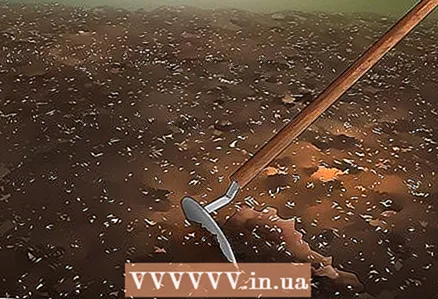 3 Dig up and cultivate the soil. Use a hoe, hand or motorized cultivator to dig the ground to a depth of about 20 centimeters where you intend to plant the hosts. Add organic matter to the soil to reduce soil density, ward off rodents, and slightly increase the acidity.
 - Organic materials such as compost, peat moss, or leaf mulch work well for the host.
- For a host, the optimum pH is 6–6.5.
- Hosts don't need a lot of space to grow. If you are planting single shrubs, the pits should be wide enough to accommodate the root system.
Part 2 of 3: Landing the Hosts
 1 Soak the plants. Sometimes hosts are sold in plant nurseries in bare-root bags. In this case, it is especially important to soak the plants in order to prepare them for transplanting.
 - Choose a bucket or bowl that is slightly narrower than the crown of the plant.
- Fill a bucket with cold water. Take a bush and place it with its crown on the rim of the bucket so that the roots are submerged in the water. Do the same for each bush.
- Soak the plants for at least one hour before replanting them. If you are not going to replant the shrubs immediately, soak them longer to keep the roots moist.
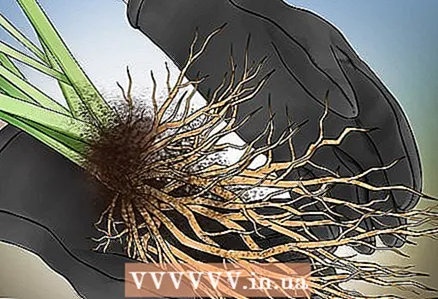 2 Untangle the roots. Just before planting, remove the hosts from the buckets and carefully untangle the roots by hand. Gently separate the roots with your fingers and straighten them in the direction of growth.
 - Hosts, especially those that grew in pots, often have mixed roots. If a plant with tangled roots is planted in the ground, it may die.
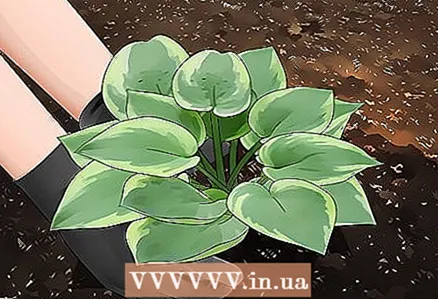 3 Dig holes and plant hosts. For each bush, dig a hole in the prepared soil about 75 centimeters wide and about 30 centimeters deep. Plant one bush in each hole and make sure that the roots do not bend or become tangled. Cover the hole with soil, but do not press it down around the roots. Make sure that the soil only covers the roots - the entire top of the plant should be above the ground.
 - Water each shrub liberally immediately after planting.
- Leave enough space between the hosts to allow them to grow. The space required depends on the type of host. When in doubt, leave about 75 centimeters between adjacent bushes.
Part 3 of 3: Taking care of hosts
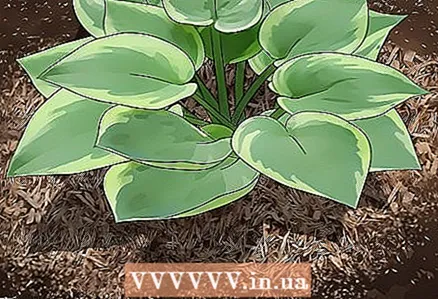 1 Add a layer of mulch on top. Mulch will retain moisture in the soil, prevent weed growth and protect plants from rodents. After planting, sprinkle an 8 cm layer of mulch on the ground under the bushes and between them.
 - For the host, mulch made from shredded bark, pine needles or leaves is best.
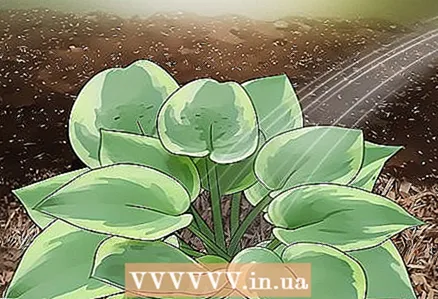 2 Provide plants with adequate moisture. Water the soil abundantly after planting the host. Make sure that the soil remains moist in the future. If hosts are growing in a sunny spot, they need even more water to keep their leaves from drying out.
 - Water the hosts with about 2 to 3 centimeters of water per week during their active growth in spring and summer.
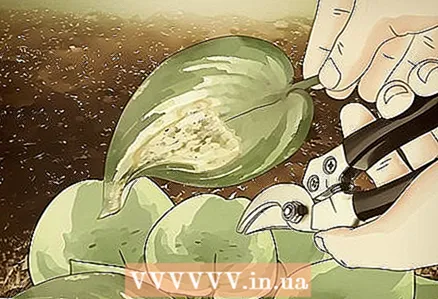 3 Cut off dead leaves in the fall. In autumn and winter, hosts are dormant, that is, during this period they do not grow, and they require less nutrients. When autumn comes, prune the hosts: remove dead and yellowed leaves.
 - Dead leaves may still be taking up nutrients, so it is best to prune them in the fall to help keep the plant vigorous during the winter.
 4 Prepare your hosts for winter. The hosts are quite hardy and able to survive the winter, however it is best to prepare them for the colder months. After the soil freezes, cover the ground around the hosts with fallen leaves and sprinkle the leaves on the crowns of the bushes.
 - Leave the hosts under the leaves until the last spring frost is over.
- You can also cover the hosts with organic material to help them retain heat and moisture.
Tips
- As a rule, hosts do not require fertilization, and from nutrients they may need only nitrogen.
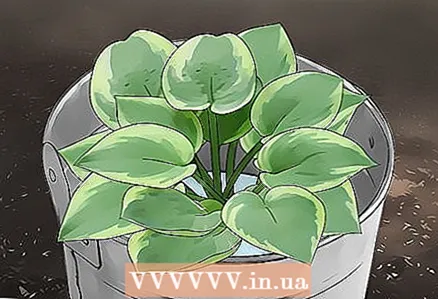
- Hosts can also be grown in pots.Plant the shrubs in appropriately sized pots: it is enough if the pot is 5-8 centimeters wider than the largest roots. Line the bottom of the pot with a layer of stones or gravel to ensure proper drainage.


