Author:
Sara Rhodes
Date Of Creation:
13 February 2021
Update Date:
1 July 2024

Content
- Steps
- Method 1 of 4: General Tips
- Method 2 of 4: How to remove background noise
- Method 3 of 4: How to remove clicks
- Method 4 of 4: How to Save a High Quality Track
- Tips
- Warnings
This article will show you how to improve the sound quality of a song using Audacity. For a high-quality result, you need to create a high-quality recording, remove unnecessary background noise at the stage of mastering in Audacity, and also set up the proper sound quality when saving the track.
Steps
Method 1 of 4: General Tips
 1 Make a high quality recording. It sounds obvious, but it is important to make sure that you are creating the best quality recording so that you do not have to fix problems in Audacity for a long time. When editing music, please use the MP3 format from the CD. When recording music, follow these rules:
 - Use quality recording equipment - a pop filter and a quality microphone will become important components of high sound quality.
- Record in a room with the right acoustics - work in a small, soundproof room. Even a pantry may turn out to be such a room, if you remove all unnecessary and sheathe the walls with acoustic foam.
- Eliminate background noise - keep a record with the air conditioners and other devices turned off. A quality microphone picks up all sounds, so minimize the amount of background noise.
 2 Save your recording in high quality. If you are recording a track in another program or on a completely different device before using Audacity, then export or extract the audio track in the highest possible quality.
  3 Do not convert audio before saving to Audacity. If you convert a WAV file to MP3 and then import the file into Audacity, then you will lose quality. You must wait for the final save process to convert the file.
  4 Listen to the track with headphones. Even good speakers can distort the sound, so listen to the track with headphones to spot minor imperfections and background noise.
  5 Change Audacity's default quality settings. Actions:
 - open up Audacity;
- click Edit (Windows) or Audacity (Mac);
- click Settings... in the drop-down menu;
- click the tab Quality;
- click the Default Sample Rate list box and select 48000 Hz;
- click the Sample Rate Converter list and select Best quality (slow);
- click OK (Windows only).
Method 2 of 4: How to remove background noise
 1 Open Audacity. The program icon looks like an orange sound wave between blue headphones.
  2 Import the track. Click File, then Open..., select an audio track and click Open to import into Audacity.
 - Importing a track can take from a few seconds to several minutes.
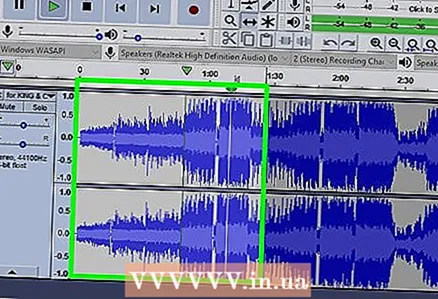 3 Select a portion of the track. Click and drag the mouse cursor where background noise is detected in the track. Try to select areas with background noise only.
 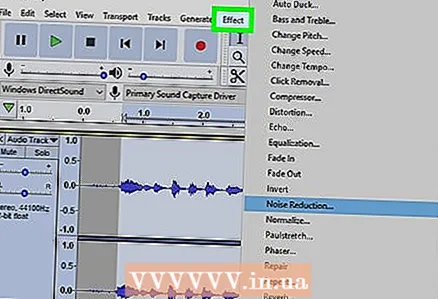 4 Click Effects. The tab is at the top of the Audacity window (Windows) or at the top of the screen (Mac). A dropdown menu will open.
 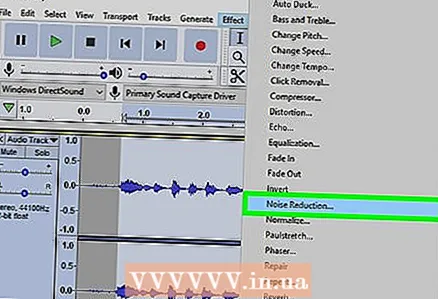 5 Click Noise Reduction .... The item is in the middle of the drop-down menu Effects.
  6 Click Get noise profile. This button is at the top of the window. It will help Audacity determine what is or is not background noise.
  7 Select the part of the track where you want to remove noise. Alternatively, you can click on a track and press Ctrl+A (Windows) or ⌘ Command+A (Mac) to select the entire track.
  8 Open the Noise Reduction menu again. Click Effectsthen click Noise Reduction ....
 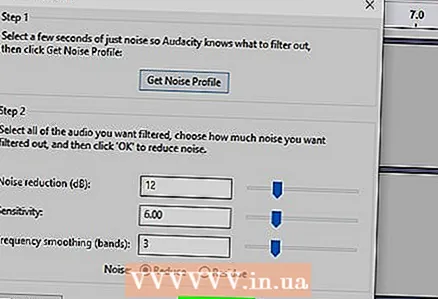 9 Click OK. The button is at the bottom of the window. The program will remove background noise in the selected section of the track.
  10 Repeat the process if the program did not remove all the noise. If the background noise is still noticeable, then repeat the action. Several repetitions may be required.
 - To increase the effect of noise reduction, move the Noise Reduction slider to the right.
Method 3 of 4: How to remove clicks
 1 Listen for clicks. Clicks are usually rough, rumbling, or distorted sound when a track is playing.
 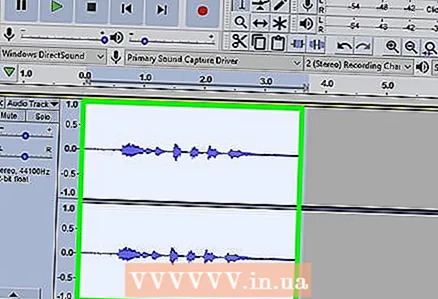 2 Find the clicks. On a graph, they usually appear as inflated peaks of the sound wave in the Audacity window. If one section of the track is significantly louder than the rest of the track, then it is most likely a click.
 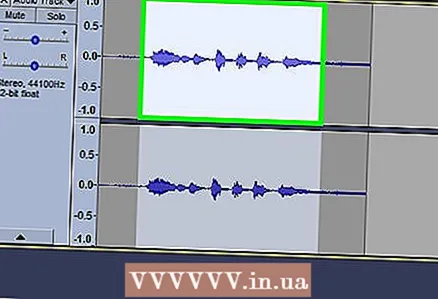 3 Pick a peak. Click and drag your mouse to select a peak.
  4 Click Effects. A dropdown menu will open.
 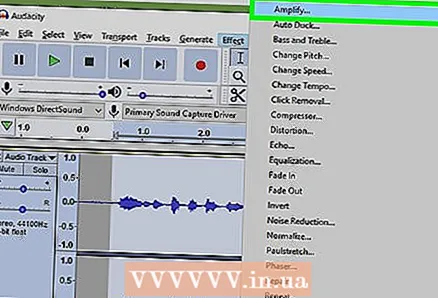 5 Click Amplifier…. This item is at the top of the drop-down menu. Effects.
 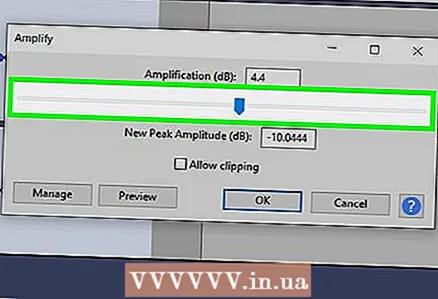 6 Click and drag the slider to the left. The Gain slider is in the center of the window. You need to drag it to the left to lower the volume of the selected area and reduce clicks.
 - It's important not to overdo it. Just drag the slider one or two decibels to the left.
 7 Click Listen. The button is located on the left side of the Amplifier window. This function allows you to listen to the selected area with the settings applied.
 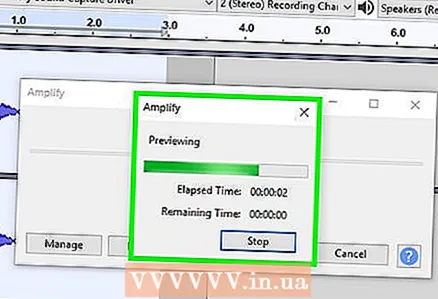 8 Notice the lack of volume. If there are no more clicks on this section of the track, then everything is fine. When doing this, make sure that the section does not sound much quieter compared to the rest of the track.
 - If you still hear clicks, try lowering the volume a little more.
 9 Click OK. The button is at the bottom of the window. This will save your changes and apply them to the track.
 - Repeat for other click areas.
Method 4 of 4: How to Save a High Quality Track
 1 Click File. The tab is in the upper-left corner of the Audacity window (Windows) or in the upper-left corner of the screen (Mac). A dropdown menu will appear.
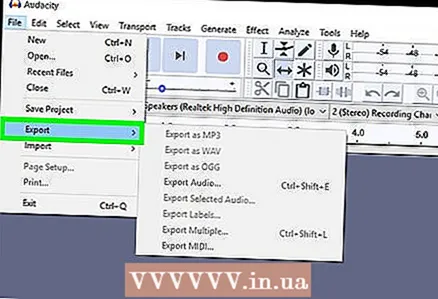
 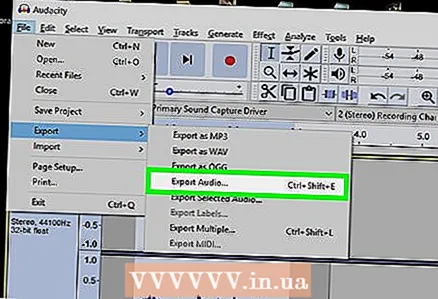 2 Click Exporting audio data .... The item is in the middle of the drop-down menu. A new window will open. If you receive a "LAME codec" error, you first need to do the following:
 - Windows - open the link and click Lame v3.99.3 for Windows.exe... Double click on the installation file, click Yes when prompted and follow the instructions on the screen.
- Mac - open the link and click Lame Library v3.99.5 for Audacity on macOS.dmg... Double click on the DMG file, then verify and install the LAME codec.
 3 Enter a name for the file. Type a name for the file in the File Name field.
 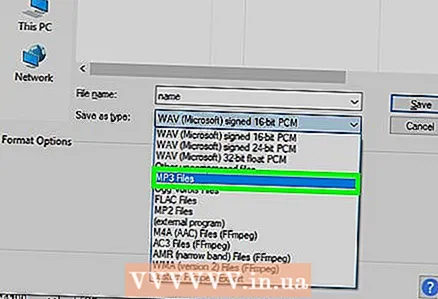 4 Click the dropdown list for File Type. It is centered on the page. A dropdown menu will open.
  5 Click MP3 files. MP3 songs can be played on almost any platform.
 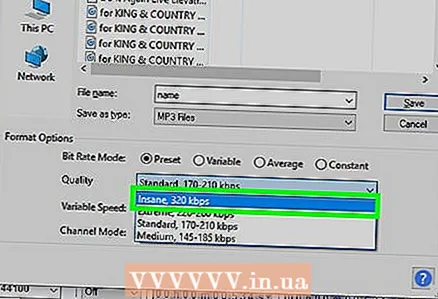 6 Click the Quality drop-down list. It's at the bottom of the window. A dropdown menu will open.
  7 Choose a quality level. Click Extreme or Excessive in the dropdown menu. This will make your track quality well above average.
  8 Select a save location. Click on one of the folders on the left side of the window. On Mac computers, sometimes you first need to click the View drop-down list to select a folder.
 - 9 Click Save. The button is in the lower right part of the window. Your project will be saved as an MP3 file and exported in the highest quality.
Tips
- Save projects often, especially when there are a lot of small changes. This will allow you to revert to the saved version if one of the edits messes up the entire project.
Warnings
- Listen to music at an acceptable volume level.


