Author:
Alice Brown
Date Of Creation:
25 May 2021
Update Date:
1 July 2024

Content
- Steps
- Part 1 of 3: Prepare the surface
- Part 2 of 3: Apply Primer and Paint
- Part 3 of 3: Shut Down
- Tips
- What do you need
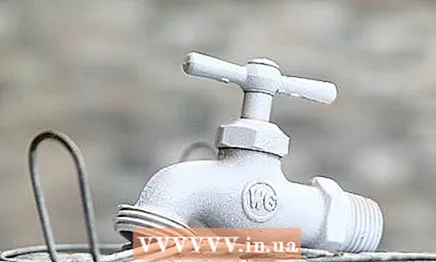
Painting is a great way to improve and bring something to life. However, things are not so simple when it comes to items made of brass, such as lamps, fasteners and other products. However, brass can also be painted: the secret is to properly clean the surface and apply a primer before painting. As a result, the paint will lay in an even, even layer, adhere well to the metal and retain its original appearance longer.
Steps
Part 1 of 3: Prepare the surface
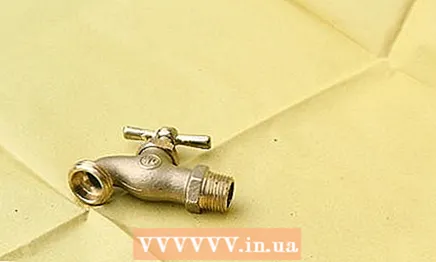
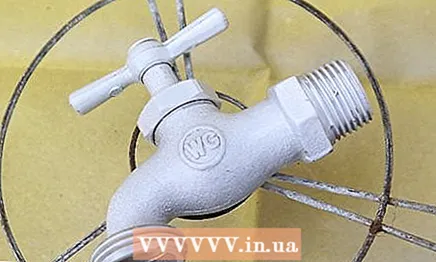
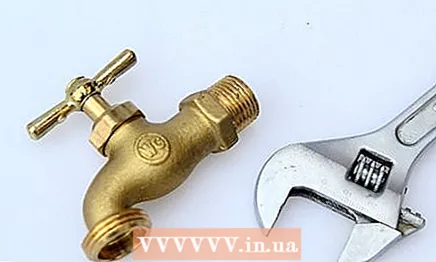 1 Separate the part if necessary. Some brass items, such as doorknobs, water taps, and hardware, are easier to paint when separated from the attachment point. There are also isolated items such as furniture, cutlery or lamps.
 - If you have detached any screws, nails, or other fasteners, save them so that you can reattach the removed part after painting.
- It is also advisable to check if the part you are interested in is actually made of brass. To do this, bring a magnet to it. Brass is a non-ferrous alloy and does not contain iron, so it will not be attracted to the magnet.
 2 Move the item to a well-ventilated area. Painting should be done in a well-ventilated area such as a garage or room with wide open windows. This will protect you from harmful fumes. Also, put on a gauze bandage.
 - Place an unnecessary rag on the floor to protect the floor from paint. Place the brass item on a rag, desk, or bench.
- Before you start painting, open the windows and turn on the ventilation to prevent harmful fumes from accumulating in the room.
- When painting, protect yourself with a gauze bandage, gloves, goggles, or similar.
- Take care not to scatter dust around the room.
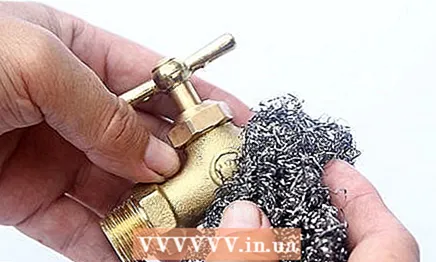 3 Scrub the item with steel wool. One of the most important steps when painting brass is to properly clean the surface. This will remove dirt and corrosion and the paint will adhere better to the surface. Wipe the entire surface with steel wool and pay special attention to corroded and heavily soiled areas.
 - After scrubbing dirt and corrosion off the surface of the part, wipe it off with a damp, lint-free cloth.
- The paint adheres better to rough surfaces, so steel wool can be used. Do not rub brass with steel wool unless you intend to paint it.
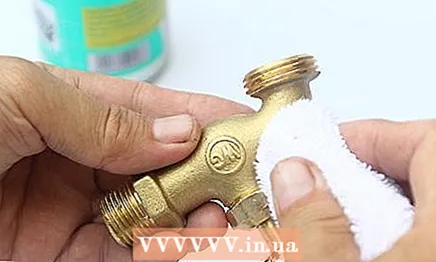 4 Clean the surface with a degreaser. Remove grease, dirt and grime from metal surfaces before painting. If grease, dirt and soot remain on the brass, the paint will not adhere well to the metal. Dampen a lint-free cloth with degreaser and wipe the entire surface to be painted. Then wipe the metal with a clean cloth dampened in water and wait about 10 minutes for it to dry.
 - Liquid alkaline cleaners or solvents such as methyl ethyl ketone are best suited for this.
Part 2 of 3: Apply Primer and Paint
 1 Choose an appropriate color for spray paint. The paint should be suitable for metal: enamel, acrylic or oil paint, or other paints that dry out to form a hard coating will do. Typically, metal paints are sprayed, although liquid paints are also available commercially.
 - Do not use latex paints, as they do not adhere well to metal and are short-lived. Latex paint will only work if you have a high quality primer.
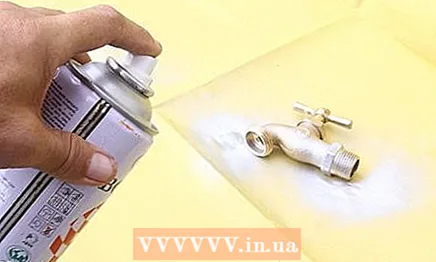 2 Apply a coat of primer. For brass, a reactive or bonding primer is best. This primer is a mixture of acid and zinc and adheres better to brass than any other paint or primer. Shake the can of primer well and bring it to the metal surface 15–20 centimeters. Spray the primer in wide strokes from side to side. Apply the primer in a thin, even layer.
 - Wait about 24 hours (or according to the instructions supplied) for the primer to dry.
- When applying aerosol primer and paint, use appropriate protective equipment: gloves, goggles, and a gauze bandage or respirator.
- Even after being treated with steel wool, the surface of the brass is not very suitable for painting, so a reactive primer must be applied to it.
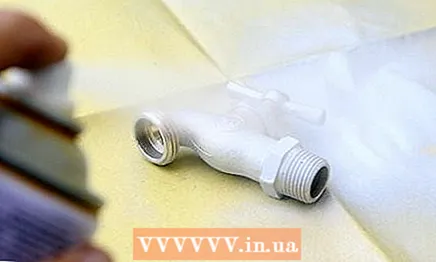 3 Apply several thin coats of paint. After the primer has dried, spray the paint in the same way. Shake the can and apply paint in broad strokes from side to side. To spray the paint in a thin, even layer, hold the can at a distance of 15–20 centimeters from the surface.
 - Before applying the next coat of paint, wait until it is completely dry - as a rule, this takes 1–2 hours (the exact time should be indicated on the package).
- Depending on what exactly you want to get, you may need from 2 to 5 coats of paint.
- If using liquid paint, apply in a thin, even layer using a brush or roller.
 4 Apply a transparent protective coat. Once the paint is completely dry (usually takes about 24 hours), a clear top coat can be applied. This will protect the paint and metal surface and give it an extra shine. Choose a clear or enamel finish specifically designed for metal.
 - Shake the can and bring it 15–20 centimeters to the surface. Spray the coating in even strokes to get an even layer.
- Set the part aside and wait until it is completely dry (follow the manufacturer's instructions). Protective coatings usually dry fairly quickly, sometimes in as little as 30 minutes.
Part 3 of 3: Shut Down
 1 Place the dried part on a drying rack. After the paint is dry to the touch, place the brass piece on the drying rack. There it will be blown with air from all sides and dry quickly and evenly.
 - It is also necessary to transfer the painted part so that it does not stick to the lining or countertop.
 2 Wait for the paint to set. As a rule, after applying the paint, there are two stages during which it dries and then sets. The paint can dry within 30 minutes, but after that it should still set. When the paint is fully set, it will harden, harden and be less prone to damage and scratches.
 - The curing process can take from 3 to 30 days, depending on the paint you used. Read the instructions that came with the paint.
- It is especially important to give the paint a good grip on fasteners, handles, kitchen utensils, and other brass objects that you touch frequently.
 3 Return the item to its original location. After the paint has dried and set, you can put the item back in place or place it where it was before. Remember to secure it properly with screws, nails, and the like.
 - 4 Look after painted brass. The best way to keep your brass item clean and undamaged is to touch it as little as possible and avoid bumping it with other objects. Some items, such as wall fasteners, are easy, while brass items such as handles on furniture and doors can be looked after as follows:
- wipe the surface with a damp cloth dampened with soap and water;
- wipe items with a clean damp cloth;
- wipe the surface with a dry towel to remove any remaining water;
- Apply fresh paint to scratches and nicks as needed.
Tips
- If you need to paint a large brass item, consider going to a car paint station or paint shop. There are appropriate materials, equipment, a place and competent specialists who will quickly and efficiently do their job.
What do you need
- Litter
- Brushes or small rollers
- Magnet
- Steel wool
- Lint-free cloth
- Safety glasses, gloves and a gauze bandage
- Reactive primer
- Metal paint
- Transparent coating for metal


