Author:
Marcus Baldwin
Date Of Creation:
15 June 2021
Update Date:
1 July 2024

Content
- Steps
- Part 1 of 2: Preparing oak cabinets
- Part 2 of 2: Painting oak cabinets
- Tips
- Warnings
- What do you need
One way to change the look of your kitchen is by painting wooden cabinets. Many people like colonial or country style kitchens with white or cream cabinets. It will take 1 to 3 weeks to prepare and paint the cabinets. You will have to spend a lot of time preparing hardwood cabinets to get a durable and professional finish. Oak and other porous woods may require additional preparation time. Our article will help you cope with this task.
Steps
Part 1 of 2: Preparing oak cabinets
 1 Remove the cabinet door and take it with you to your hardware store. Oak is a porous wood, and if the pores were not filled during the manufacture of the cabinet, the subsequent painting may look defective. So it doesn't hurt to ask a professional to help you choose the paint, primer or sanding you need for your oak cabinets.
  2 Use the latex paint swatches to determine the desired color. Ask a consultant to show you a high quality paint suitable for kitchen cabinets. If using poor quality paint, doors and drawers may become stuck after reinstallation.
 - If you want to replace the hardware on the doors, then take the old handles and hinges with you to the store so as not to be mistaken with the dimensions. As a rule, the dimensions of the new fittings will differ from the old ones.
 3 Clean cabinet surfaces with an active cleaning agent diluted in water and using a sponge. Then rinse thoroughly with clean water and dry with clean napkins or cloth. The cleaning agent used must remove grease.
 - If the cabinets are very old or dirty, sodium orthophosphate should be used to remove grease. This is an industrial cleaning agent and should be used with extreme caution. Add half a glass of product to 7.5 liters of water. Use it in a well-ventilated area and rinse the cabinets thoroughly before drying.

- If the cabinets are very old or dirty, sodium orthophosphate should be used to remove grease. This is an industrial cleaning agent and should be used with extreme caution. Add half a glass of product to 7.5 liters of water. Use it in a well-ventilated area and rinse the cabinets thoroughly before drying.
 4 Set up a well-ventilated workshop where you can store cabinet doors and drawers after preparation and painting. A garage is fine for this purpose. Cover the floor and bring the sawbeds into the garage.
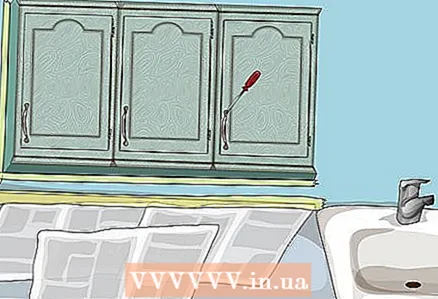
  5 Using a screwdriver, remove all doors and drawers from the cabinets. Specify the location on the tape and glue it on the inside of the door or drawer, so that later the assembly can be done correctly. Take the drawers and doors to the workshop.
 - Pack your fittings in small plastic bags so you don't lose anything during dismantling.
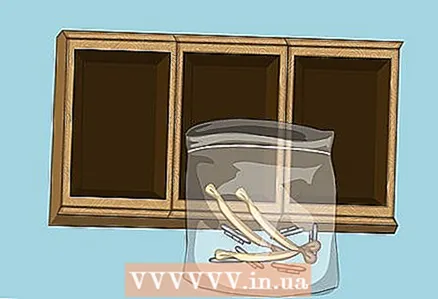
- Pack your fittings in small plastic bags so you don't lose anything during dismantling.
 6 Use a putty knife to seal the holes with wood putty if you install new hardware or change the installation location. On the other side, tape the hole with tape to prevent the putty from falling out. Let the putty dry and lightly sand the surface with 220 grit sandpaper.
  7 Tape the inside edges of the cabinets and the outside edges of the tables. Cover the floor and surfaces of the appliances with plastic wrap or newspapers. Tie with tape around the edges.
  8 Sand all surfaces to be painted with 220 grit sandpaper. If the oak has a thick polyurethane finish, take the trouble to sand it down. Remove dust and wipe the surfaces with a rag.
Part 2 of 2: Painting oak cabinets
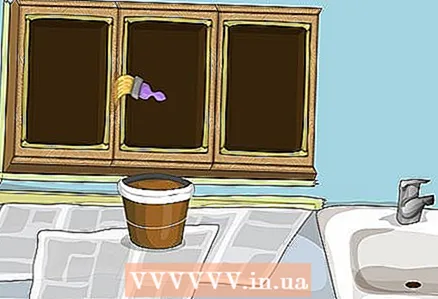 1 Treat cabinet surfaces with an oil primer. Apply 1 coat and let it dry overnight. If the porous oak surface has not been filled, then you will have to additionally use a particularly viscous primer.
 - Rent a spray gun for optimal primer and paint application to doors and drawers. Otherwise, use small sponge rollers to paint any remaining cabinet surfaces.If you do not have a spray gun, use a door roller and an angled brush for hard-to-reach areas. It is not recommended to use a brush to paint all surfaces.
- Rent a spray gun for optimal primer and paint application to doors and drawers. Otherwise, use small sponge rollers to paint any remaining cabinet surfaces.If you do not have a spray gun, use a door roller and an angled brush for hard-to-reach areas. It is not recommended to use a brush to paint all surfaces.
 2 Lightly sand the primed oak surface with 220 grit sandpaper. Wipe gently with a rag. Apply a second coat of primer and let it dry for another 24 hours.
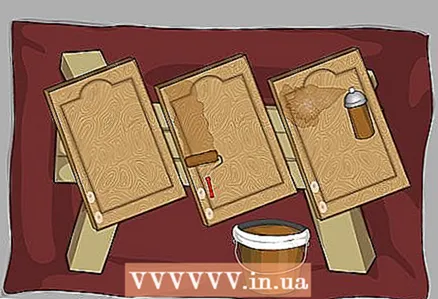
  3 Apply latex paint to doors and drawers with a spray gun. At home, apply paint to cabinet surfaces using a small sponge roller. Unless otherwise noted on the paint can, let it dry for 24 hours.
 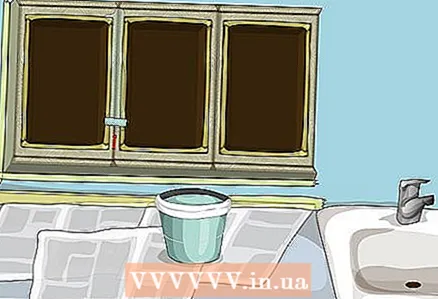 4 Apply 1 to 3 more coats of latex paint. The number of coats depends on how well the paint adheres to the current surface.
  5 The last layer should dry for at least 5 days. Sometimes it will take up to 2 weeks to make sure the paint is dry and not picking up.
 - If you plan to paint the inside of the doors, wait 5 days before turning them over and reapplying primer and paint.

- If you plan to paint the inside of the doors, wait 5 days before turning them over and reapplying primer and paint.
 6 Reinstall drawers and doors using existing or new hardware.
 7 Carefully peel off the tape along the edges of cabinets and other surfaces. Remove the material you used to cover the surfaces. Rinse rollers and brushes thoroughly.
Tips
- Check the recommended application temperatures for primer and paint. The temperature outside and indoors must be warm enough for the paint to dry.
Warnings
- If you have used sodium orthophosphate to clean surfaces, then it cannot be simply poured down the drain. Please contact your local waste disposal companies for this matter.
What do you need
- Primer
- Latex paint
- Wood putty
- Putty knife
- Angled brush
- Small spongy paint rollers
- 220 grit sandpaper
- Cleaning agent
- Screwdriver
- Scotch tape and other duct tape
- Rags
- Sponge
- Sodium phosphate (optional)
- Broom
- Spray gun
- Plastic bags


