Author:
Marcus Baldwin
Date Of Creation:
15 June 2021
Update Date:
1 July 2024
Content
- Steps
- Method 1 of 2: Connecting using an HDMI cable
- Method 2 of 2: Connecting with a Composite Cable
- Warnings
- What do you need
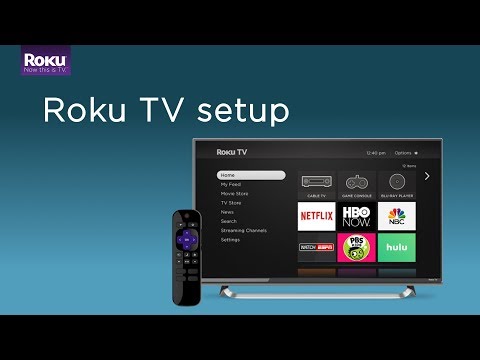
To set up streaming from Roku to TV, you'll need to connect audio and video cables. The connection type depends on the age and model of your TV and the available TV connectors. Connect your Roku to your TV using an HDMI or composite cable.
Steps
Method 1 of 2: Connecting using an HDMI cable
- 1 Look at the connectors on the back of the TV. Look for the 6-way connector labeled “HDMI”. It is approximately the same size as the USB port. Typically this connector is located on the back or side of the TV.
- 2 Purchase an HDMI cable to connect to Roku. Unless you've purchased a newer model, most Roku players come with a composite video cable and an analog audio cable.However, buying a regular HDMI cable will reduce the number of wires and improve image quality.
- The price of an HDMI cable depends on its length. Their cost varies from 150 to 1000 rubles.
- HDMI cables are also preferred as they support 1080p HD video playback.
- 3 For now, charge your Roku. Plug the Roku into a power source near the TV. Install AAA batteries in your Roku remote.
- 4 Connect one end of the HDMI cable to your Roku device. The other end is into the TV's HDMI port.
- 5 Turn on your TV. Select HDMI input on the remote control. Press “Input” and find the correct connector or HDMI button on the remote control in the list of inputs.
- 6 Use your Roku remote for initial setup. You will need to enter your wireless password to start using your connection.
- If the wireless network reception is not strong enough, you can run an Ethernet cable from the router to the Roku.
Method 2 of 2: Connecting with a Composite Cable
- 1 Locate the audio / video (A / V) connectors on the back of the TV. The connectors must be three colors: red, white and yellow. If you only have green, blue, and red connectors, you need to purchase a component cable.
- If possible, order a component cable online or at a large store.
- Component cables support slightly higher resolutions for HD video playback (720p), so you may want to purchase a component cable to get the best picture quality.
- If you purchase a component cable, use the A / V connectors for audio connections. The component cable only supports video signal transmission.
- 2 Charge your Roku ahead of time. Connect it to the outlet near the TV. After that, insert AAA batteries into your Roku remote.
- 3 Connect the red, white and yellow plugs to the corresponding jacks on the back of the TV.
- If you are using a component cable, connect the red, blue and green plugs.
- 4 Plug the other end of the composite cable into the corresponding A / V jacks on the back of the Roku.
- When using a component video cable, you must plug the white and yellow plugs of the composite cable into the white and yellow A / V connectors. Then plug them into the yellow and white jacks on the Roku.
- If you purchased an HD-XR or XDS Roku and are using a component video cable, you can connect an audio system using an optical cable. This cable is included with some surround sound systems. String the cable between the optical cable port in the back o
- 5 Turn on your TV. Press “Input” on your TV remote and scroll through the list until you find Roku. The input may be labeled “video,” “input 1,” “input 2” or “A / V”, depending on your TV model and the number of connected devices.
- 6 Press the Home button on your Roku remote. Wait while Roku finds available wireless networks. Enter your password to connect to the wireless network and start using the player.
Warnings
- Avoid connecting composite and HDMI cables to your DVD player. The image will be fuzzy or completely absent.
What do you need
- Roku device
- HDMI cable
- Composite video cable
- Analog audio cable
- Component video cable
- Optical cable
- AAA batteries
- Ethernet cable


