Author:
Janice Evans
Date Of Creation:
27 July 2021
Update Date:
1 July 2024
Content
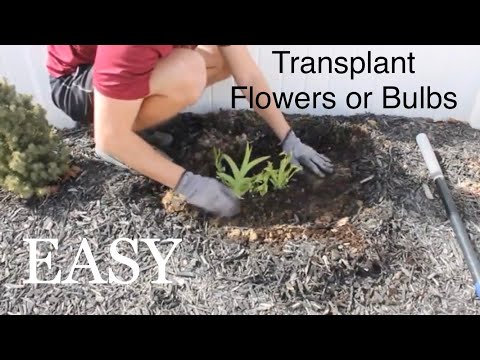
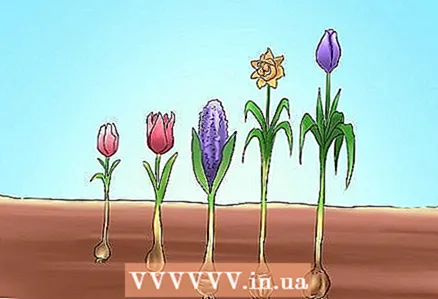
Transplanting - moving a plant from one place to another. Sometimes this is only done because the gardener prefers a different location for the plant. In other cases, there is a need for the plant to transplant. In the case of bulbs, this is often because the bulbs breed themselves by growing the bulb as a “reward” to the parent plant. When this happens, it may be necessary to split the bulbs in order to maximize their productivity by thinning the bunch.To ensure a successful transplant, the bulbs must first be prepared and then properly planted.
Steps
Method 1 of 2: Preparing the transplant bulbs
 1 Repot the bulbs when they are visible to avoid damage. It is always easier to move the bulbs when you know where they are, so gardeners usually try and replant the bulbs when some of the plants are visible above the ground.
 - After flowering, the plant will focus on siphoning nutrients to maintain it throughout the winter.
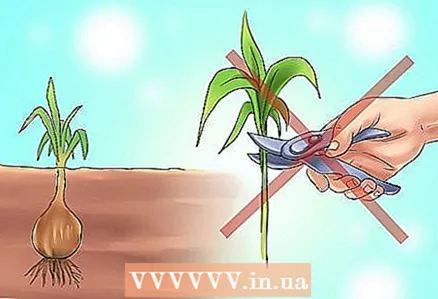
- For this reason, you should avoid cutting green foliage, as this deprives the plant of its ability to nourish itself and store energy from sunlight to help in winter.
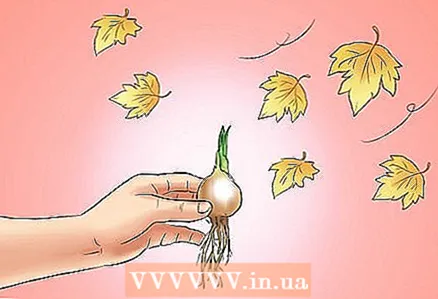 2 Transplant bulbs in the fall for best results. It is always best to replant the bulbs in the fall after the foliage has dried and turned yellow.
 - You can also replant the bulbs in the spring, but remember never to cut or damage the green shoots.
- If you are replanting them in the spring, be especially careful not to damage the roots that are growing during this time.
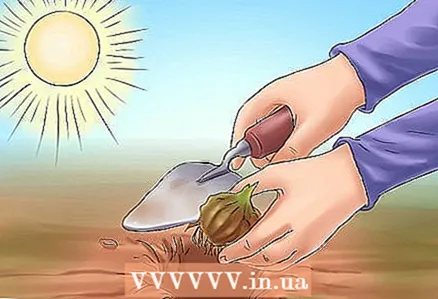
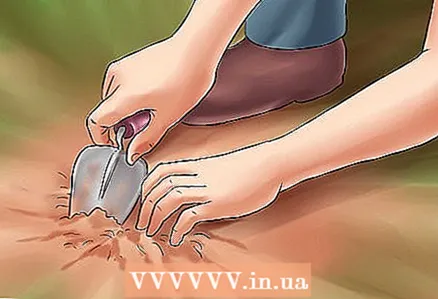 3 Dig up the bulbs carefully to keep them healthy. The trick is to scoop up the bulbs to avoid damaging the main bulb and to preserve as much of the root structure as possible.
 - This can be quite difficult to do.
- Careful handling is always essential when transplanting bulbs from place to place.
 4 Know how deep your bulbs are so you don't damage them. When planting an onion, you should always make it several times the depth of the bulb. Therefore, when it comes to digging them up, you will have an idea of how deep you need to dig so as not to damage the bulb with a shovel.
 - Three bulb heights is the usual planting depth.
- In addition, the bulbs often make their way deeper into the ground over time, which can be added to the depth at which they were originally planted.
- For example, large bulbs such as tulips or daffodils will usually be planted about 20 cm deep. It is best to assume that they are 30 cm deep to be on the safe side.
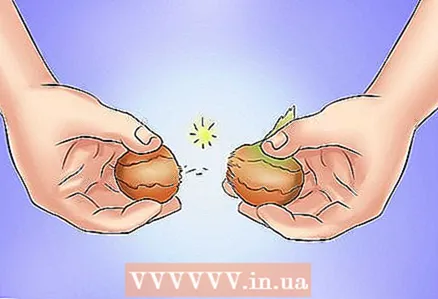 5 Divide the bulbs before transplanting. Plant bulbs propagate by dividing the original "parent" bulb into several "daughter" bulbs, known as "offspring". This has been happening for years.
 - If you notice that your bulb has formed a bunch of smaller bulbs, gently separate them with your fingers.
- New bulbs can be planted separately and is a good way to increase your bulb stock.
- This will also help prevent damage to adjacent bulbs by tearing apart their roots.
 6 Plant the bulbs in a sunny location and in well-drained soil to allow them to grow well. Bulbs are usually fairly easy to grow, but they will appreciate well-drained soil and a sunny spot. Avoid planting the bulbs anywhere where puddles form and do not dry out after rain.
 - Try squeezing a handful of damp earth.
- If, when compressed, it forms a sticky mass, and does not crumble, then your garden soil may be heavy clay.
- If so, it is a good idea to incorporate a lot of organic matter or sand into the soil to improve drainage.
- Do this well before replanting the bulbs.
- Regardless of the soil type, the bulbs will appreciate a lot of organic matter, such as well-rotted manure added during planting.
Method 2 of 2: Transplanting bulbs
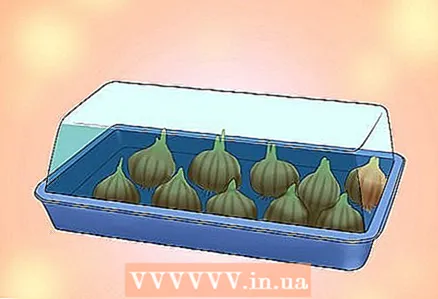
 1 Store the bulbs to avoid decay. It is always best to transplant the bulbs immediately after digging them up. If this is truly not possible, you can store them for short periods. The trick is to keep them from rotting.
 - After digging up the bulbs, remove as much soil as possible.
- Trim off any sparse roots and tear off any flaking layers from the bulb itself.
- Throw away diseased or rotting bulbs.
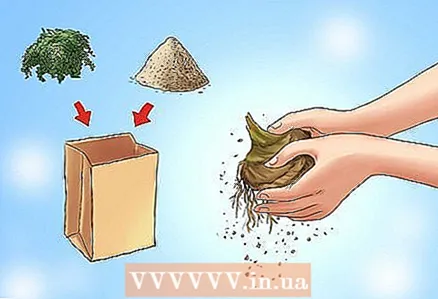
- Place the bulbs on a tray or other flat surface and let them dry for a day or two.
- Then place the bulbs in a container of sawdust or paper bags filled with peat.
- Some gardeners use the clean bags they use to store oranges.
- The trick is to allow dry air to circulate to prevent the bulbs from getting wet and rotting.
- For the same reason, it is best not to overfill the bulbs and prevent them from touching each other, as this can lead to the spread of decay.
 2 Keep the bulbs in a cool, dry place to ensure their longevity. Store stored bulbs in a cool dry place, such as an unheated barn, where the temperature does not drop below freezing.
 - Spring-flowering bulbs are best sown in autumn; blooming in summer - in spring.
- You will hear from some growers pollinating the bulbs with a fungicide before storing them. It's always a good idea, but not essential.
 3 Plant the bulbs at a depth equivalent to the height of three bulbs to ensure good growth. The goal is to plant the bulbs to a depth of about three bulb heights. The bulbs should also be planted at a distance that is at least twice the width of the bulb.
 - This means that a 5 cm bulb must be planted 15 cm deep and at least 10 cm away from its neighbor.
- It is a good idea to add a handful of compost to the bottom of the onion hole so that it settles.
- Place the onion into the hole with the pointed end facing up and cover the hole.
- Water well and do not trample the ground with your foot, as this can cause damage.
- The bulbs grow well under the grass, but remember not to mow the area above the bulbs until the foliage is dry, usually in late summer.
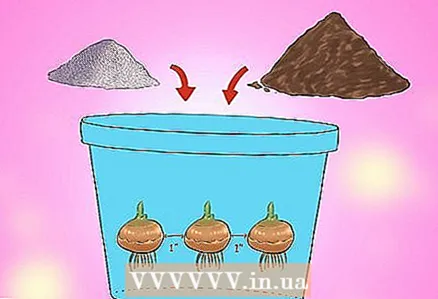 4 Take extra precautions for bulbs planted in containers. The bulbs will withstand transplanting into a container. It is a good idea to add some sand to the compost at a ratio of 1 part sand to 3 parts compost to encourage proper bulb growth.
 - Bulbs in containers should be planted three bulb heights, but they will tolerate more crowding than bulbs planted in soil - 2.54 cm is fine.
- Try not to touch the bulbs. Feed the bulbs in containers regularly during the growing season (spring-summer).
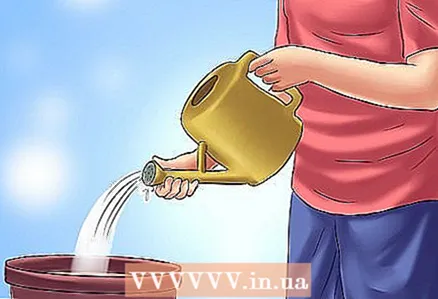 5 Water the potted bulbs to keep them hydrated. Bulbs in containers need to be watered throughout the growing season - this usually means spring and summer. After the foliage starts to die off, reduce the watering as this will help the plant go into a dormant state.
 - Do not allow the container to dry completely, even when the bulbs are dormant in winter.


