Author:
Florence Bailey
Date Of Creation:
25 March 2021
Update Date:
1 July 2024

Content
- Steps
- Method 1 of 3: Remove the cactus from the old pot
- Method 2 of 3: Preparing a cactus for planting in a new pot
- Method 3 of 3: Planting a Cactus in a New Pot
- What do you need
When a cactus grows too large for its pot, it will need to be repotted if you want the plant to stay healthy. Transplanting a cactus is scary for many, but if you protect yourself from thorns, and the roots of the cactus from damage, the transplantation process will be successful.
Steps
Method 1 of 3: Remove the cactus from the old pot
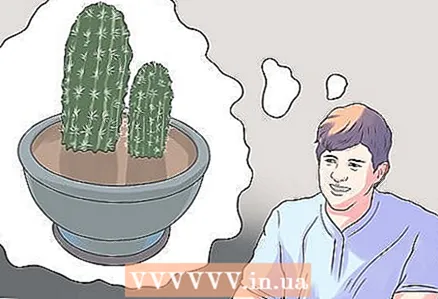 1 Know how to tell when to replant your cactus. Most varieties of cactus need replanting as soon as the roots begin to emerge through the drainage holes of the pot, or as soon as the "crown" of the cactus begins to protrude beyond the edges of the pot.
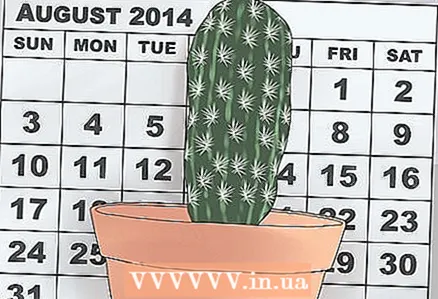
 - This happens every two to four years.
- Repot your cactus during dry seasons, late winter, or early spring. During transplanting, the roots can break and moisture can cause them to rot.
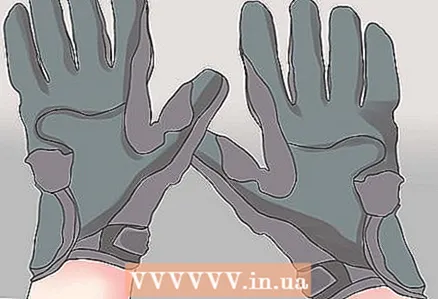 2 Wear gloves. Wear heavy leather gloves. The material should be dense enough to protect you from the thorns of the plant.
 - Gloves alone may not be enough to protect your skin, but even if you take other protective measures, heavy gloves should still be worn.
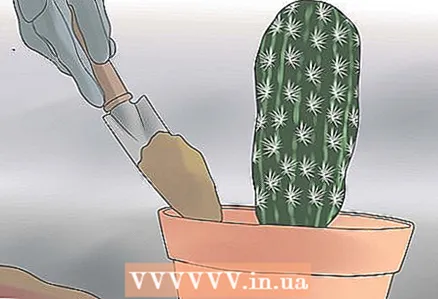
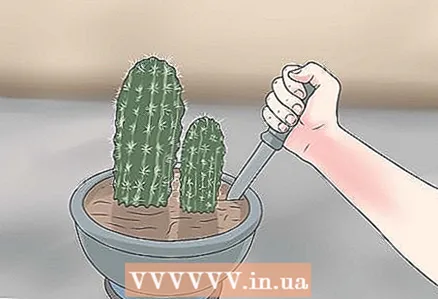 3 Loosen the soil. Dip a knife with a rounded end into the ground near the edge of the pot and guide it around the inner perimeter of the pot, cutting the ground as you travel. Continue until the soil has separated from the walls and bottom of the pot.
 - If the cactus is growing in a plastic pot, you can try squeezing the pot on both sides to separate the soil from the edges of the pot. For the same purpose, cut the soil along the inner perimeter of the pot with a knife with a rounded end.
- The soil surrounding the root mass must completely separate from the pot walls before you take out the plant. Otherwise, everything will end up damaging the plant.
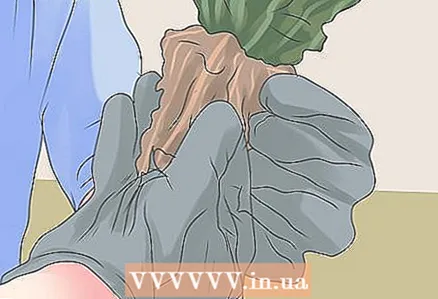
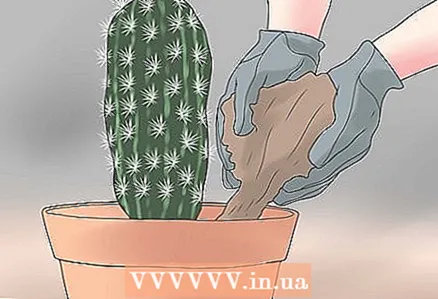
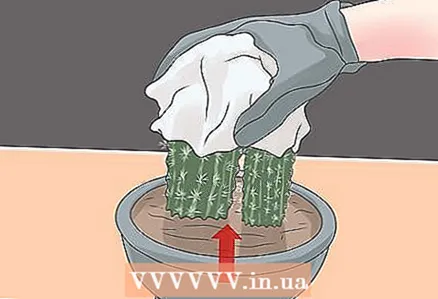 4 Take out the cactus using newspaper. Fold a few sheets of newspaper together and fold them in thirds for a thick, sturdy strip. Wrap this strip around the cactus. Gently grab the cactus by pressing a strip of newspaper against it and remove it from the pot.
 - You can skip the newspaper and use old barbecue tongs to remove the cactus from the pot. The main thing is to protect your hands from thorns.
Method 2 of 3: Preparing a cactus for planting in a new pot
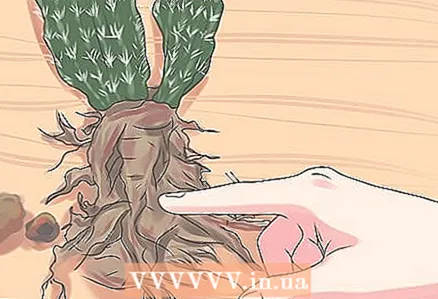
 1 Clean the roots. Place the cactus on a work surface and use your fingers to brush off large clumps of soil from the roots. Divide the roots carefully.
 - The roots should not be completely clean from the ground, but the broken off pieces must be removed.
- Remove gloves during this work.
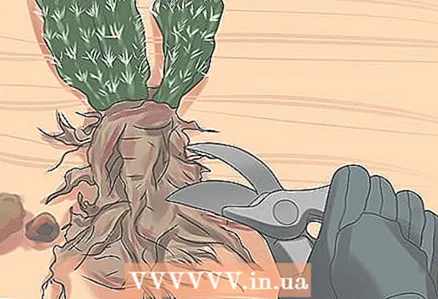
 2 Examine the roots. Check the roots for signs of rot, disease, or pests. If such problems arise, they should be addressed as needed.
 - For signs of rot or other fungal infections, apply a fungicide.
- If pests are found, apply a mild pesticide.
- Use a small pruning shear to cut off any roots that look dry or dead.
 3 Decide whether to prune the roots. Root pruning is a somewhat controversial issue. A cactus will most likely take root in a new pot, even if you don't prune its roots. However, proper root pruning will promote better growth and flowering.
 - Large taproots take very little nutrients from the soil. They transport and store nutrients, but do not actually absorb them, thus not promoting faster growth of the cactus.
- Pruning large roots can stimulate the vitality of the capillary roots, which are responsible for the absorption of water and nutrients.
- Use a sharp, clean knife to shorten the taproot by cutting one-fifth to one-half its length. Also shorten large roots by cutting from one-fifth to one-half their length.
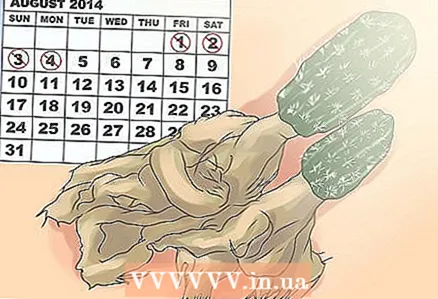 4 Let the roots dry. Keep the cactus in a warm, dry place for about four days to dry out the roots a little.
 - The roots can be damaged when removing the cactus from the pot, and then fungus or rot can appear in the places where they break. The same risk of root infestation is associated with root pruning. Drying the roots prevents them from infesting.
Method 3 of 3: Planting a Cactus in a New Pot
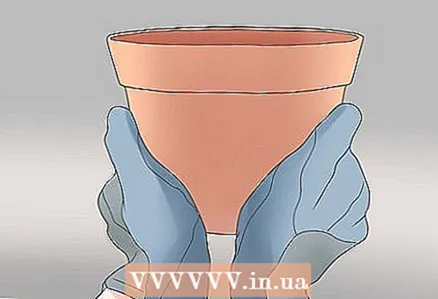 1 To transplant a cactus, take a pot one size larger than the previous one. When choosing a new cactus pot, take it one size larger than the old cactus pot in which the cactus is currently growing. If you take a pot much larger than the old one, problems can arise.
 - If the pot is too large, the soil will store more water. This water will linger near the roots and eventually cause rotting.
- Large pots are best avoided for those types of cacti that usually suffer from root rot, such as astrophytum, ariocarpus, lophophora, aztecium and obregonia. Pot size is less important for hardy species such as echinocereus, trichocereus, chilocerius, stenocerius, myrtillocactus, and prickly pear.
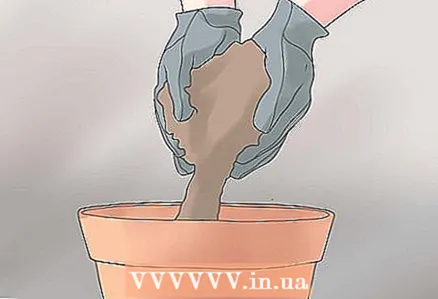 2 Sprinkle some coarse potting soil into the bottom of the new pot. There should be enough soil for the cactus in the new pot to be at the same depth at which it grew in its old pot.
 - Before pouring soil into the pot, you can first lay a drainage layer of gravel or fragments of an earthen pot on the bottom of the pot.
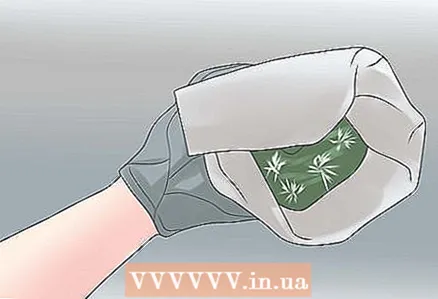 3 Wrap the cactus in newspaper. If you've used all of the newspaper while removing a cactus from an old pot, prepare another by overlapping a few newspaper sheets and folding them in three. Wrap the cactus tightly with this newspaper strip.
 - Make sure you hold the cactus securely.
- Wear heavy leather gloves during this procedure.
- If newspaper is not available, use clean old barbecue tongs.
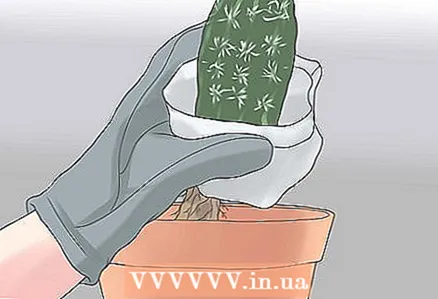 4 Place the cactus in the center of the pot. Gently grab the cactus across the newspaper and place it in the center of the new pot, placing it on the ground at the bottom of the pot.
 - Never press the cactus to the soil, otherwise you can seriously damage its roots. Cover the roots with soil very carefully so as not to damage them.
 5 Top up the soil around the cactus. Gently fill the space around the cactus with a coarser potting soil mixture. Distribute the soil around the cactus so that it is anchored in the center of the pot, but do not tamp the soil.
 - When the space around the cactus is about half full of soil, gently tap the sides of the pot to fill the space between the roots. When you completely fill the space around the cactus with earth, do it again.
- At this stage, you need to check if the cactus is planted too deep or too high. Carefully position the cactus in the pot so that its green aboveground part is above the soil level, and the root part remains in the soil.
 6 You can add compost and gravel. This is not necessary, but at the same time a layer of compost can help maintain the necessary acidity of the soil, and a layer of gravel or sand will improve drainage.
 - The compost should be slightly acidic, with a pH of 4 to 5.5. Stir the compost into the soil along the sides of the pot.
- Spread a thin layer of gravel on top of the soil, leaving the base of the cactus free.
 7 Give the cactus extra time to recover. For viable species, wait a few days with watering to allow the cactus to dry out and recover. For species prone to root rot, wait two to three weeks with watering.
 - At the end of the recovery period, care for the cactus as usual.
What do you need
- Heavy Leather Gloves
- Rounded end knife
- Newspaper
- BBQ tongs (optional)
- Fungicide (if necessary)
- Pesticide (if needed)
- Small pruner
- Larger pot or container
- Coarse potting soil mix
- Gravel or similar drainage material (optional)
- Compost (optional)
- Watering can


