Author:
Janice Evans
Date Of Creation:
23 July 2021
Update Date:
1 July 2024
Content
- Steps
- Method 1 of 3: On Samsung Galaxy
- Method 2 of 3: On another Android device
- Method 3 of 3: Using ES File Explorer App
- Tips
- Warnings
This article will show you how to transfer images from Android device internal storage to SD card. This can be done using the Android device settings or the free ES File Explorer app.
Steps
Method 1 of 3: On Samsung Galaxy
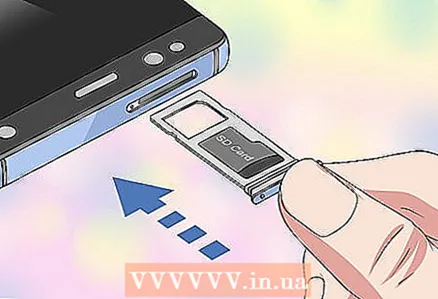
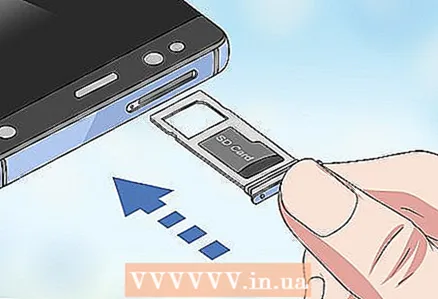
 1 Insert SD card into Android device. You may need to remove the device cover to do this.
 - Sometimes you need to pull out the battery to access the SD card slot.
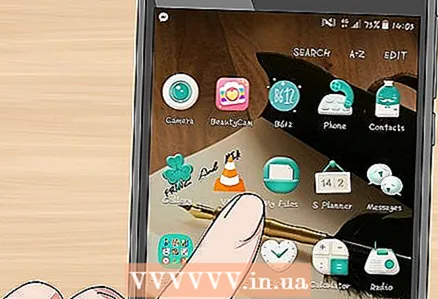 2 Open the My Files app. Find the Samsung folder in the Samsung Galaxy App Bar, tap that folder, and then tap the My Files icon, which looks like a white folder on an orange background.
 - The My Files app is preinstalled on most Samsung Galaxy devices that support Android Nougat (7.0) and above.
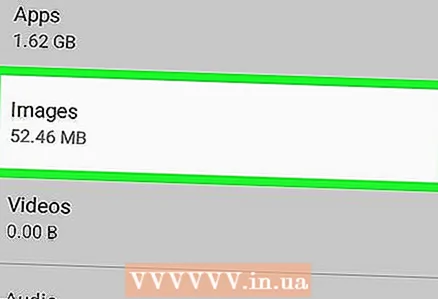
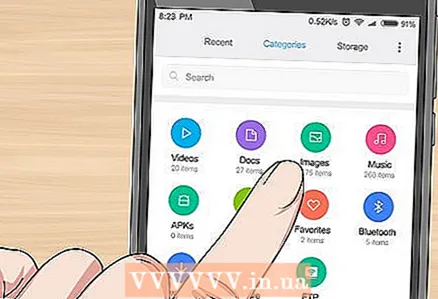 3 Click on Images. It's in the Categories section in the middle of the screen. The list of Samsung Galaxy photo albums will open.
 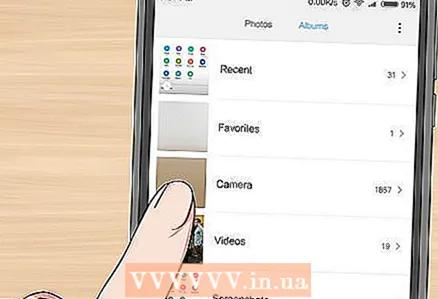 4 Select an album. Tap the album containing the photos you want to transfer to your SD card.
 - To select all photos, tap Camera.
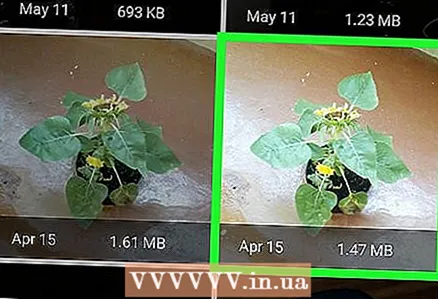
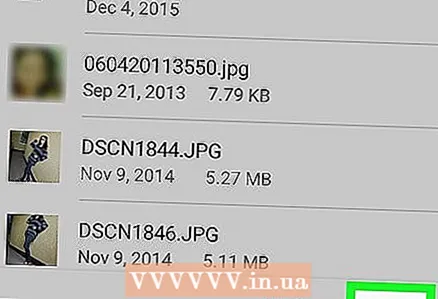
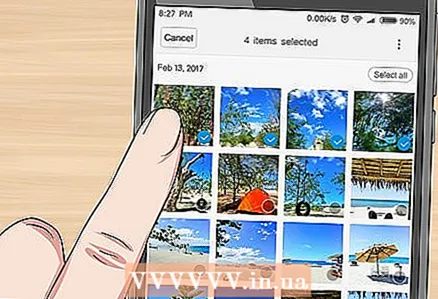 5 Select the photos you want. Press and hold one photo to select it, and then tap other photos you want. A check mark appears to the left of each selected photo.
 - Alternatively, you can tap ⋮ in the upper right corner of the screen, select Edit from the menu, and then tap each photo you want.
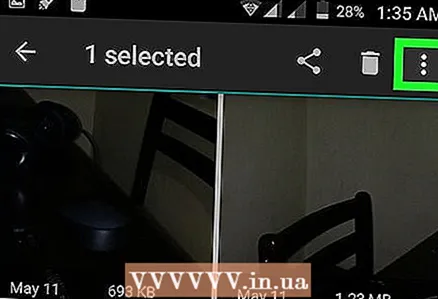
 6 Click on ⋮. This icon is in the upper right corner of the screen. A dropdown menu will open.
 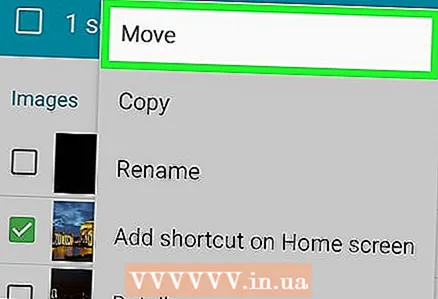 7 Click on Move. It's in the drop-down menu. The storage menu will open.
 - To copy the photos to your SD card (that is, the photos will remain in the Samsung Galaxy's memory), tap Copy.
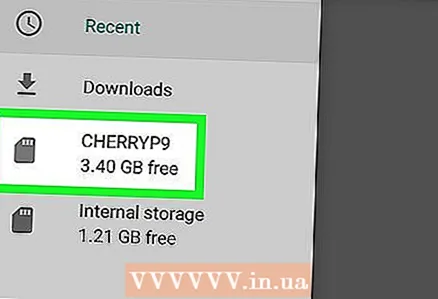
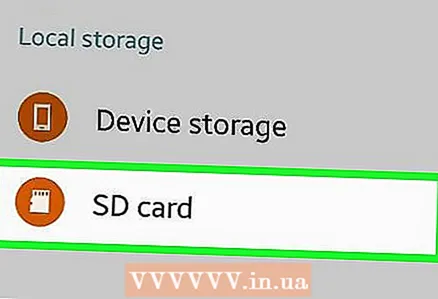 8 Tap SD card. It's in the Phone section at the top of the storage menu.
 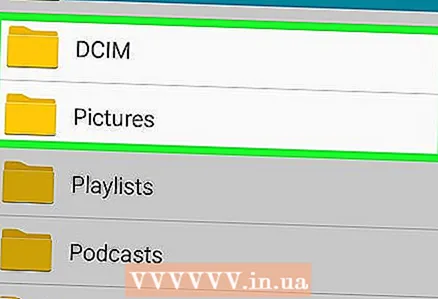 9 Select a folder on your SD card. Typically, you will need to click DCIM> Camera to select the default folder for your photos; but any folder on the SD card can be selected.
 - Alternatively, you can click New Folder to create a new folder.
 10 Click on Ready. It's in the upper-right corner of the menu. The photos will be transferred to the specified folder on the SD card, and these photos will be deleted from the Samsung Galaxy memory.
 - If you choose Copy instead of Move, the photos will be copied to the SD card and remain in the Samsung Galaxy memory.
Method 2 of 3: On another Android device
 1 Insert SD card into Android device. You may need to remove the device cover to do this.
 - Sometimes you need to pull out the battery to access the SD card slot.
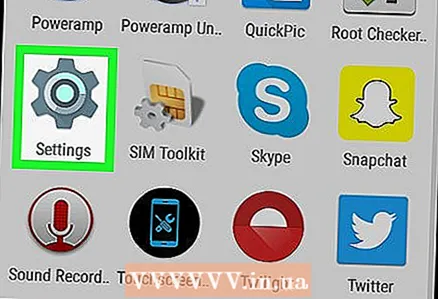 2 Launch the Settings app
  . Click on the gear-shaped icon in the Application Bar.
 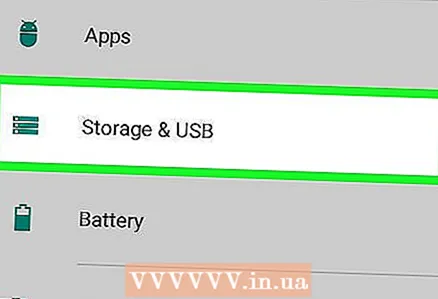 3 Scroll down and tap Memory. This option is located roughly in the middle of the settings page. A list of your device's drives will open, including the SD card.
 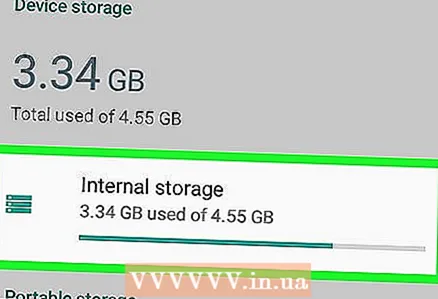 4 Tap Shared internal memory. You will find this option at the bottom of the Device Memory group.
 - On some phones or tablets, this option will be replaced with an "Internal memory" option.
 5 Tap Images. This option is in the middle of the menu.
 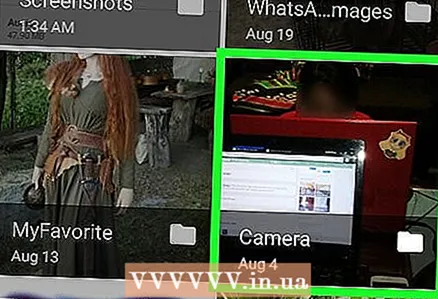 6 Select a folder or album with photos. Tap Camera to open photos taken with the camera of your Android device.
 - You can also click on another folder to select the photos stored in it.
 7 Select the photos you want. Press and hold one photo to select it, and then tap other photos you want.
 - To select all the photos in a folder, press ⋮> Select All.
 8 Tap ⋮. You will find this button in the upper right corner of the screen. A menu will open.
 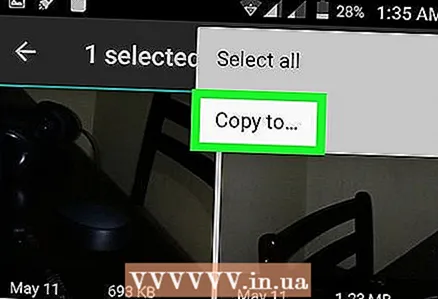 9 Tap Move. It's near the top of the menu. The storage menu will open.
 - To copy photos to your SD card, select “Copy” from the menu.
 10 Tap the inserted SD card. You will find it in the dropdown menu. The SD card page will open.
 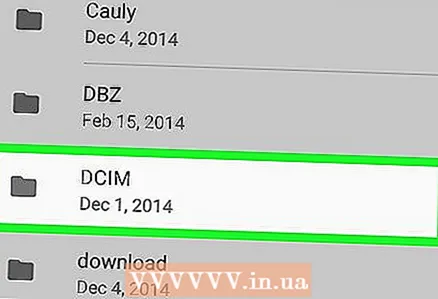 11 Select the folder where the photos will be transferred. Tap an existing folder, or press ⋮> New Folder, and then enter a name for the new folder.
 - Typically, photos are stored in the Camera folder, which is located in the DCIM folder on the SD card.
 12 Tap Move. You will find this option in the lower right corner of the screen. The photos will be transferred from the internal memory of the device to the SD card.
 - If you choose Copy instead of Move, the photos are copied to the SD card and remain in the device's memory.
Method 3 of 3: Using ES File Explorer App
 1 Insert SD card into Android device. You may need to remove the device cover to do this.
 - Sometimes you need to pull out the battery to access the SD card slot.
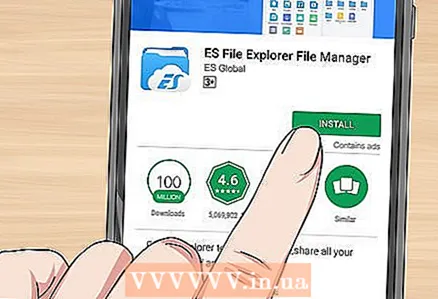 2 Install ES File Explorer app. Skip this step if your device already has one. For this:
 - open the Play Store
 ;
; - tap the search bar;
- enter es file explorer;
- click "ES File Explorer File Manager";
- tap "Install";
- click "Accept" when prompted;
- wait for ES File Explorer to install.
- open the Play Store
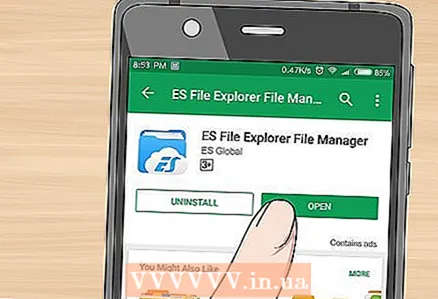 3 Launch ES File Explorer. Click "Open" in the Play Store or tap the ES File Explorer app icon.
 - When the app starts, scroll through a few pages for general guidelines on how to use the app.
 4 Click on START NOW (Start now). It's a blue button in the middle of the screen. The ES File Explorer home page will open.
 - Skip this step if you have already run ES File Exlporer.
 5 Click on Images (Images). It's in the middle of the page. A list of photos of the Android device will open.
 - You may need to scroll down to see this option.
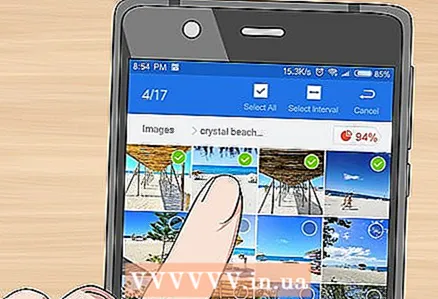 6 Select the photos you want. Press and hold one photo to select it, and then tap other photos you want.
 - To select all photos, press and hold one photo to select it, and then press “Select All” in the upper right corner of the screen.
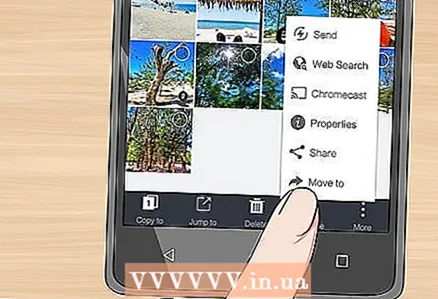 7 Tap Move to (Move). It's in the lower-right side of the screen. A menu will open.
 - To copy the images to the SD card, click “Copy” in the lower left corner of the screen.
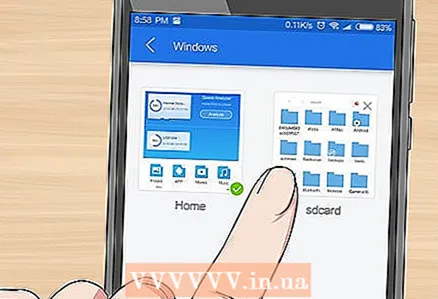 8 Select your SD card. In the menu, tap the inserted SD card.
 - Depending on your Android version, you can skip this step if the SD card page opens automatically.
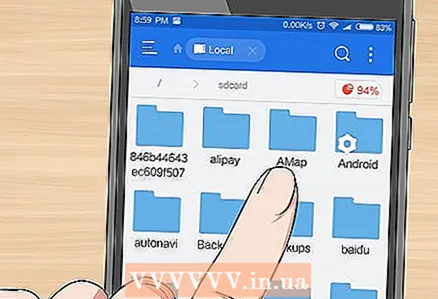 9 Select a folder. Tap the folder on the SD card where you want to transfer the selected photos. Photos will be transferred to SD card.
 - If you selected Copy (instead of Move), the photos will be copied to the folder.
Tips
- If the folder you are moving your photos to contains duplicates of those photos, click Skip, Replace, or Rename (or similar options) when prompted.
Warnings
- It is better to copy rather than move files to an SD card, because SD cards are fragile and easily damaged.


