Author:
Bobbie Johnson
Date Of Creation:
7 April 2021
Update Date:
26 June 2024

Content
- Steps
- Method 1 of 2: How to temporarily disable Windows Defender
- Method 2 of 2: How to permanently disable Windows Defender
- Tips
- Warnings
This article will show you how to temporarily and permanently disable Windows Defender in Windows 10. Windows Defender can be disabled before the first restart of the computer through the Options menu; to permanently disable Defender, you need to make changes to the Windows registry. Keep in mind that disabling Defender will reduce the security of your computer. Moreover, if you change the wrong registry entry, the system may become unusable.
Steps
Method 1 of 2: How to temporarily disable Windows Defender
 1 Open the start menu
  . Click on the Windows logo in the lower left corner of the screen.
  2 Click "Options"
  . This icon is in the lower-left corner of the Start menu. The "Options" window will open.
  3 Click on "Update & Security"
  . You will find this option in the bottom row of options.
 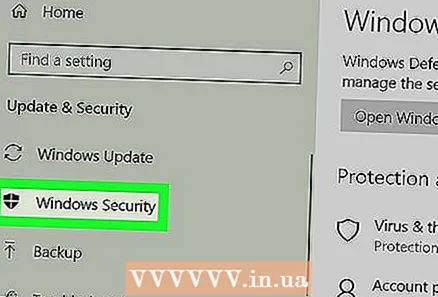 4 Click on Windows Defender. You will find this option in the left pane.
  5 Click on Virus and threat protection. This is the first option in the "Protected Areas" section at the top of the page. A Windows Defender window will open.
 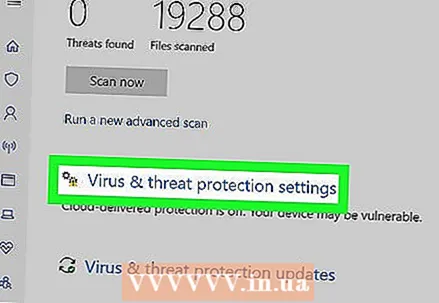 6 Click on Virus and threat protection options. It's in the middle of the page.
  7 Disable real-time protection. Click on the blue slider
  next to Real-Time Protection, and then click Yes in the pop-up window. The real-time protection function will be disabled.
 - You can also turn off cloud protection - click on the blue slider next to "Cloud protection" and then click "Yes" in the pop-up window.
- Windows Defender will automatically turn on when you restart your computer.
Method 2 of 2: How to permanently disable Windows Defender
 1 Open the start menu . Click on the Windows logo in the lower left corner of the screen.
 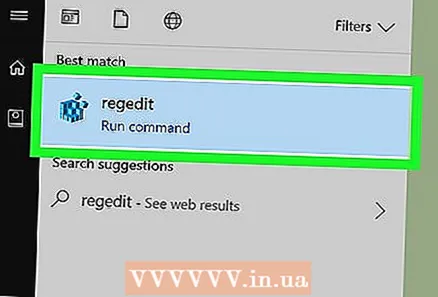 2 Open Registry Editor. Here you can change the basic functions of your computer. To open Registry Editor:
 - Enter regedit.
- Click on "regedit" at the top of the Start menu.
- Click Yes when prompted.
 3 Go to the Windows Defender folder. To do this, open the appropriate folders on the left pane of the Registry Editor:
 - Double click on the "HKEY_LOCAL_MACHINE" folder to open it (if it is already open, skip this step).
- Open the "SOFTWARE" folder.
- Scroll down and open the "Policies" folder.
- Open the Microsoft folder.
- Click on the Windows Defender folder.
 4 Right click on the Windows Defender folder. A menu will open.
 - If the mouse does not have a right button, click on the right side of the mouse or click with two fingers.
- If your computer has a trackpad (not a mouse), tap it with two fingers, or press the lower-right portion of the trackpad.
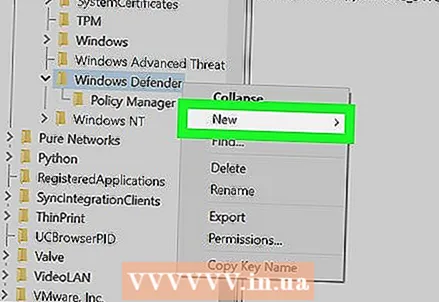 5 Click on Create. It's at the top of the menu. A new menu will open.
 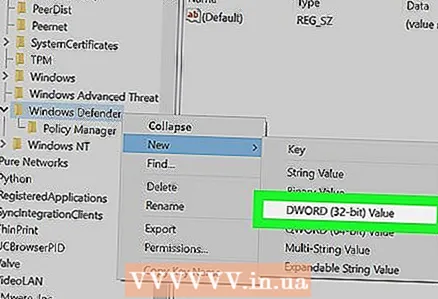 6 Click on DWORD parameter (32 bit). You will find this option in the new menu. A new setting will be created in the Windows Defender folder and displayed in the right pane.
 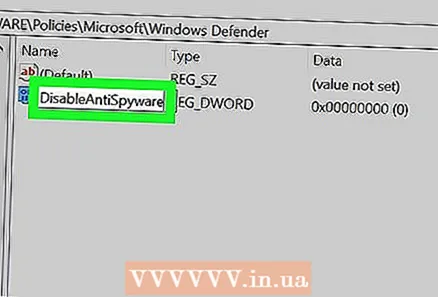 7 Enter DisableAntiSpyware as the parameter name. Then press ↵ Enter.
  8 Open the "DisableAntiSpyware" option. To do this, double click on it. A pop-up window will open.
  9 Replace the number in the "Value" line with 1. This will enable the created parameter.
 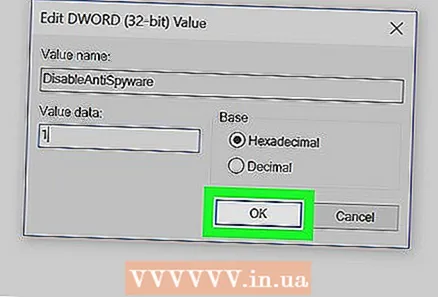 10 Click on OK. It's at the bottom of the window.
 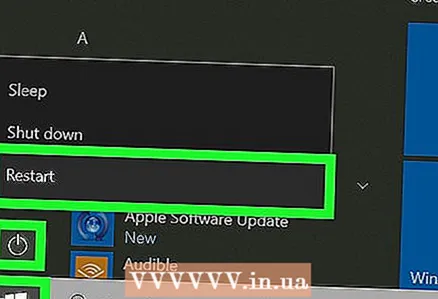 11 Reboot your computer. Click Start
  > "Shutdown"
  > Reboot. Windows Defender will be disabled.
  12 Turn on Windows Defender when needed. For this:
 - Navigate to the Windows Defender folder in Registry Editor.
- Click once on this folder.
- Double click on the "DisableAntiSpyware" option to open it.
- Change the number on the "Value" line from 1 to 0.
- Click OK and restart your computer.
- Remove the "DisableAntiSpyware" option if you no longer intend to disable the Defender.
Tips
- If you install a third-party antivirus (such as McAfee), Defender is deactivated (but not completely disabled). This is necessary in case the work of a third-party antivirus stops for some reason.
Warnings
- You can temporarily disable Windows Defender through Windows Security Settings. There you can also disable other programs you have installed that keep your computer secure, such as antivirus or firewall. This feature prevents you from completely disabling Defender for security reasons.


