Author:
Sara Rhodes
Date Of Creation:
17 February 2021
Update Date:
1 July 2024

Content
- Steps
- Method 1 of 2: Calibration by Weight
- Method 2 of 2: Calibrating with a Hand Scale
- Tips
- What do you need
It is very important that you can always rely on tools. Some instruments require special care and adjustment. Calibration of calibrated keys should be performed by a professional at least once a year, but, in extreme cases, you can handle this task yourself. This is exactly what you will learn from our article.
Steps
Method 1 of 2: Calibration by Weight
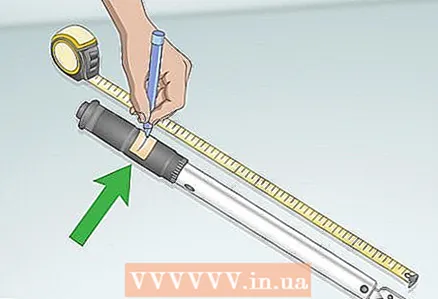 1 Make a mark on the back of the key at the center of the drive end.
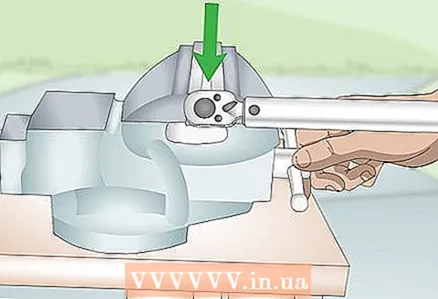 2 Measure from this mark to where you would normally hold the key with your hand, and mark a second mark (or line) there. Determine the distance between the two marks.
 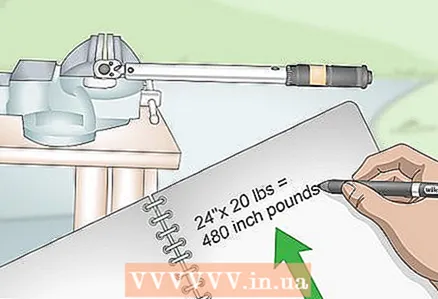 3 Secure the square head in a vise, leaving no other part of the wrench secured. Move the handle to a horizontal position.
 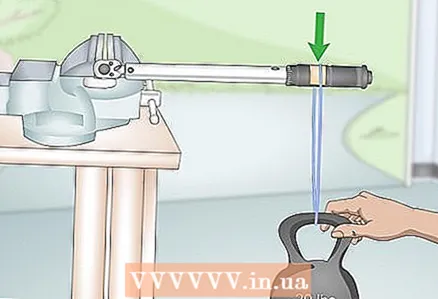 4 Align the tightening torque to the obtained distance setting in 2 x 9 kg increments.
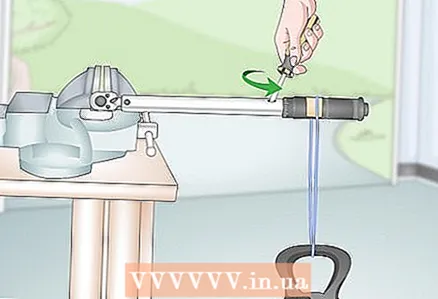 5 Hang a 9 kg weight at the points marked in steps 1 and 2.
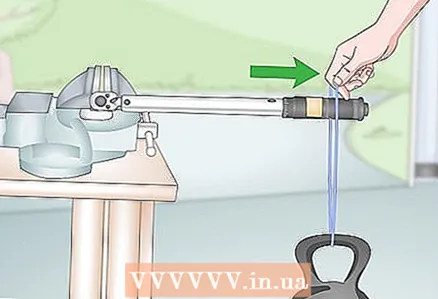
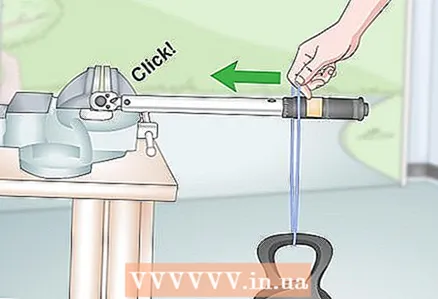 6 If you hear a click from the tool, lift the weight and slowly move towards the head until the click stops. Apply a reference mark and repeat the procedure to confirm it.
 - If at first there is no click, then move the weight further away from the key head until you hear it. Apply a conditional mark and repeat the procedure to confirm it.
- Make the mark clearer after the point is confirmed two or three times.
 7 Measure the distance between the square head and the click point. This is another value that will be required for the calibration equation. To find the true torque value, multiply the distance by 9 kg.
 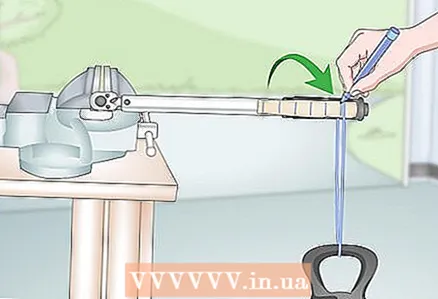 8 Use the formula Ta = Ts x (D1 / D2). Substitute these values into this equation, substituting Ta for the applied torque, Ts for the torque setting, D1 for the distance from step 2, and D2 for the last distance found.
 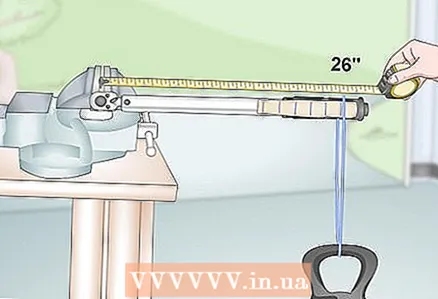 9 Check the counts several times and adjust the key.
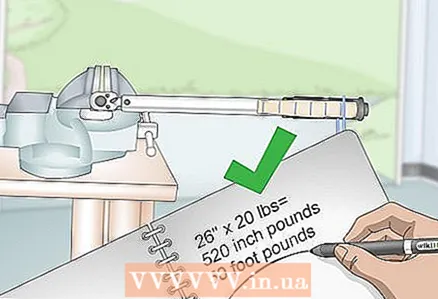 10 Do not forget: An important distance is the distance from the center of the drive head to the point where the load is suspended. It has nothing to do with a comfortable hand grip. The unit of measurement is kgm. Meters refer to the shoulder of forces. In this case, the arm of forces is the distance from the center of the drive head to the place where the load is suspended.
 - So, when hanging a load 0.3m from the centerline of the drive head and weighing 9 #, you are applying 9kg x 0.3m to the drivehead, or 6.1kgm.
- If suspended 0.15 m from the centerline of the head, you get 3 kgm (9 kg x 0.2m). When performing these steps, the handle of the wrench should be parallel to the floor, but for more accurate measurements, take into account the additional weight of the pivot wrench itself, measured from the suspension point. If you do not have a scale, this is usually 0.45 kg for inch-lb keys and 0.9 kg for foot-lb keys.
Method 2 of 2: Calibrating with a Hand Scale
 1 Fix the drive end of the key in a vise.
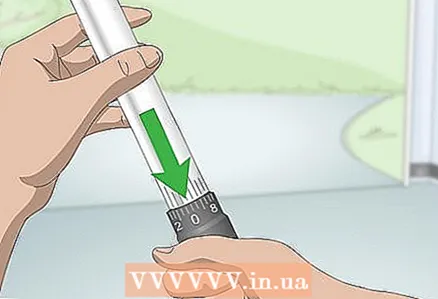 2 Fix the hand scale at a distance of 30 cm from the center of the drive end.
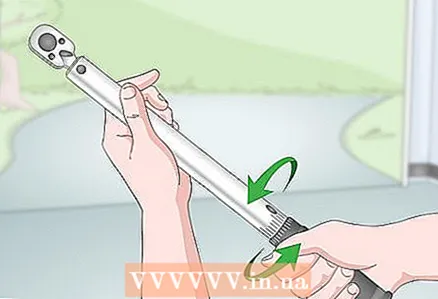
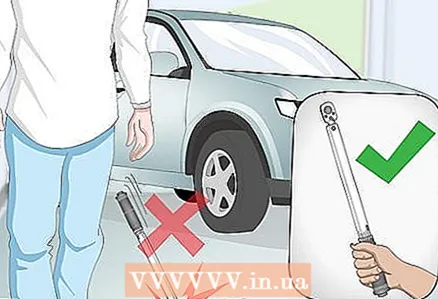 3 Determine the pulling force of the balance for a specific wrench setting.
 4 Calculate the relative error.
 5 Follow the steps above for various key settings to determine the consistency of the error.
 6 Apply relative error for the weights on the key.
Tips
- If you are unsure of your ability to calibrate the key, send it to a professional workshop. They have the right equipment and specialists for this.
- The weight used must weigh exactly 9 kg.
- Remember to raise the weight on the key handle when locating and checking the click point.
What do you need
- Vise or clamp
- Load weighing 9 kg
- Thin rope or cord
- Roulette
- Marker
- Calculator or paper and pencil (optional)


