Author:
Mark Sanchez
Date Of Creation:
5 January 2021
Update Date:
3 July 2024

Content
- Steps
- Part 1 of 4: Buying a gilding kit
- Part 2 of 4: Preparing the gilding kit
- Part 3 of 4: Cleaning the gilding surface
- Part 4 of 4: Surface gilding
- Tips
- What do you need
Gilding is an electrochemical process in which a thin layer of gilding is applied to the metal. Positively charged gold ions are passed through an electric current through a solution of gold plating, which is applied to a negatively charged metal, usually jewelry. Gilding is an easy way to give a new look to tarnished jewelry and other metal accessories. Using the gilding kit and the following instructions, the gilding process will seem simple to you and will not take much time.
Steps
Part 1 of 4: Buying a gilding kit
 1 Choose a metal piece that you plan to gild. This can be a piece of jewelry, a part of a wall clock, decorative metalwork, or a car emblem. The type of set required for gilding depends on the choice of the product. Some items, especially large items, require the use of the Brush Gilding Kit, while the Immersion Gilding Kit can be used for smaller items such as jewelry. Search the internet for similar kits to find out which ones are of the highest quality.
 - Most gold plated jewelry is made on a silver base, but other metals such as copper or aluminum can be used as well.
- Silver and gold react with each other, which subsequently causes the item to tarnish. Using copper instead of silver will help create a longer lasting effect, as this metal does not react as strongly with gold.
 2 Buy a gilding kit. Now that you have decided on the product, you can buy a suitable set for gilding. If you are still in doubt, check with the kit manufacturer or gilding specialist to find out which kit would be more suitable.
 - A standard gilding kit includes a slurry of gold, electrical accessories, and a gilding stick or brush. This set is ideal, but you may also need other solutions and accessories for gilding, depending on the type of metal or product you are working with.
- Gilding solutions usually consist of 14, 18, or 24 carat gold. The color of the finished product will depend on the carat level.
- Colors may vary when metals such as copper or silver are added.
 3 Prepare all the necessary materials for gilding. While a gilding kit should have everything you need, this is not always the case. Some gilding solutions need to be brought to a certain temperature; in this case, you will need a hot plate or a heat-resistant glass. You will also need an electric current. If your kit doesn't have anything suitable for this, you will need a 12 amp rectifier and voltage regulator. At the very end, you will also need distilled water.
Part 2 of 4: Preparing the gilding kit
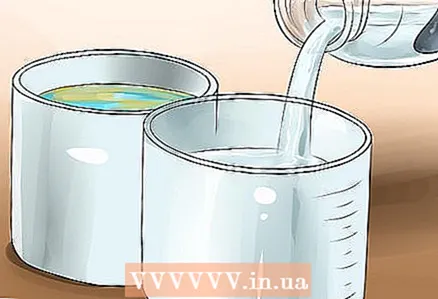 1 Prepare a glass and solutions. In addition to the gilding solution itself, your kit should contain an activating solution. These solutions do not need to be mixed in the same glass. Instead, you can place them opposite each other to make it easier to move the product from the activating solution to distilled water and gilding solution without unnecessary risk.
 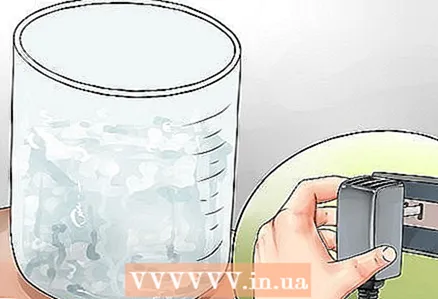 2 Begin to warm up the solutions. The solutions do not require constant fire, but they need to be brought to a certain temperature before gilding, so set them to heat beforehand. The exact temperature of the solutions depends on the specifics of the kit you purchased, for example, the number of carats. Follow the instructions exactly.
 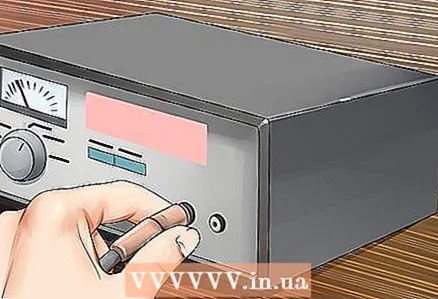 3 Install the power supply. Even if you are installing the power supply separately from the kit, follow the instructions in the kit to install it.
 - Buying a complete gilding kit is the best option. But if your kit doesn't have a power source, don't worry, you can use your own. The entire process will require a DC power supply, so you will need a rectifier to convert an AC power supply (similar to household appliances) to a DC power supply.
- The easiest way is to buy a regulated power supply. For household purposes, such as gilding coins or pens, you can buy an inexpensive regulated power supply, after which you just need to plug it in, switch the gilding brush to the positive output and adjust the voltages depending on the requirements of the kit.
- Most kits will have an electrical current of about three volts, although some kits will go as high as twelve volts.
Part 3 of 4: Cleaning the gilding surface
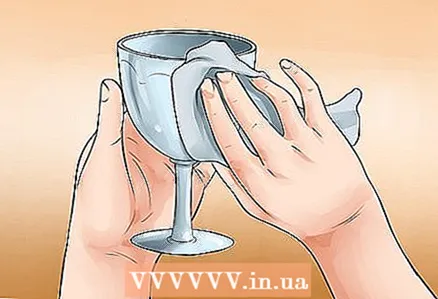 1 Clean the surface of the gilding product. For best results, the product must be thoroughly cleaned. Do not just rinse the product. Any traces of oil or grease should also be wiped off. If you do not do this, the item will not be properly gilded.
 - Wear cotton gloves to keep dirt out of your skin.
 2 Use the cleaning solution provided in the kit. Some kits include a cleaning solution. Depending on the type of kit, the solution can be in the form of a polish or an acidic solution. Handle such solutions with care and remember to wear gloves.
 - If your kit does not include a cleaning agent, you can use a household cleaner and clean the product yourself. Then rinse the product thoroughly with clean water.
- Make sure there are no fingerprints on the product.
- The surface of the product must be completely smooth.
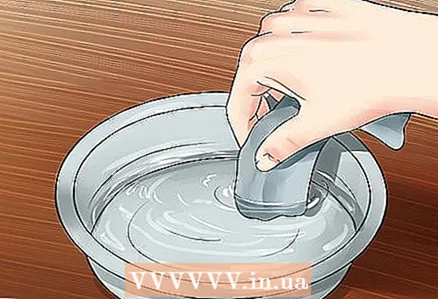
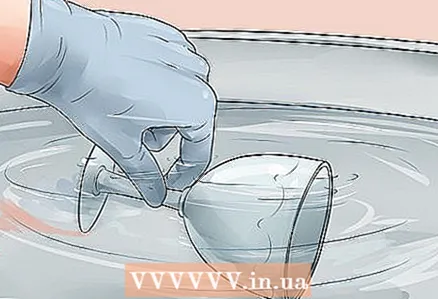
 3 Check the cleanliness of the product by immersing it in distilled water. Pay attention to how the liquid leaves the surface of the product when you take it out of the water. If water runs off smoothly from the surface of the product, the product can be considered clean.
Part 4 of 4: Surface gilding
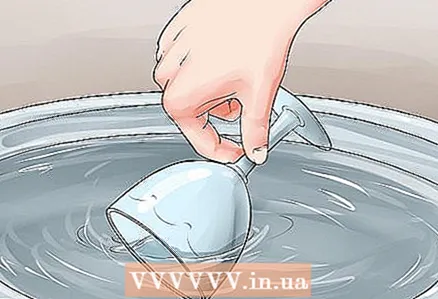
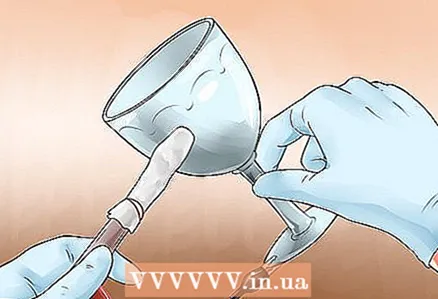 1 Cover the product with a layer of activating solution. Using a brush connected to an electric current source, it is necessary to cover the clean product with an activating solution. It is necessary to ionize the product with a positive electrode before gilding.
 - You can also dip the product in a glass of activating solution.But the brush must also be in an activating solution in order to charge the surface of the product.
 2 Rinse the product with distilled water. Gilding solution will work better if you remove excess activating solution from the product. It is enough just to dip the product into a glass of distilled water.
 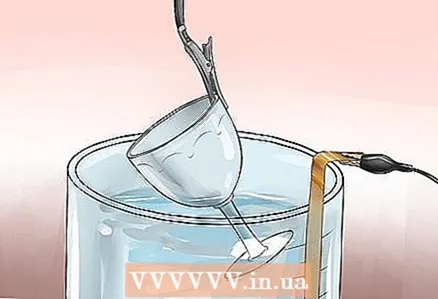 3 Cover the item with gilding solution. You can either use a separate gilding brush or dip the piece in the solution. The electrical current will bind the positively charged particles to the product.
 - In the instructions for the set, it is recommended to do several approaches.
- The amount of time to immerse the product depends on the product itself, but in general it is necessary to leave the product in the solution for 10-20 seconds. You also need to scroll it to distribute the gilding evenly.
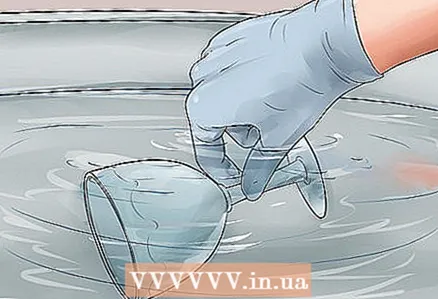 4 Rinse the gilded product with distilled water. This will help remove excess gilding solution while keeping the drying time to a minimum.
 - The gold plated item will be hard and dry in a few seconds.
Tips
- Nickel is perfect for gilding silver items, as nickel reacts less with gold than copper. But some people have a skin reaction to this metal, so copper is a better choice.
- As a rule, the thicker the gilding, the longer it will last. If a gilded product, such as a wristwatch or a pen, is used frequently, a thicker layer of gilding should be applied.
What do you need
- Set for gilding
- Jewelry or other jewelry
- Cotton gloves
- A piece of cloth or metal cleaner
- Cleanser for home use
- Distilled water
- Heated plate
- Measuring cups
- Regulated current source (if not included in the kit)


