Author:
Janice Evans
Date Of Creation:
24 July 2021
Update Date:
1 July 2024
Content
- Method 2 of 3: Safety and Proper Technique
- Method 3 of 3: The staining process
- Tips
- What do you need
- spray paint of the selected color;
- primer;
- newspapers, rags, or plastic wrap to cover the ground or floor and other items;
- masking tape;
- disposable gloves, goggles and a respirator.
 2 Prepare your work area. When using spray paints, always work outdoors or in a well-ventilated area. Spray paint will not cure properly if it is too cold or humid outside, so wait until the humidity drops below 65% and the weather is sunny and at least slightly warm.
 - Spread newspapers, rags, or plastic out and press down with stones to keep them from flying off the wind. Make sure you cover enough space, otherwise you may spray paint your garden or paths in it.
- Use masking tape to restrict certain areas of the surface you are painting. Glue it down carefully so that the paint does not flow under the edges.
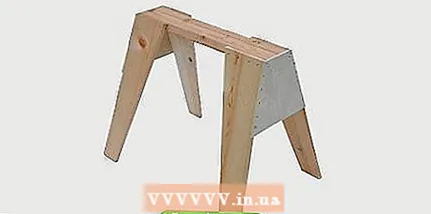 3 You can use goats. If you are painting an item that is convenient to set on the trestle, you can use them to keep the item hanging. This will make it easier to work, since you do not have to constantly bend over. In addition, on the trestle, the object will be convenient to paint from all sides, and on the ground, part of its surface will be difficult to access.
 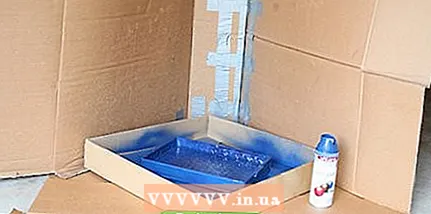 4 Prepare a box for painting small items. If you are painting a small item, it will be convenient to put it in a box that lies on its side. This will spray paint into the box, which will reduce the likelihood of getting everything dirty. You can place the item in the box on a piece of cardboard or a rotating stand to make it easier to rotate during the painting process.
  5 Clean the surface to be painted. The paint does not adhere well to dusty or dirty surfaces. Take a few minutes to wipe off any dirt from the surface you will be working on.
 - You can use just a damp cloth or a special household cleaner to clean the item. Most importantly, let the surface dry before painting.
- If there are sticky residues from stickers such as price tags on the surface of your item, be sure to scrape them off completely during the cleaning process.
- Rough surfaces should be sanded to ensure that the paint runs smoothly.
Method 2 of 3: Safety and Proper Technique
 1 Wear protective gear. Wear a respirator, goggles, and disposable gloves before handling spray paint. Goggles will protect your eyes from paint splashes, and gloves and a respirator are required due to the toxicity of spray paints.Put them on before touching the paint.
 - It is better to spend money on a respirator than to be treated for airway problems later.
- If you feel the slightest dizziness, nausea, or difficulty breathing, stop working immediately. Remember: your health and safety should always come first.
- 2 Apply a primer first. Shake the can for 3-4 minutes and then apply a coat of primer evenly over the item. Let dry completely. The drying time of the primer is usually indicated on the packaging.
- You only need to apply one coat of primer.
- A primer is needed so that the paint lies evenly. Without it, you will need more layers of paint.
- 3 Shake the can of paint well. Shake the can for 3-4 minutes before use. This will help to mix the paint thoroughly, which is necessary for an even color.
- It is not possible to shake the paint, but if you do not shake it, the result will not be the best.
- 4 Test the paint. Try spraying paint on an item in an inconspicuous area, or on a piece of board or cardboard. This will give you an idea of what the painted surface will look like and from what distance it is best to spray the paint.
Method 3 of 3: The staining process
- 1 Apply one coat of paint to the entire item. Slowly apply one even coat of paint over the entire item. Do not aim sprayer at one point. Make sure that the areas painted with each movement overlap slightly: this way you will not have any unpainted areas.
- Hold the can of paint about 20 cm away from the object and slowly move it back and forth about 30 cm per second.
- Do not apply thickly, as this will increase the chance of sagging and the drying time, and as a result, you may accidentally smear the coating. Instead, apply several thin coats of paint. Let each layer dry completely before applying the next one.
- Note that the first coat will most likely look blotchy and the original color will bleed through the paint, but this problem will disappear with the second coat.
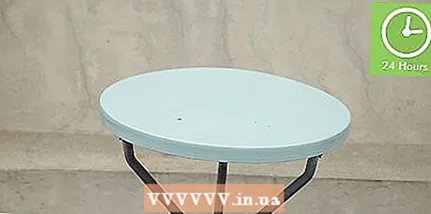
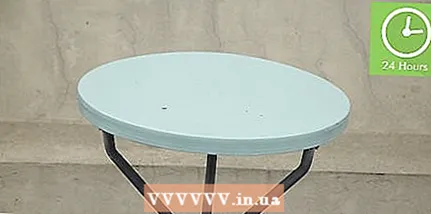 2 Wait. Most aerosol paints require a minimum of 24 hours to dry before applying a second coat. Take your time, as your patience will allow the paint to adhere better and last longer.
 - 3 Apply a second coat of paint. This is not always necessary, but applying a second coat will provide a more even color and coverage of the item with paint, and will also help to achieve a brighter color.
 4 Let the second coat dry. Let the second coat dry for 24 hours. Then remove any masking tape you used. Remove newspapers or plastic. Store leftover paint in a clean, dry place.
 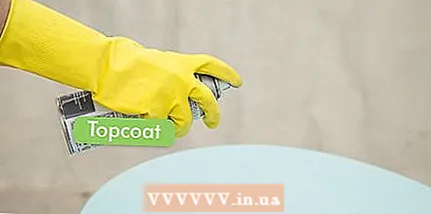 5 Apply a top coat if desired. Spray paint usually does not need to be cured, unless you plan to handle the painted object frequently. However, you can apply a clear coat if you wish. Spray a thin layer on the painted and completely dry item. Let dry for at least 24 hours and apply a second coat if desired.
 - Do not touch or move the object until the coating is completely dry.
- Note that coating is optional. If you are happy with the result without coverage, just skip this step.
Tips
- If you want to make decorative elements, just use a stencil. Using the picture you have drawn, cut out a design that suits you, being extremely careful to get clear lines. When you place the resulting stencil on the surface, you will need to paint all the holes in it, holding the stencil with your free hand. Make sure the stencil is firmly pressed against the surface and will not move, otherwise the design will not turn out the way it was intended.
- Wear old, unnecessary clothing for work, especially if you have never used spray paint before.
- If you are going to paint an item in two colors, first paint it completely in one color, let it dry completely (24 hours or more). Then, use regular clear tape to cover the areas of the subject with newspapers, leaving only what needs to be stained. The transparent tape only needs to fix the newspapers, it is not sticky enough to remove the main layer of paint.
- Keep pets away as paint fumes are especially dangerous for them.
- The smell of spray paint will be very strong on the painted object for 2-3 days, so it is preferable to keep it out of the house (in the garage) until the smell has faded slightly.
What do you need
- Spray paint
- Newspapers, large rags, or polyethylene
- Masking tape
- Old rags to wipe away paint stains
- Disposable gloves, goggles and respirator
- Well ventilated area or yard
- Primer


