Author:
Carl Weaver
Date Of Creation:
24 February 2021
Update Date:
1 July 2024
Content
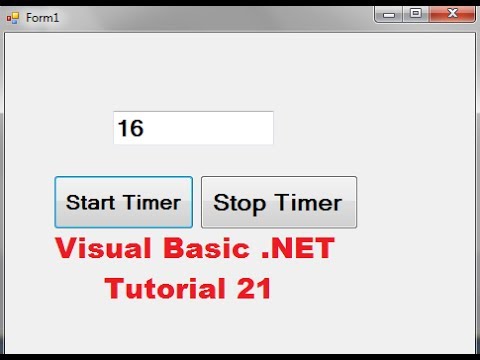
One of the processes that you should learn as a newbie to Visual Basic is adding a timer. The timer can be useful when creating a game, quiz, or if you want to limit the time you can view a certain page. Here are a few easy steps that will guide you through how to add a timer to your Visual Basic application. Please note - you can change and adapt this process to suit all your needs. We will only use numbers and layouts as an example.
Steps
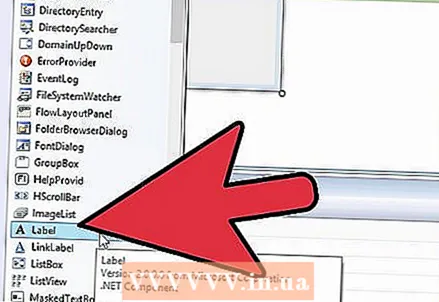 1 Add a label to your form. It will contain the number that you want to associate with the timer.
 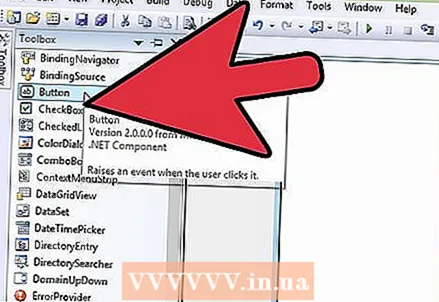 2 Add a button to the form. It will start the timer.
 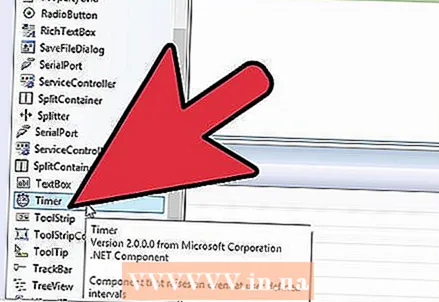 3 Add a timer to the form. You can find the timer function in the toolbar -> components -> timer.
 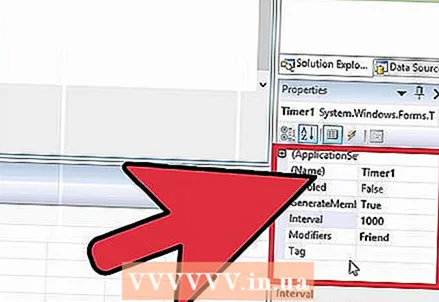 4 Modify the properties of the Timer1 components. Under Behavior, change Enabled to False and set Interval to 1000.
 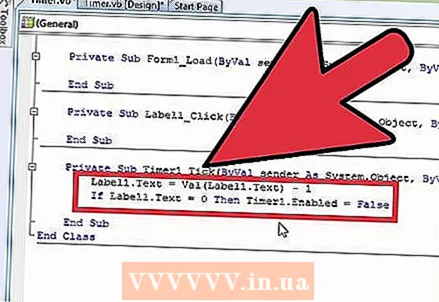 5 Double click on the "Timer1" component and add the correct encoding.
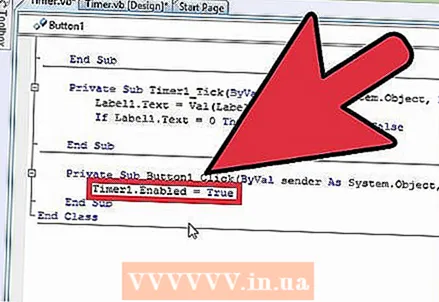 6 Double click the button you used to start the timer and add the correct encoding.
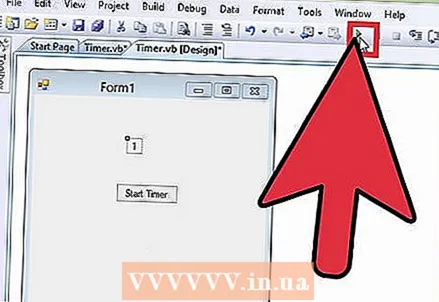 7 Start the timer. Check your timer to make sure it is working correctly and stops at "0".
Tips
- Try to keep your coding neat.
- Always add comments to your code so that you don't forget what a particular function is doing.
- Feel free to experiment, just remember to save your work before trying to add a new feature.
What do you need
- Microsoft Visual Basic


