Author:
Bobbie Johnson
Date Of Creation:
6 April 2021
Update Date:
1 July 2024
Content
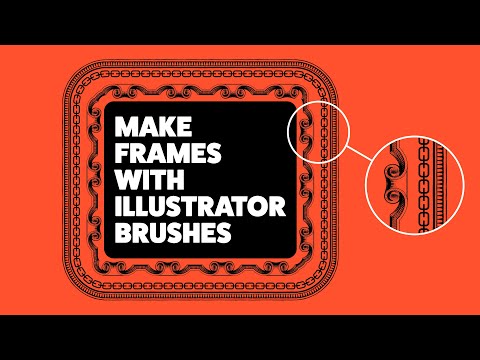
Adobe System's Illustrator is a graphics editing software that is available for Windows and Mac operating systems. This is a popular typography and 3D logo maker app. Thanks to the use of layers, various elements of the document can be changed independently. Symbols, colors and borders can be added to an Adobe Illustrator layer to create a great look. A border is a great way to frame a text box or the entire document. This article will show you how to add borders in Illustrator.
Steps
 1 Open the Adobe Illustrator application.
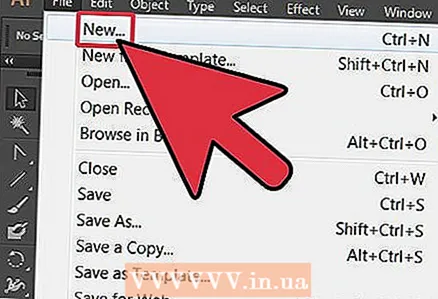 2 Open an existing document or create a new stamp or web document in the dialog that pops up.
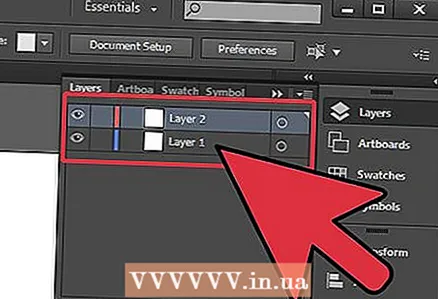 3 Select the layer you want to add a border to if it already exists.
- You need to make sure that the window to which you are adding the border is 1 inch (2.54 cm) on all sides of the page. Borders are often added to the background layer, which can be the bottom layer in your border. Please note that most background layers are at least 1 "(2.54 cm) from the edges, so it may be easier to create a new box above the background.
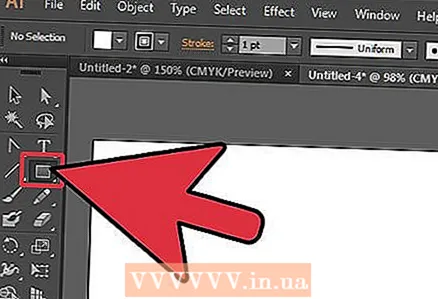 4 Select the Rectangle tool from your main vertical toolbar to the left of the document to create a new box with a border. The rectangle tool looks like an empty square.
 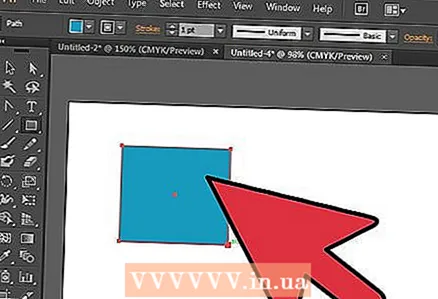 5 Click in the upper left corner where you want the box to be and drag down and across to create a base for your border.
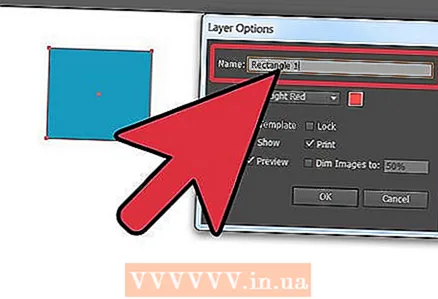 6 Name the layer for the rectangle you just created. You can name it "Border" so you can easily select it if you want to change the border.
 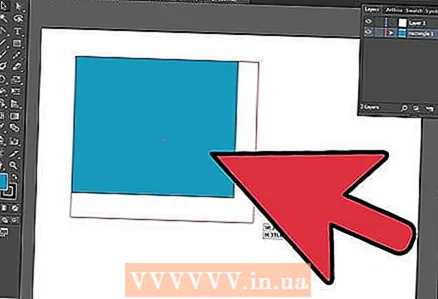 7 Click on the Selection tool (triangle cursor) to resize your window and select options for the border.
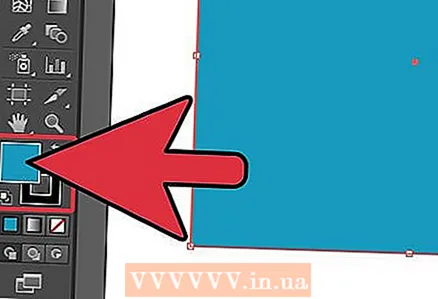 8 Click on the color palette. This is the first option on the vertical toolbar to the right of the document. There are 2 layers of a square on top of each other in different colors. The front margin is the box colors, and the square behind this box shows your border.
 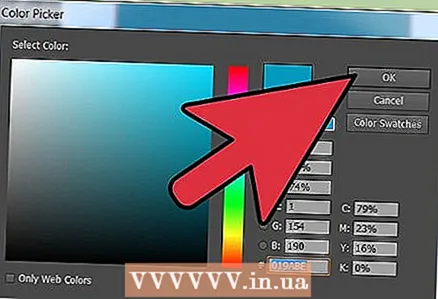 9 Click on that bottom border of the window and choose a color from the options at the bottom in the color box. You will also see options: black and white. Click the "Color Guide" tab in the Colors field to see more options.
 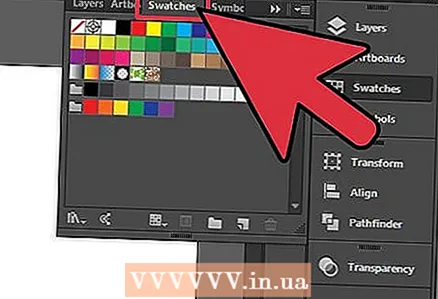 10 Add patterns by clicking on the "Swatches" menu below the color palette and guideline. It's the third option from the top of the right vertical toolbar. You can also click "Window" on the top horizontal toolbar and click "Swatches."
 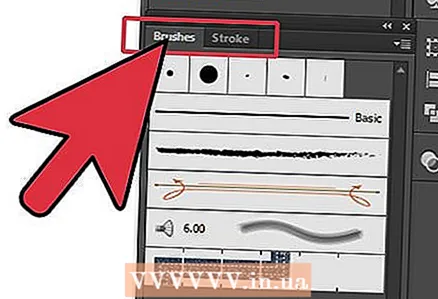 11 Add Brush strokes by clicking on the "Brushes" menu. This is the fourth option from the top on the right vertical toolbar. You can also click "Window" on the horizontal toolbar and click "Brushes."
 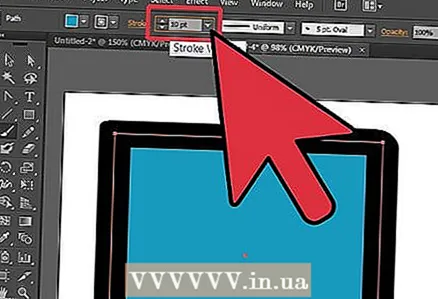 12 Change the thickness of your border by checking the "Stroke" checkbox. The icon has about 4 horizontal lines of different sizes. It can also be found in the Window menu. Select the thickness by choosing the point thickness from the "Weight" drop-down menu.
 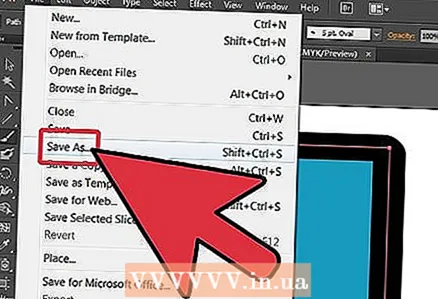 13 Save your Illustrator document and return to the Border layer at any time to modify it.


