Author:
Virginia Floyd
Date Of Creation:
10 August 2021
Update Date:
1 July 2024

Content
- Steps
- Method 1 of 5: Leather Beaded Bracelets
- Method 2 of 5: Braided Leather Bracelet
- Method 3 of 5: Leather Cuffs
- Method 4 of 5: Leather Friendship Bracelets
- Method 5 of 5: Studded Leather Bracelet
- Additional articles
Tired of paying dearly for leather jewelry that you can easily make yourself? Then go and buy what you need and make your bracelets from scratch. The process is very simple and you will end up with beautiful, handcrafted and unique pieces of jewelry. Try one of these five techniques to make your leather bracelets at home.
Steps
Method 1 of 5: Leather Beaded Bracelets
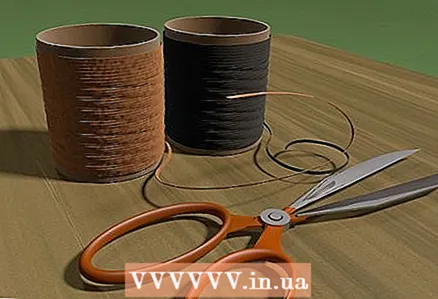
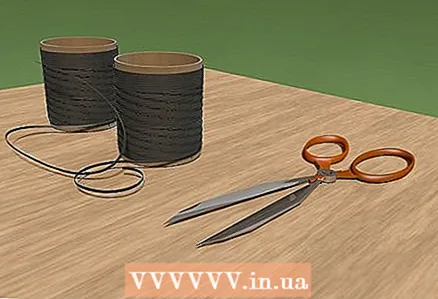 1 Collect all materials. You can find leather materials at craft stores or online. To create a leather beaded bracelet, you will need a leather cord or pieces of leather and beads with holes large enough to fit the rope.
 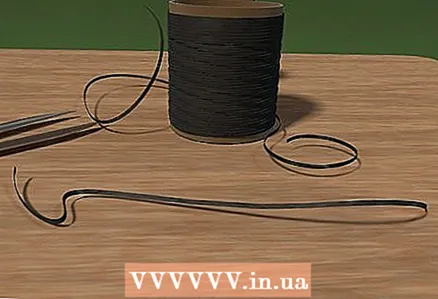 2 Measure and cut the skin. Use scissors to cut two pieces of leather lace. When making leather bracelets, you can find the length you want by wrapping the string around your wrist and adding a few inches more to the total length so you can tie them.
 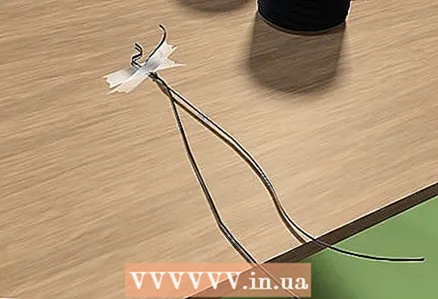 3 Tie the edges. Tie the ends of the string into a strong knot on one side, leaving some extra string to tie the bracelet around the wrist.To make it easier for you to work, tape one end to the table or attach it to the pant leg.
  4 Start adding beads. Place one bead on one of the ropes and pull it towards the knot.
  5 Pass the second leather rope through the bead. The leather rope should be threaded through the same bead, but on the other side. This will create a loop around the bead, securing it in place. This process will be repeated with all beads.
 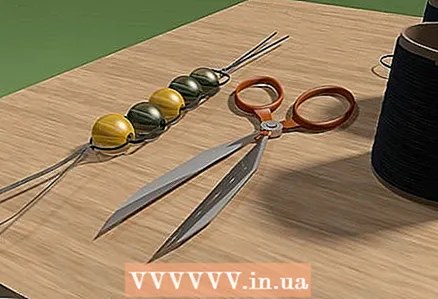 6 Keep adding beads. Continue adding beads to your bracelet by threading one bead through the string and then threading the second string through the center of the bead, but on the other side. Continue doing this until the bracelet is long enough to tie around your wrist.
 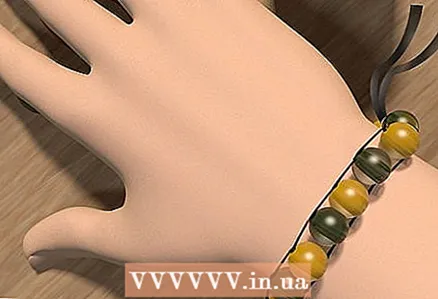 7 Finish the bracelet. Make a simple knot to tie the other end of the bracelet. Remove the tape from the other end and tie both ends together, around your wrist, and you've finished the bracelet.
Method 2 of 5: Braided Leather Bracelet
 1 Collect materials. This bracelet can be made from three pieces of leather - from laces or from a whole material. For a more bohemian look, use thin leather stripes. For a refined look, use leather laces.
 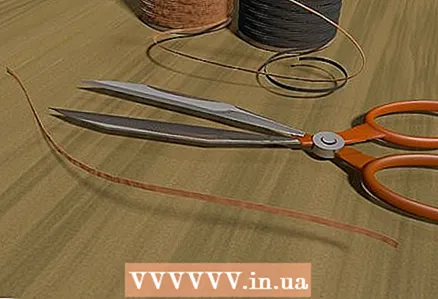 2 Measure and cut the skin. Wrap the skin around your wrist to find the length you want. Cut three pieces of leather cord or strip with a knife.
 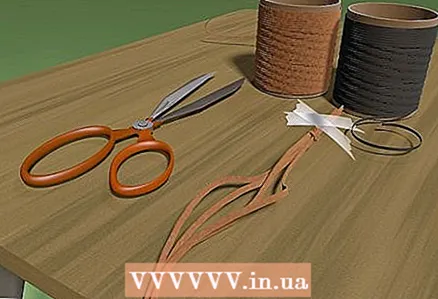 3 Make a knot. Make a regular knot at one end of the strips, securing them all together. Attach the pieces to the table with tape, or use a pin to secure them to your pant leg.
 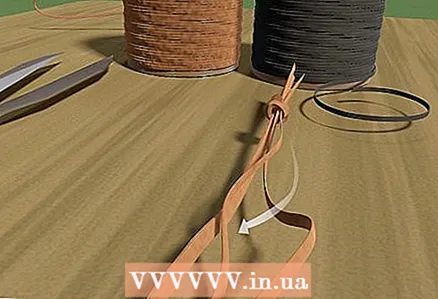 4 Start braiding. Take the right rope and carry it over the left one. The way of weaving this bracelet is the same as weaving braids.
 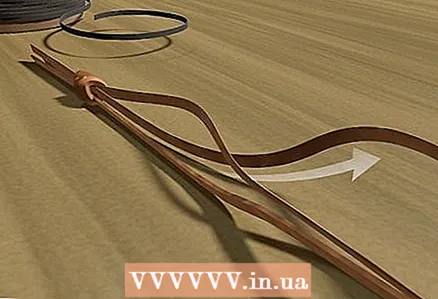 5 Cross the left rope through the center. The second step is to bring the rope from the left edge and place it in the center. This will be the new center rope.
 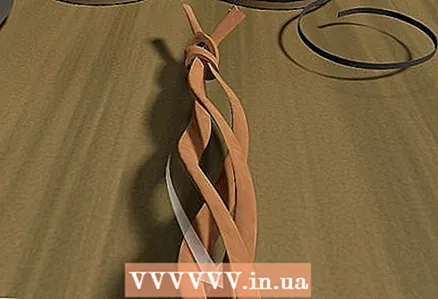 6 Cross the right rope again. Slide the right strip from the right edge over the center rope. This step is similar to the first one.
 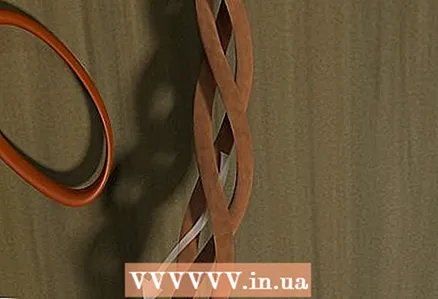 7 Cross the left rope again. Follow the pattern and move the left rope to the center.
 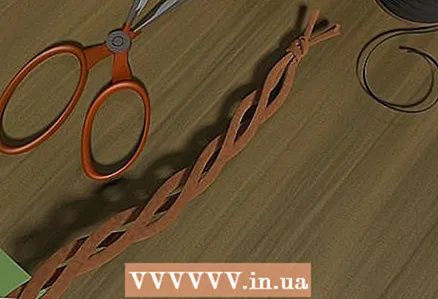 8 Finish weaving. Continue braiding the ropes until you have made the bracelet large enough to wrap around your wrist. Straighten the braided bracelet.
 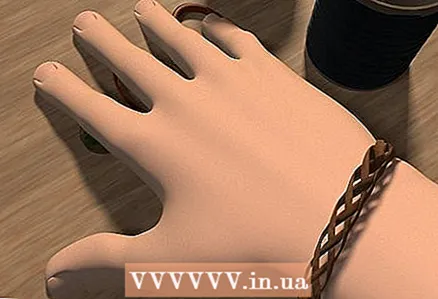 9 Tie the end. Secure the ropes with a regular knot, and then remove the tape and wrap the bracelet around your wrist. Tie both ends and cut off the extra piece.
Method 3 of 5: Leather Cuffs
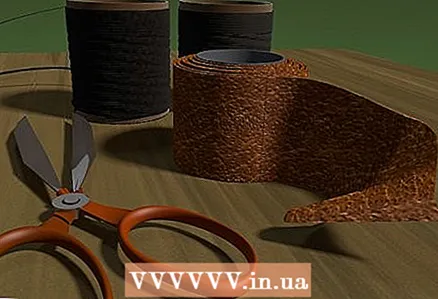 1 Prepare all the materials you need. To create leather cuffs, you will need: embossed leather, leather glue, leather needle, waxed linen thread, and a button or clasp for the bracelet edges.
 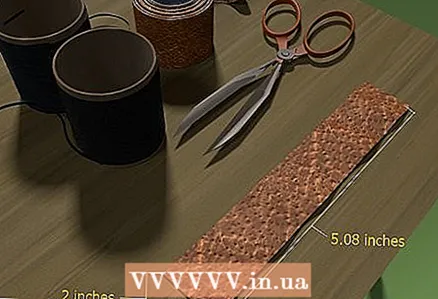 2 Measure and cut the skin. Use a ruler to measure a piece of leather that is 5.08 cm wide, and its length was equal to your wrist, plus 2.5 cm. Cut off the leather with sharp scissors or a special knife.
 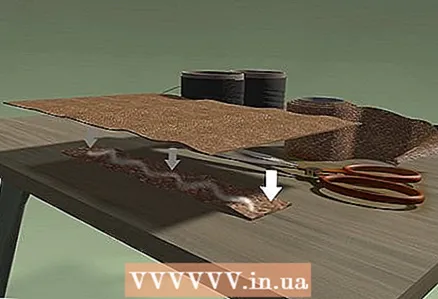 3 Make a layer of skin. Glue the cut piece of leather to the larger piece of embossed leather with leather glue. Use your fingers to smooth out any unevenness and let the glue dry overnight. Add another layer of leather to your bracelet to make it look better.
 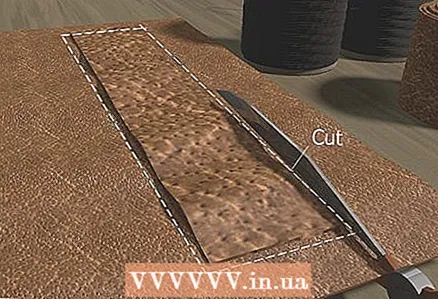 4 Cut the bracelet to the desired length. Trim the edges of the embossed leather to be the same size as the original piece. You should have a nearly finished double-sized piece of leather.
 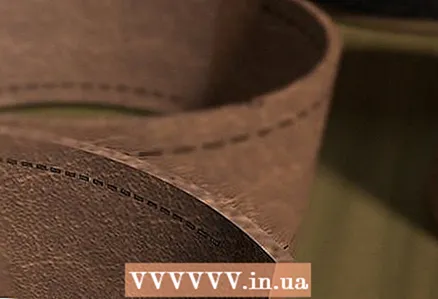 5 Sew on the edges. Use a leather needle and waxed linen thread to sew the cuffs together. You can use any seam. The seam will simply strengthen the edges of the skin and give it a more refined look.
  6 Add clasps. Use a needle and thread or leather glue to secure the clasp at each edge. By completing this step, you have completed the bracelet.
Method 4 of 5: Leather Friendship Bracelets
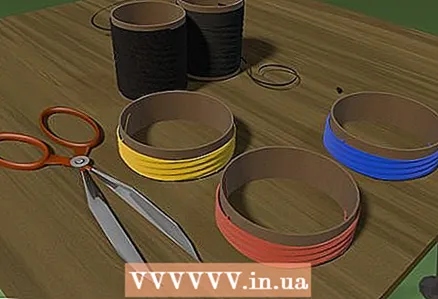 1 Select materials. For this bracelet you will need: thin leather ropes, fabric or leather glue, a needle and floss of different colors. You will also need scissors to cut the leather and thread. Clasps are optional.
 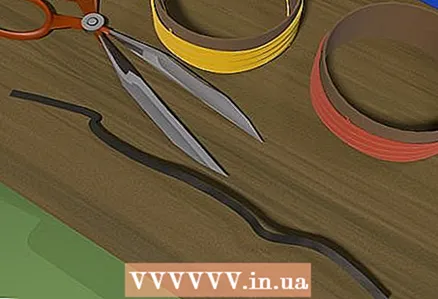 2 Measure and cut the skin. Wrap one piece of leather around your wrist and add 5-7.5 cm to this length. The extra length will be used to tie the ends together when the bracelet is ready. Cut the bracelet to the correct size.
 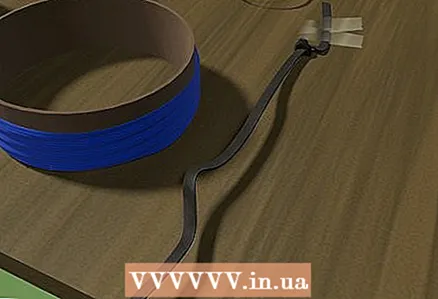 3 Fasten the skin. Tape one end of the leather to the table, about 5 centimeters from the edge.
 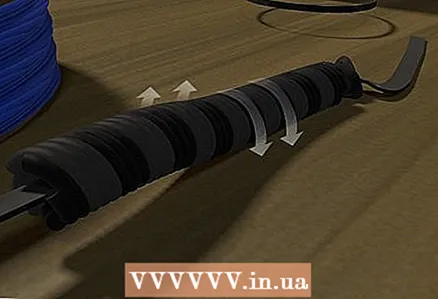 4 Start winding the thread. Put some glue on your skin and then start wrapping the floss around it. Wrap the floss tightly around the lace as much as you like, then move on to the next color. When you're done, you can add some more glue and cut off the excess floss.
 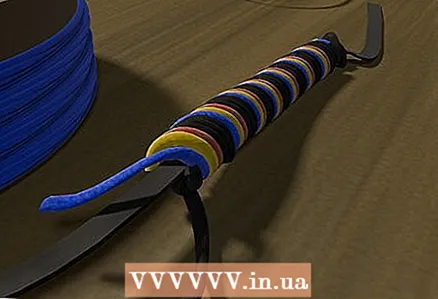 5 Add additional colors. Follow the same process as in the previous step: put some glue on the leather and start wrapping the new color floss around the lace. After wrapping enough floss, add some more glue and cut off the extra piece.
 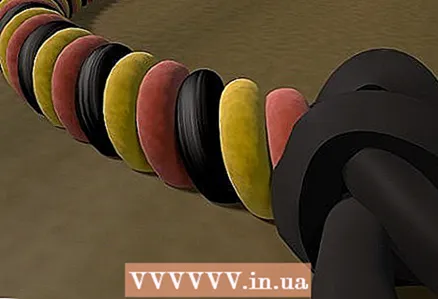 6 Follow the pattern. Add as much floss as you like to give it a little color. You can wrap all of the leather rope or just a part. The choice is yours!
 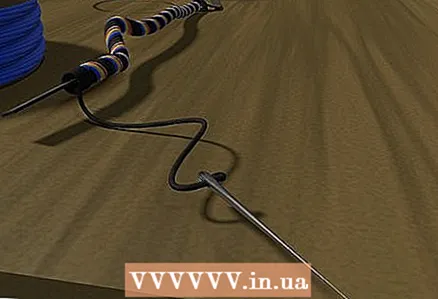 7 Finish the floss section. When you're done, thread the end of the thread through the needle and cut off the entire thread, leaving a 2.5 cm tail. Thread the needle under the wrapped floss and pull on the other side, hiding the tail of the floss under the wrapped thread.
 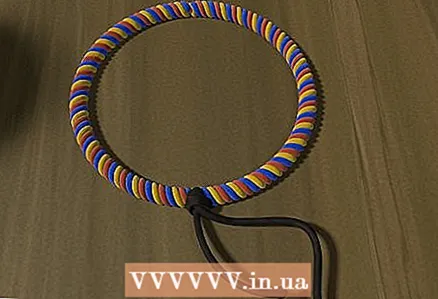 8 Finish the bracelet. If you want to add clasps to your bracelets, attach them to the end of the leather rope in this step. Otherwise, just tie the edges together by wrapping the bracelet around your wrist and you're done!
Method 5 of 5: Studded Leather Bracelet
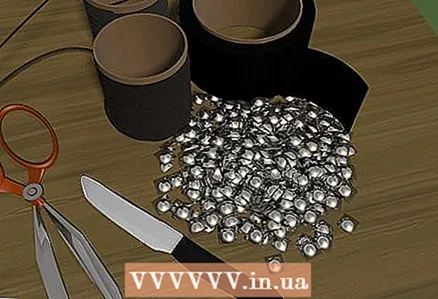 1 Collect all materials. A spiked leather bracelet requires rectangular pieces of embossed leather, matching spikes, a knife, hammer, clasps, and scissors.
 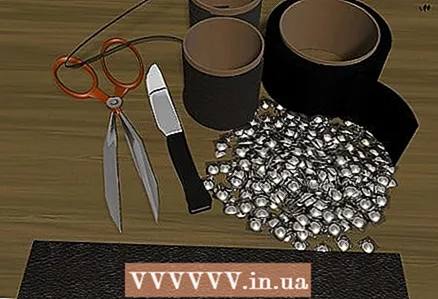 2 Measure and cut the skin. Wrap a piece of leather around your wrist and add an additional 2.5 centimeters to this length. Use scissors to cut the desired piece of leather and round the edges.
 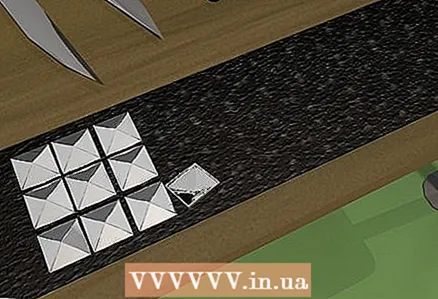 3 Put the thorns in. Take the thorns and place them as you wish on the leather bracelet. When they are where you want them, gently push down on them. You will not pierce the skin, but leave small marks.
 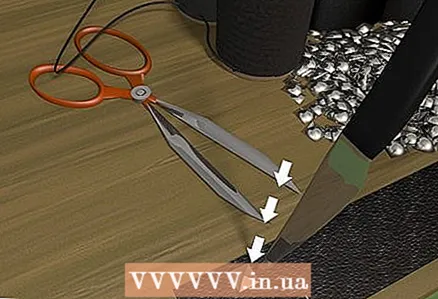 4 Make cuts for the thorns. Take your knife and make small holes where the spike marks are. These cuts should be wide enough to allow the spike teeth to pass through. If you make them too large, it will show on the finished bracelet.
 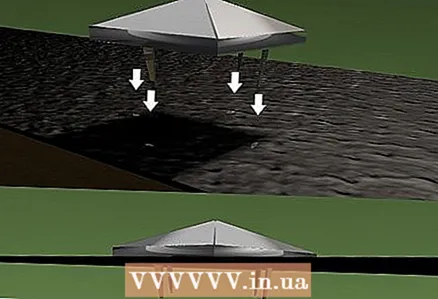 5 Add thorns. Thread each tenon through the incisions you made. The teeth will come out from the back. Rotate the cleats as you wish before securing them in place.
 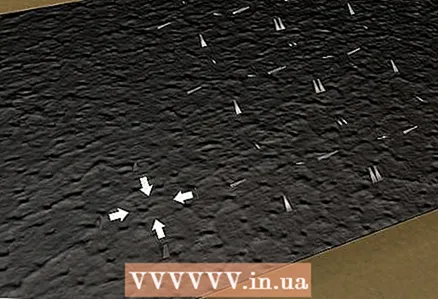 6 Bend the prongs. Flip the piece of leather over and use a hammer to bend the prongs. If each spike has two prongs, bend them so that they point in opposite directions.
  7 Add clasps. To make rivets, add one clasp to each end of the bracelet. They can have barbs, like spikes, that can be threaded through the bracelet and bent over from the back, or they need to be glued on.
  8 Put on the bracelet. Use the clasps to secure the bracelet to your wrist. Adjust the desired cleats that may have moved slightly. Your bracelet is ready. Make several of these bracelets to match.
Additional articles
How to make rolls How to play UNO
  How to Learn Morse Code How to Draw Fashion Sketches
  How to clean and polish shells How to rotate a pencil around your thumb How to make shorts from old jeans
  How to relieve boredom in summer How to make papier-mâché
  How to create an electromagnetic pulse
  How to dye fabric with coffee
  How to kill time
  How to polish stones How to make pancakes on water


