Author:
Monica Porter
Date Of Creation:
16 March 2021
Update Date:
1 July 2024
Content
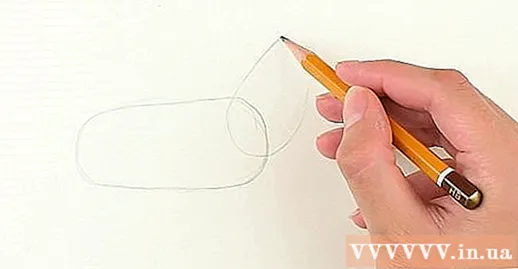
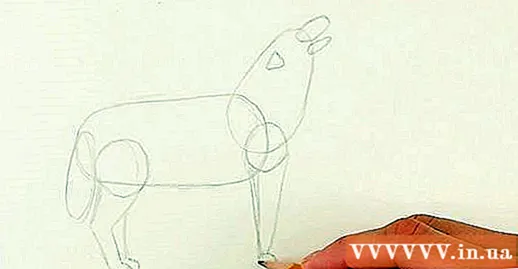
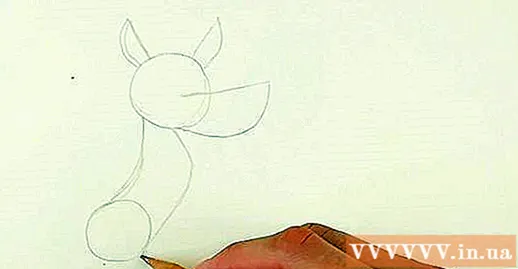
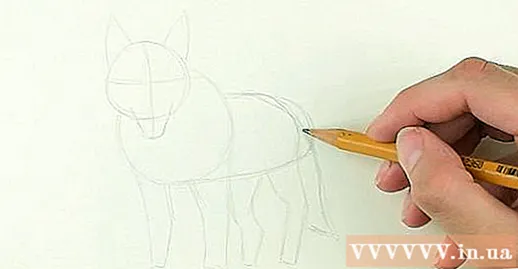
- Draw a long, pea-like oval to make the body of the wolf.
- Remember to use a pencil when sketching, so that it can be erased later.
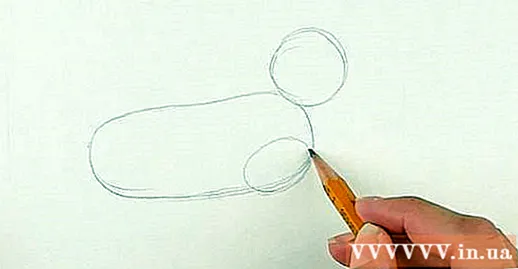
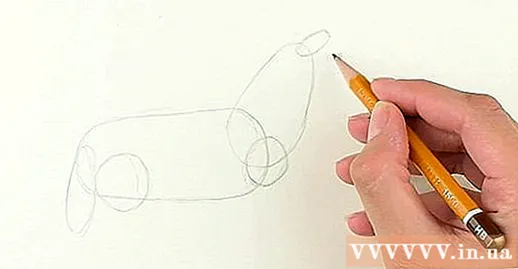
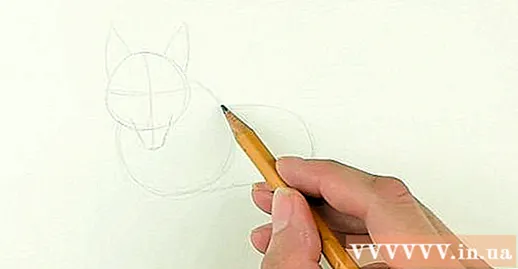
- Draw a circle at one end of the pea to make the wolf's head.
- Draw two interlocking circles to form the joints of the hind legs, one smaller than the other to represent partially obscured wolf legs.
- Add a slightly long circle on the wolf's chest to make the joints of the forelegs.

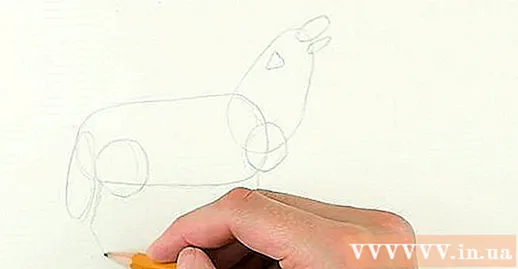
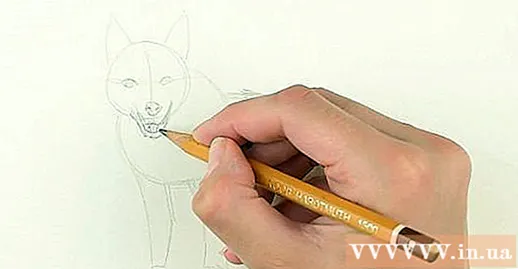
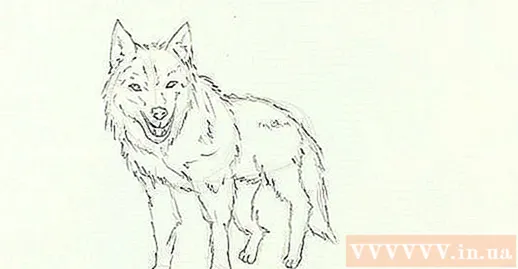
Complete the neck and add ear points.
- Draw two spiked curves on the top of the head to make the ears. Unlike fox ears, the wolf's ears are smaller.
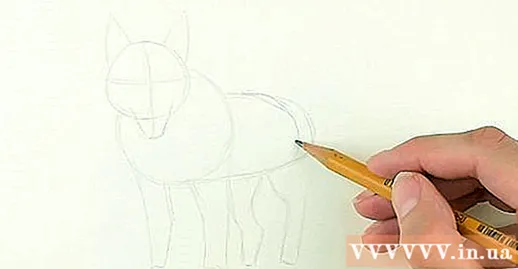
- To make the wolf's neck (or nape), simply draw two light curves connecting the sides of the wolf's head to the pea-shaped body.
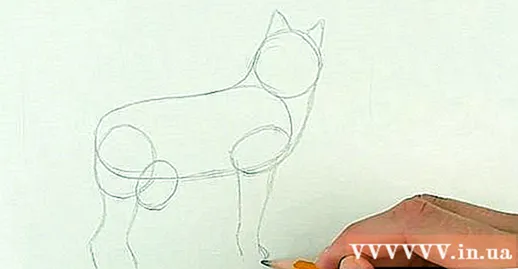
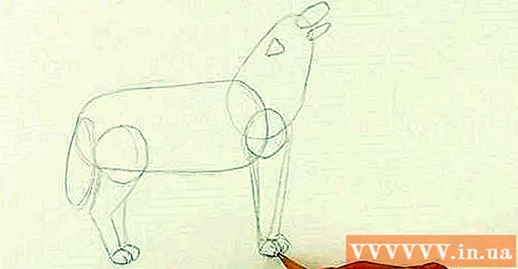
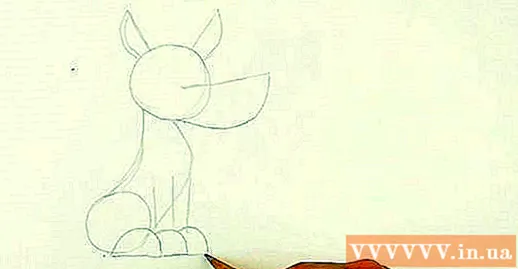
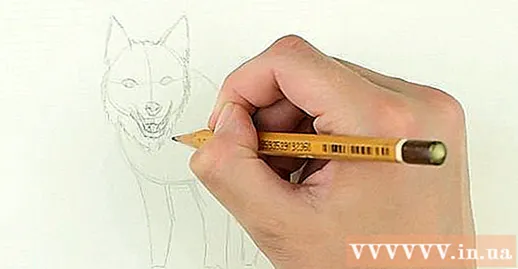
- To represent the hind legs, draw curves coming from the posterior joint. The posterior leg lines should be curved outward toward the tail.
- To show the front legs, you just need to add 2 bold lowercase "l". One leg of the wolf is obscured, so only a small portion of the other leg is visible.
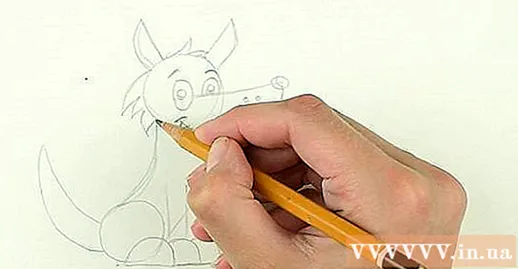
- Draw a small "U" on the head for the muzzle.
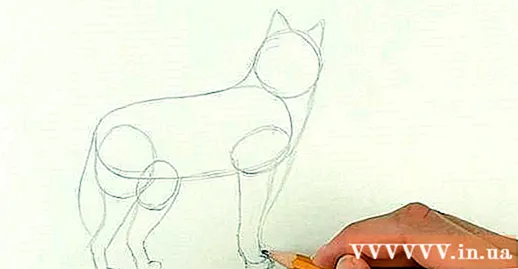
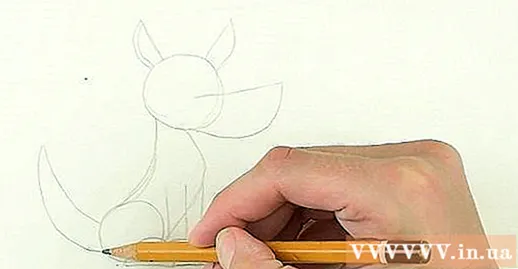
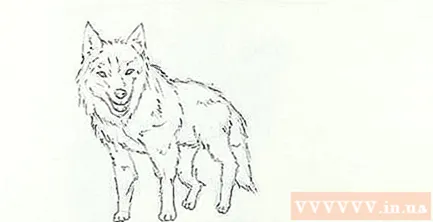
Add eyes, tail and complete hind legs.
- To draw the eyes, you just need to add two water droplets above the wolf's snout.
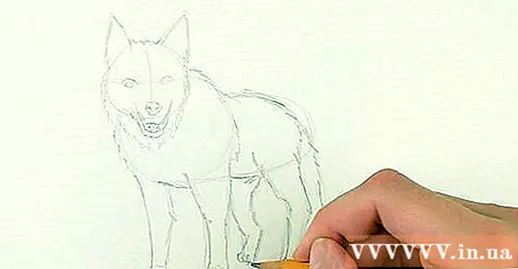
- Finish off the hind leg by drawing another shape similar to the one previously drawn, but this time adding the foot on the bottom,
- The tail is hard to see because it is hidden behind the hind legs, so just add a long curve at the end of the pea-shaped wolf body.
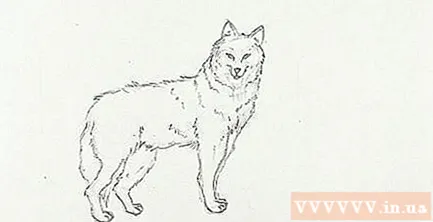
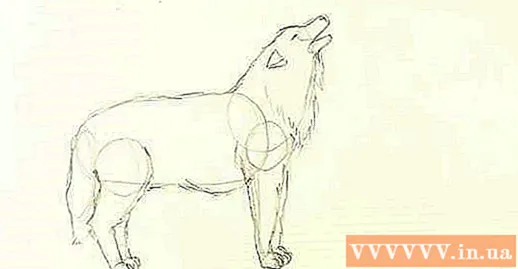
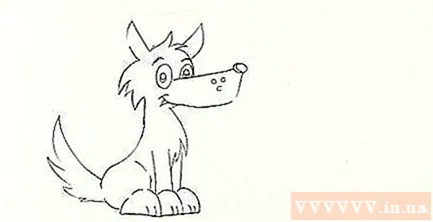
- Now you have the basic skeleton of the wolf.

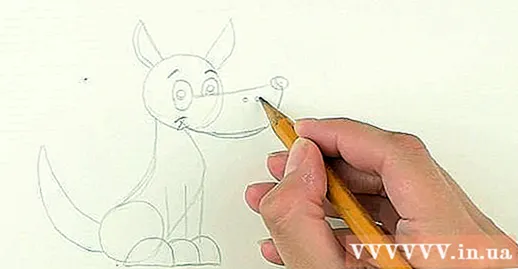
- Remember nested shapes and obscured parts.
- Remember to draw curls to create the wolf's fur.
- Lines may not look perfect and sharp but should be neat once the pencil strokes are removed.
Draw the body of the wolf with an oval optional.
- Draw a long, pea-shaped oval for the body of the wolf.
- Make sure to sketch with a pencil, so that it can erase it later.
- An oval should be larger and longer than slant upwards. This is the wolf's neck and head.
- The second oval is drawn on the other end of the wolf's body. This oval is longer, narrower and drawn vertically to make the tail.
- Add a circle right next to the tail and one at the lower end of the oval slant upwards to make the leg joints.
- Draw a smaller oval in the same direction as the neck / head oval.
- Draw a drop of water below the wolf's muzzle to represent the wolf's jaws.
- This view shows only one wolf's ear. Just draw a small rounded triangle with sharp angles pointing in the opposite direction of the wolf's muzzle.
- Express the wolf's leg with the lines drawn below the leg joints. The hind legs should be drawn curved towards the tail.
- Add similar lines to define the width of the wolf's leg. The part of the wolf's paws should appear to be close to the ground.
- Add another pair of legs behind the legs you drew earlier. These legs are only partially visible, so just draw a small peek behind the drawn legs.
- Add 2 pairs of circles for the foot underneath the lower leg.
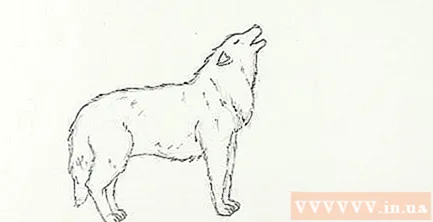
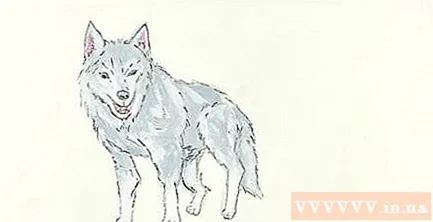
- You now have the basic frame of the wolf painting.
- Remember nested lines and obscured parts.
- Remember to use the curves to represent the wolf's fur.
- Lines may not be perfect and sharp but should look neat once the pencil strokes are removed.

What you need
- Paper
- Pencil
- Pencil sharpening tool
- Eraser
- Pen
- Crayons, crayons, markers, oil wax or watercolors


