Author:
Joan Hall
Date Of Creation:
3 July 2021
Update Date:
1 July 2024

Content
- Steps
- Method 1 of 3: Cleaning the outside of the console
- Method 2 of 3: Cleaning the fan
- Method 3 of 3: Cleaning the joysticks
- What do you need
As clean as you are, a lot of dust collects on your PlayStation 4, which can cause your console to overheat and break. This can be prevented by properly cleaning the outside of the console with compressed air and dry rags. Indoor fans also need to be blown out with compressed air at times, especially if they become louder. You can also clean the joysticks with compressed air and dry rags, but you will need to moisten the joysticks to remove some types of dirt.
Steps
Method 1 of 3: Cleaning the outside of the console
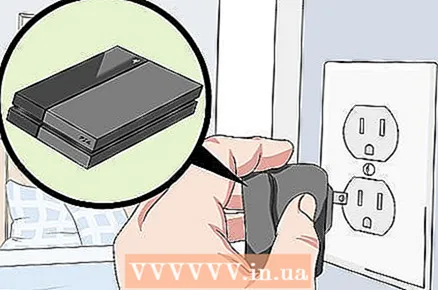 1 Disconnect all cables. Unplug the power cord from the console first so that no electrical current flows through the console while cleaning. Then disconnect the joysticks. Do the same with everything connected to the console so that you have easy access to all connectors.
  2 Place the console on a clean surface. If you want to clean your console, chances are good that the place where it was standing also needs cleaning. Remove the console from there and place it on a clean, dust-free surface. To make your job easier, do not place the console where it might get dirty again during cleaning.
  3 Use compressed air correctly. Before you start blowing compressed air into expensive electronics, be aware that moisture is present inside the cartridge.Always hold the can upright as this is less likely to leak liquid from the can. Also, keep the nose at least 13-15 cm away from the object you are blowing. Otherwise, the blowdown efficiency will be significantly reduced.
 - Read the instructions on the compressed air can for other directions or warnings.
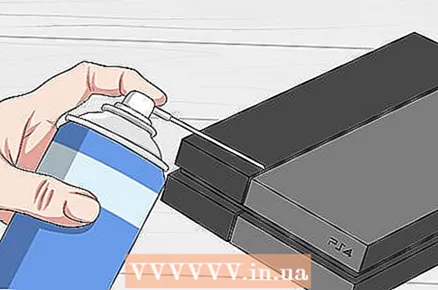 4 Blow off the dust. Start blowing in short bursts along the notch in the middle of the console. Then go to the connectors that are located at the front and back. Finally, blow off as much dust as possible from the remaining surface and remember to blow out the vents.
  5 Wipe the console with a dry microfiber cloth. Be sure to wipe off any remaining dust with a clean, dry cloth, as a wet cloth can damage the console. Wipe thoroughly all outer parts of the console in one longitudinal motion, starting from the indicator light, so that no dust gets into it. Make sure that no dust gets into the ports, otherwise all efforts will be wasted.
  6 Wipe down the surface the console stood on and put it back in place. Set the console aside and dust off the surface it was standing on. Depending on the amount of dust accumulated and how much of it ends up in the air, wait for the dust to settle and wipe the surface again. Then put the console back in place.
Method 2 of 3: Cleaning the fan
 1 Don't forget about the warranty. Since the fan is inside the console, you will have to open the console to clean it. This will void your warranty. The warranty is usually given for only one year. If you intend to sell or exchange your console in the future, the loss of warranty will affect the resale value.
 - Be that as it may, someday you will still need to clean the fan. You will know that the time has come when the fan starts to run noticeably louder than before. Ideally, there should be no loud noise in the first year after purchase. If the fan clogs up earlier, you will need to clean it despite nullifying the warranty, otherwise the console will overheat.
 2 Disconnect all cables, unscrew the screws and remove the bottom of the console. Disconnect the power cord and other cables so that they do not interfere with you. Then find the four screws on the back. At least two of them will be covered with warranty seals, so peel them off. Then unscrew all screws with a T8 or T9 sprocket screwdriver and carefully remove the bottom of the console.
 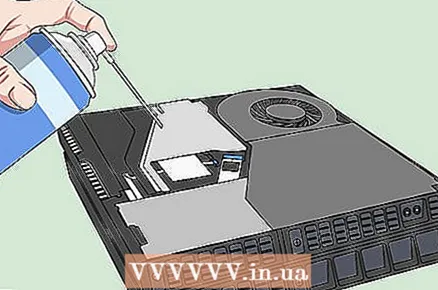 3 Blow out the fan and the rest of the console with compressed air. Now that you get to the inside of the console, blow it out with compressed air very carefully so as not to spray out moisture. Hold the can upright and at least 13-15 cm from the fan. Most of the dust accumulates on the fan, so start with that.
 - Blow out all dusty areas with compressed air except the drive, as this can damage the drive.
 4 Let the interior of the console dry. Do not wipe the internal components with a cloth, as this may damage them. In case they get quite a bit of moisture from the can, it's best to play it safe and leave the console for half an hour (or longer, if necessary) to dry.
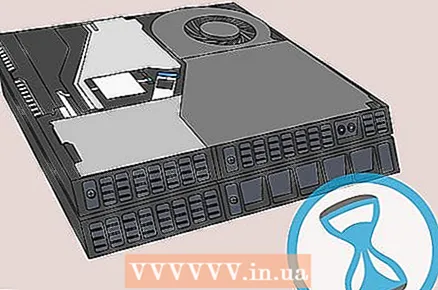
  5 Build your console. Don't worry if you haven't removed all the dust. Reassemble the console if you have removed most of the dust. Wait for the console to dry, then plug it back in and start playing.
Method 3 of 3: Cleaning the joysticks
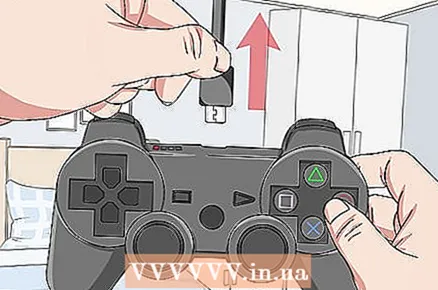 1 Disconnect all cables from the joystick. It will be much more convenient for you if you have easy access to the connectors for charging the joystick. Disconnect the power cord. Remember to also unplug the headphones if they are connected to the joysticks.
 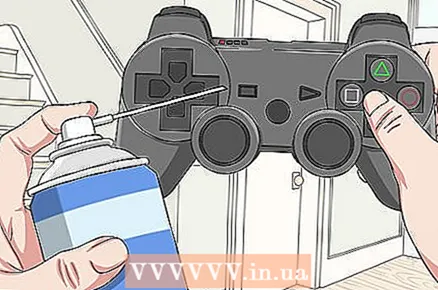 2 Blow out the joysticks with compressed air. First, remove as much dust as possible with compressed air.Pay special attention to the notches between the joystick body and each button, touchpad and analog sticks, and other slots through which dust may have entered the joystick.
 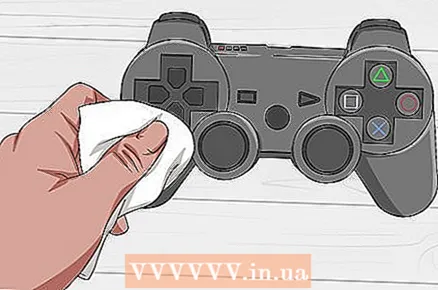 3 Wipe the joysticks with a dry microfiber cloth. Unlike the console, the joystick is always in your hands, so you have to wipe off more than just dust from it. Wipe it off with a microfiber cloth first. Check the result before wetting the rag.
  4 Use a damp cloth if necessary. If you are unable to remove a layer of dirt with a dry cloth, use a damp cloth or dampen a corner of a clean cloth. First, squeeze as much water out of the rag as possible to prevent dripping. Do not wipe the charging and headphone jacks to prevent water from entering. Finally, wait until the joystick is completely dry before plugging it back in.
What do you need
- Compressed air can
- Microfiber cloth
- Wet wipes or rag (optional)
- T8 or T9 sprocket screwdriver


