Author:
Peter Berry
Date Of Creation:
18 February 2021
Update Date:
1 July 2024
Content
In photo editing software, color bands (gradients) are gradual changes of colors or tones stretching across an image or part of an image. Gradients are used to add subtle color changes to an image (eg shading changes), and you can layering and combining color bands to create dramatic effects.If we want to create a color band in Photoshop, we need to use the gradient tool to add a linear, radial, angular, reflective, or diamond gradient color to the selected area or layer. The basic color range is easy to do, but you can also make more advanced customization using the Gradient Editor. Note: we cannot add gradients to indexed or bitmap images.
Steps
Method 1 of 2: Add the basic gradient to the layer
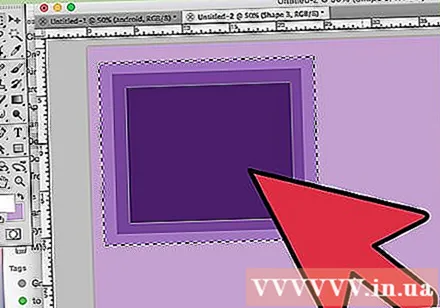
Create a strip shape with the selection tool. These are dotted line icons, such as the square or noose selection tool, that allow you to select a small range of the image. If you don't select it, the color band will cover all of the current layer.- The color range can be any shape, as long as you can make a selection.
- If you're just getting started, create a small square and work on it.
- The color range will cover the selected area. So if you just created a color band without using the selection tool, the entire layer will be covered with gradient.
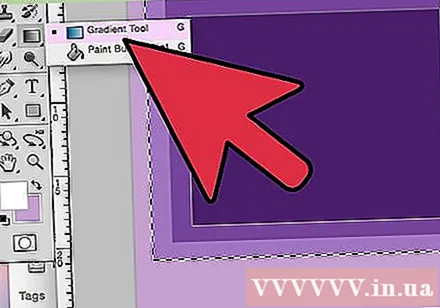
Pick the gradient tool with the small rectangle icon fading from black to white. If you don't find this option, tap and hold on the paint bucket icon as these two tools are often stacked. After you click that, a "gradient bar" will appear near the top of the screen. This is the place for you to edit the gradient look.
Pick a color for the gradient using the two squares in the bottom right. This is also the icon at the bottom of the toolbar that we often use to choose colors for brushes or pencils. Double-click each square to change its color.- The front square represents the gradient start color. For example, red.
- The square behind is the color from which the gradient will fade. For example, white.
- The color strip in the upper left corner shows the preview example of the combination.
Select the type of color range you want to use. Looking up at the top bar, you will see many small icons representing different gradient styles. Note: Not every version of Photoshop has all of these colors, but only the most recent since 2015. The best way to find out is to try each one to see the change.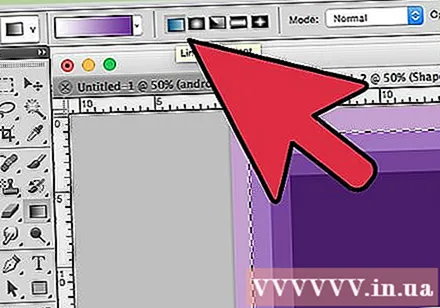
- Linear: The basic linear gradient almost resembles the night sky. This color band is simply a gradual transition between two colors in a straight line.
- Radial: The radial gradient has a color that starts from the center and spreads spherical, gradually changing into the next color. Just like when we look at the Sun, the first color is "the Sun" and the second color is "sky".
- Angular: Angular gradient. More specifically, this gradient scans the color in an anticlockwise arc around the starting point. This band of colors produces two single colors with gradual gradations around the edges.
- Reflected: The reflected gradient creates the inverted image of a regular linear color band. Basically, if you draw "straight lines" to the right then the strip will repeat to the left. You will get a reflective gradient. In this case, we have three "bars": repeating white, red and white.
- Diamond: Similar to the radial form, this gradient will create a diamond or center square instead of a circle.
Click and hold to set the starting point of the color range. You can think of this as the position where the first color is darkest. In this example, we will have nothing but red. Note: the gradient will automatically color according to the selected shape, you don't need to set the starting point right on the border to fill it accordingly.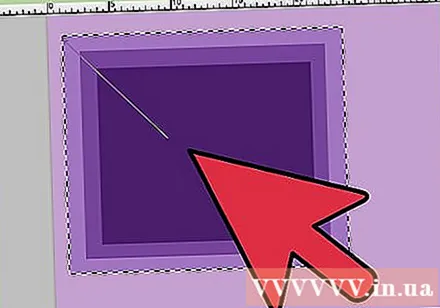
- You don't even have to click on the selected area or layer. If you want the color to fade out of the screen, click outside the selection. This will make the gradation effect more subtle.
- Don't release the mouse button until you are ready to adjust the gradient.
Move the mouse pointer to the direction you want the color to fill, and then release. The line showing the direction of the fill will extend from the starting point to where you release the mouse button. Release your hand from the mouse to create the gradient.
- The longer the line, the more stretched the transition will be.
- A shorter line produces a sharp change between the two colors.
Use gradients to create gradients anywhere. Gradients are incredibly powerful tools in Photoshop. Not only do the colors fade, the gradient also has the ability to create any transition or blending effect. We can use a color strip with transparent layers to gradually merge the two layers together. Color bands can be layered above text. You can use a low opacity color range to artistically fill an image even with the transition between black and white. In a nutshell, every object you can select has the gradient applied. advertisement
Method 2 of 2: Customizing the gradient
In the Tools panel, click the Gradient tool. We can preset, create precise color layouts and even edit to perfect pre-existing gradients. To open the Gradient Editor, select the gradient tool as you normally would. Then click on the gradient pattern shown in the bar at the top of the screen. Now we will have:
- Various color ranges are preset.
- An example of a color range with adjustable sliders.
- Information about grade and transparency.
- Options to create new gradients, load old gradients, or save the range of colors you create.
Click the color range you want to edit. You can also manage presets or edit existing gradients. This allows you to perfect the color range before use. If you have more than one layer then you need to make sure you have selected the layer containing the gradient.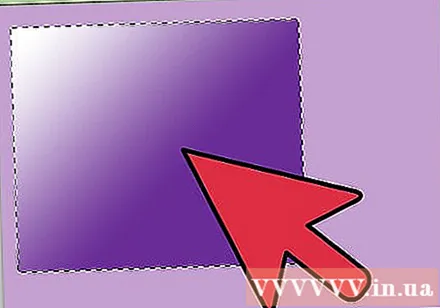
Change the color by clicking on the little stoppers below the pattern gradient. You can click along the color band to add more colors. About halfway below the Gradient Editor is an example bar with a color band inside. Below are two gray block buttons that you can click to change colors.
- Double-click on the line to add another block button. You can add as many blocking buttons as you want.
- Click and drag the block button towards the bottom of the screen to remove. Or you can click the block button and press the Delete key.
Change opacity by clicking on the small block button above the sample color range. These buttons change color uniformity and you can increase or decrease arbitrarily. The default opacity is 100%.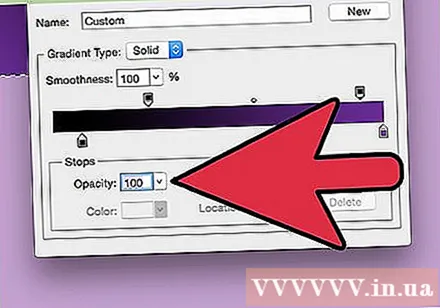
- Similar to color block buttons, we can add more complex gradients by right clicking.
Align the diamond icon in the center to set the focus. This is where two colors meet, each with a density of 50%. You can drag this diamond button between any of the two stoppers to set the focus.
Adjust the "smoothness" of the color range for rainbow-like blobs. A "rough" gradient picks a random color for each point with the same values as the last two colors. The result will be a bit like a bookshelf with multiple color slots instead of a smooth and uninterrupted transition.
- You can get more advanced tweaking by clicking "Noise" from the Gradient Type pop-up menu.
Save any color ranges you like or download more from the net. The preset color gamut is extremely useful, so you don't need to do the same thing twice. As soon as you create the desired gradient, click Save now. You can also go online and look for the keyword "Gradient Preset Packs" (gradient preset pack). There are thousands of options out there and you just need to download a very small file to your computer. Then, load the strip into Photoshop using the "Load" button in the gradient editor. advertisement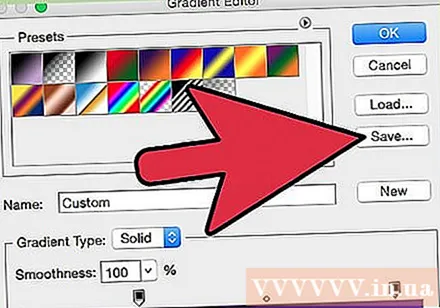
Advice
- The best way to learn the intricacies of any aspect in Photoshop is to open up the blank page and experiment with tools.


