Author:
Monica Porter
Date Of Creation:
18 March 2021
Update Date:
1 July 2024

Content
This wikiHow teaches you how to create shadows behind an image in Adobe Photoshop.
Steps
Open the photo in Photoshop. To proceed, double-click on the application with the blue icon with the word "Ps"inside, click File (File) in the menu bar at the top of the screen, click next Open ... (Open) then select an image.
- An original photo with a transparent background will give the best results. To achieve this, you need to separate the photo where you want to add a shadow from the background image.

Click the layer containing the photo to which you want to add a shadow. The layers will be listed in the "Layers" window at the bottom right of the screen.
Click an option Layers in the menu bar.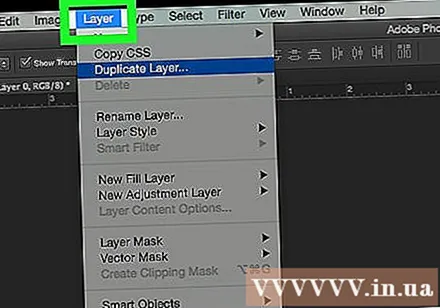
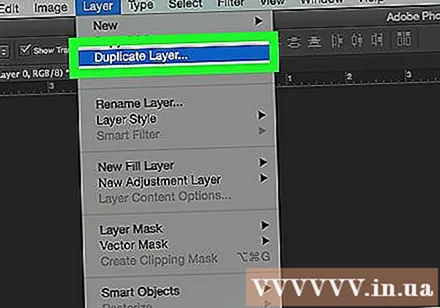
Click on the action Duplicate Layer ... (Duplicate Layer) in the drop-down menu.- You can rename the new layer, otherwise the layer will be named "copy."
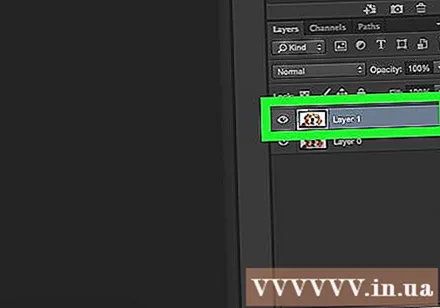
Click on the copy layer.
Click the "Layer Style" icon. This is the button fx at the bottom of the Layers window.
Click an option Drop Shadow ... (Drop the ball).

Adjust the shadow. Use the tools in the dialog box to refine:- Opacity: transparency
- Angle: the angle at which the light creates the shadow
- Distance: the distance from the object to the ball
- Spread: the width, or inclination, of the ball
- Size: ball size

Click OK. advertisement


