Author:
John Stephens
Date Of Creation:
2 January 2021
Update Date:
1 July 2024

Content
- There is an inexpensive instrument called a key adjuster that can be found at any music store and comes in handy for this step.
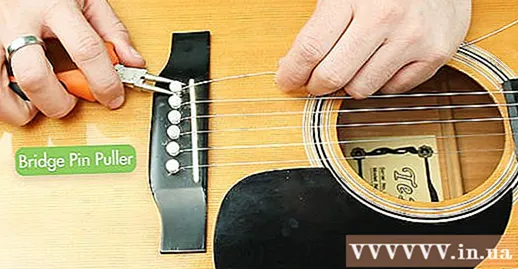
- Another way to remove the pins from the keyboard is to use a solid coin-like object. Pressing a guitar string deep into the soundboard is also a good way to go, as the force applied to the strings causes them to hit the latch.After the harness on the horse under the herd has come open, you can pull the rope out of the peg holes.
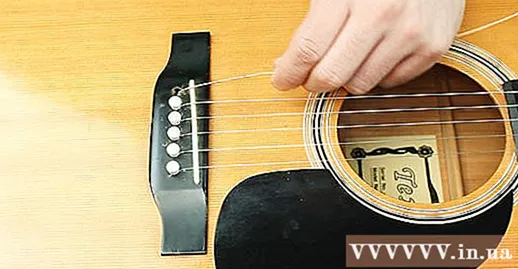
Remove the wire from the latch holes one by one.
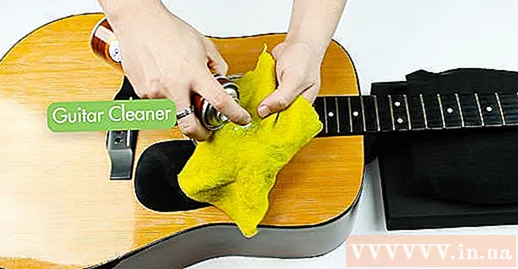
- If you do need to use water, soak only a little water to moisten the cloth. Too much water can damage the wood layer.
Part 2 of 2: Replace the wire
Insert the end of the string into the hole and reattach the latch. You should hold the cord firmly during this time. You should also pull the string towards the end of the neck a bit as the tension prevents the pins from falling off.
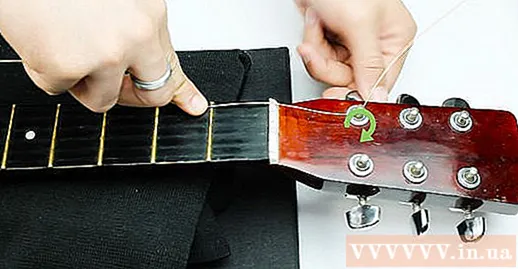
Stretch each string. After the end of the string has been held in the hole by the latches, stretch the string towards the corresponding lock and thread it into the hole. Remember, if you want to stretch, turn the lock to the right. If the frets are on opposite sides of the neck (usually), pull the string through the gap between the two frets and then pull outwards.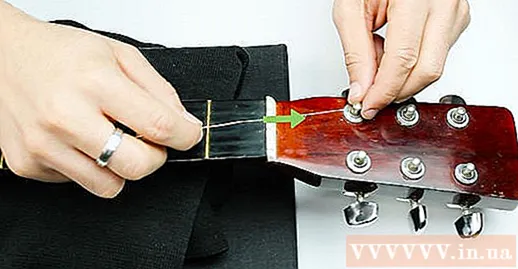
Pass the wire through the hole and stretch. You need to hold the strings a little loose so that you can get extra strings around the frets. If you do not do this, you will quickly run out of strings and the strings will loosen during play.- Unfortunately the procedure is different for each string, forcing you to try and learn from experience. Remember that you can cut the cord if it feels redundant, but you can't reconnect it if it is missing.
Bend the strings (at a 90-degree angle to the keyboard) and turn the buckle so that a few loops of the string wrap around the buckle. Many loops have to be wound (reiterating that the key adjuster comes in handy for this step). Make sure that when winding, each successive ring overlaps the previous one so that the rings do not overlap. This both makes the cuffs look tidier, increases the life of the strings as well as helps to achieve the high standard.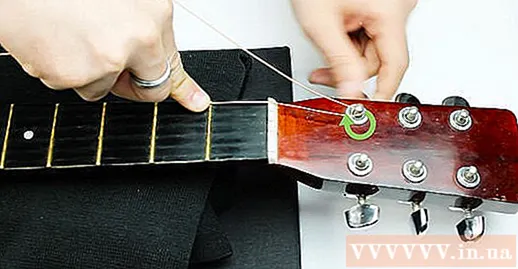
- Do not go to a high standard string quickly, just lower than a half step. You want the strings to be tight enough to hold in position and apply enough force to the bottom of the fret so that it won't come off, but this is not the right time for tuning.
Repeat this step until all wires have been changed.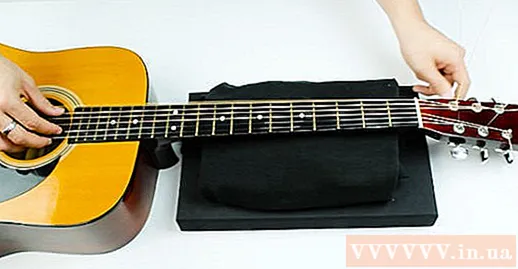
Now is the time to tune the strings.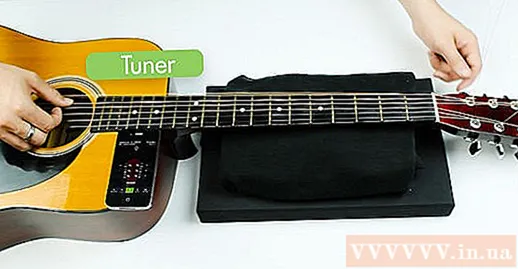
Use pliers to cut off excess string, leaving only about 1/8 inch (1/2 cm) of excess string. Cutting too short can cause excess string to become entangled in the string and cause lags on the strings.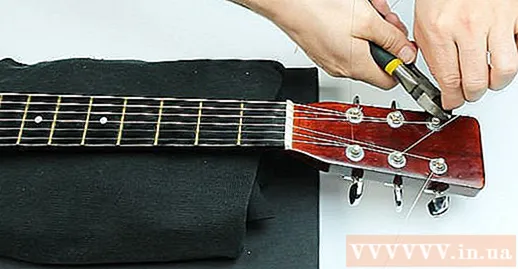
- Only use this step with classical nylon strings. If it's a steel string guitar, skip it.
Advice
- After changing the cord, you will need to make regular adjustments over a certain amount of time.
- If the staples are difficult to remove, you can cover them with a cloth and try to remove them with pliers. This helps to avoid damaging the staples through repeated use of pliers.
- Another trick to unpin horse is to use a small spoon. Place the tip of the spoon under the pin and lift it up so that the tip is below the edge of the pin. Press lightly on the spoon to lift the pin. You can place a layer of cloth between the staple and the tip of the spoon if needed.
- Another way to unpin a horse is to use an old shoelace. You will need to wrap the shoelaces around the pins. Make sure the loops are snugly between the pin and the horse, tighten the loop by stretching both ends. With a little patience, the staples will be removed without any damage.
- To see if the amount of excess string wrapped around each fret is correct, you can place your four fingers between the fretboard and the string on the twelfth fret.
- Avoid cutting wires, and instead use a sharp tool to quickly pluck away excess wire. Hold the string between your thumb and the sharp object (the sharp object on the inside under your index finger) then pluck it off quickly. The strings will twist without being cut off.
Warning
- You do not need to remove the pins from the inside of the keyboard. On the latch release tool there is a semicircular cut, which will usually slide under the pin so you can gently pry it out.
- Make sure not to pull the cord too tight, so let it slack a little, or the cord may break while wrapping.
What you need
- Pliers
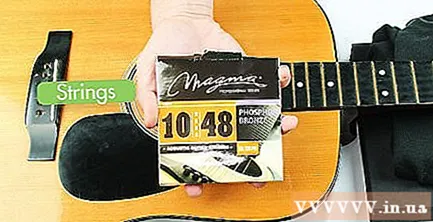
- Guitar string
- Locking device
- Dust-proof towels
- Guitar


